10 Ice Blue Nails Winter Ideas You’ll Love
Unlike other ice blue nail roundups that just show photos, this guide includes complete step-by-step instructions for recreating each design at home, specific product recommendations with real prices, and honest troubleshooting for common mistakes.
You’ll also find a real wear test showing how these designs hold up over time, plus detailed maintenance tips based on actual experience wearing ice blue nails Winter through multiple winters.
How to Choose the Best Ice Blue Design
For your first time: Start with Classic Ice Blue Gloss (#1) or Sheer Ice Blue Wash (#4). These require basic polish application skills and look polished even if your technique isn’t perfect.
If you have a professional job: Stick with Matte Ice Blue Minimalist (#2), Icy Blue French Tips (#3), Sheer Ice Blue Wash (#4), or Powder Blue Minimalist (#6). These read as elegant and understated rather than flashy.
If you want something for special events: Try Ice Blue Chrome Mirror (#7), Icy Pearl Finish (#10), Ice Blue Glitter Fade (#13), or Snowflake Accent Ice Blue (#19). These have enough sparkle and dimension for formal occasions.
If you’re comfortable with nail art: Go for Silver-Blue Chrome Swirl (#11), Marble Ice Blue and White (#23), Ice Blue Color Block Design (#24), or Ice Blue with Silver Striping (#20). These require steady hands and patience.
If you have short nails: Choose Classic Ice Blue Gloss (#1), Sheer Ice Blue Wash (#4), Icy Blue French Tips (#3), or Powder Blue Minimalist (#6). Lighter, simpler designs elongate shorter nails visually without overwhelming them.
If you change your mind often: Avoid crystal accents (#22) and chunky glitter (#18)—both are difficult to remove and repair. Stick with simple polish finishes you can change easily.
Ice blue nails are the ultimate winter power move—combining cool sophistication with that fresh, frosty vibe that perfectly captures the season’s magic. This shade flatters virtually every skin tone, transitions seamlessly from holiday parties to everyday wear, and brings a modern edge that feels both elegant and effortlessly chic.
Whether you’re drawn to minimalist chrome or detailed winter nail art, ice blue delivers that coveted winter glow without the maintenance headaches of darker, chip-showing shades.
Color Themes: Ice blue, silvery white, chrome silver, pearl finishes, holographic glitter, matte powder blue, metallic shimmer, soft gray-blue, crystal accents, iridescent finishes
Essential Supplies for Ice Blue Winter Nails
Before diving into the designs, here’s what you’ll need:
Base Products:
- Orly Bonder Base Coat ($10-12, Sally Beauty) – Creates a sticky foundation that grips polish better than drugstore bases
- Ice blue polish – OPI “I Can Teal You Like Me” ($11), Essie “Borrowed & Blue” ($9), or Sally Hansen “Glacier Bay” ($5)
- Seche Vite Quick-Dry Top Coat ($10, Amazon) – Dries completely in 5 minutes instead of the 20-30 minutes regular top coats need
- Essie Matte About You ($9) for matte finishes
For Chrome & Metallic Looks:
- Born Pretty Chrome Powder ($3-8, Amazon) – Cheaper than salon chrome and gives the same mirror finish
- Beetles No-Wipe Gel Top Coat ($8, Amazon) if using gel
- Eyeshadow applicator for buffing (comes free with most chrome powders)
For Nail Art:
- Size 00 detail brush ($3-5, Amazon or craft stores)
- Dotting tools set ($4-6, Amazon)
- Striping tape ($3-5, Amazon) in silver or white
- OPI “Alpine Snow” ($11) for white details
- Nail rhinestones ($5-8 for 1000+ pieces, Amazon)
Prep Tools:
- 180-grit nail file for shaping
- Buffer block (4-way works well)
- Cuticle pusher and CND Solar Oil ($8-12)
- Pure acetone and lint-free wipes
- Makeup sponges for gradients ($3 for 20)
Minimalist & Frosty Elegance
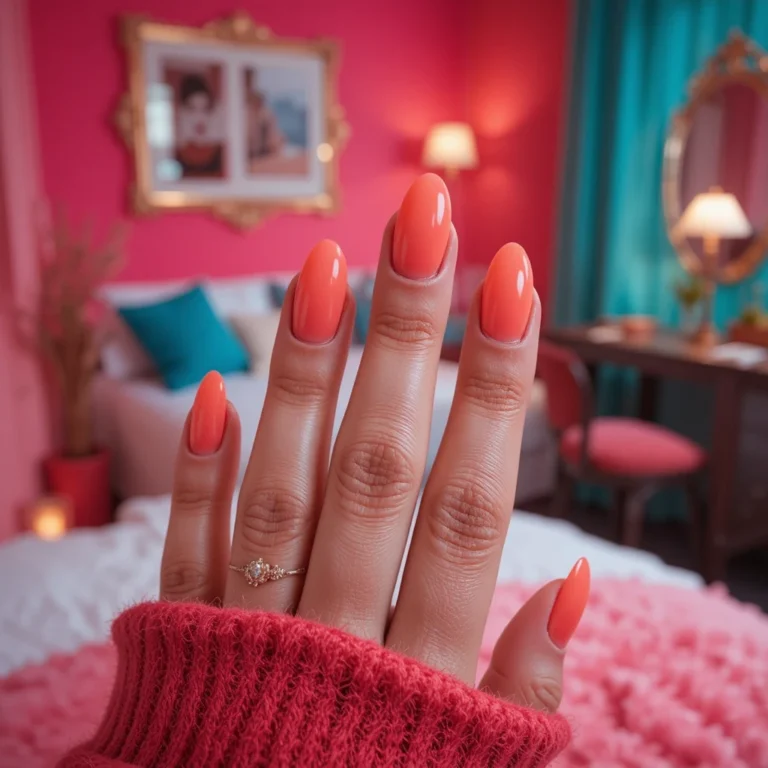
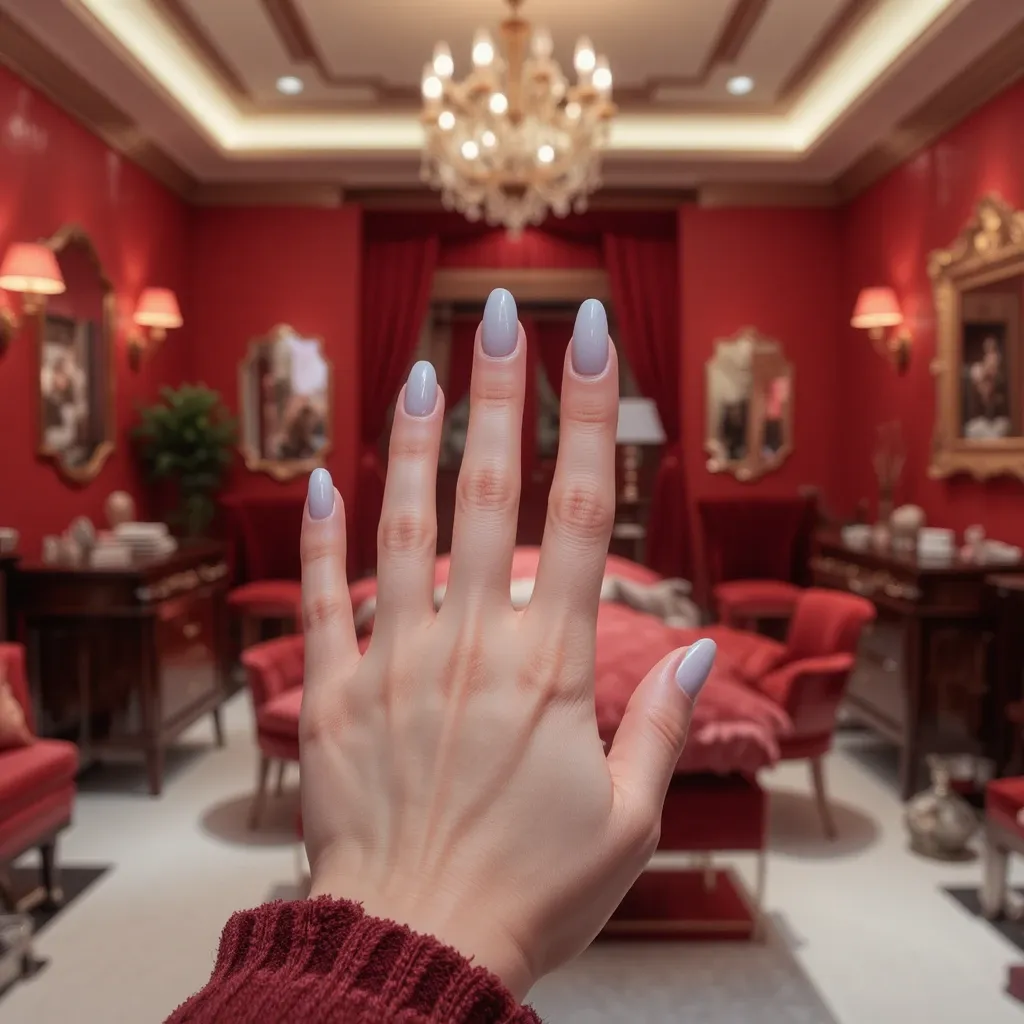
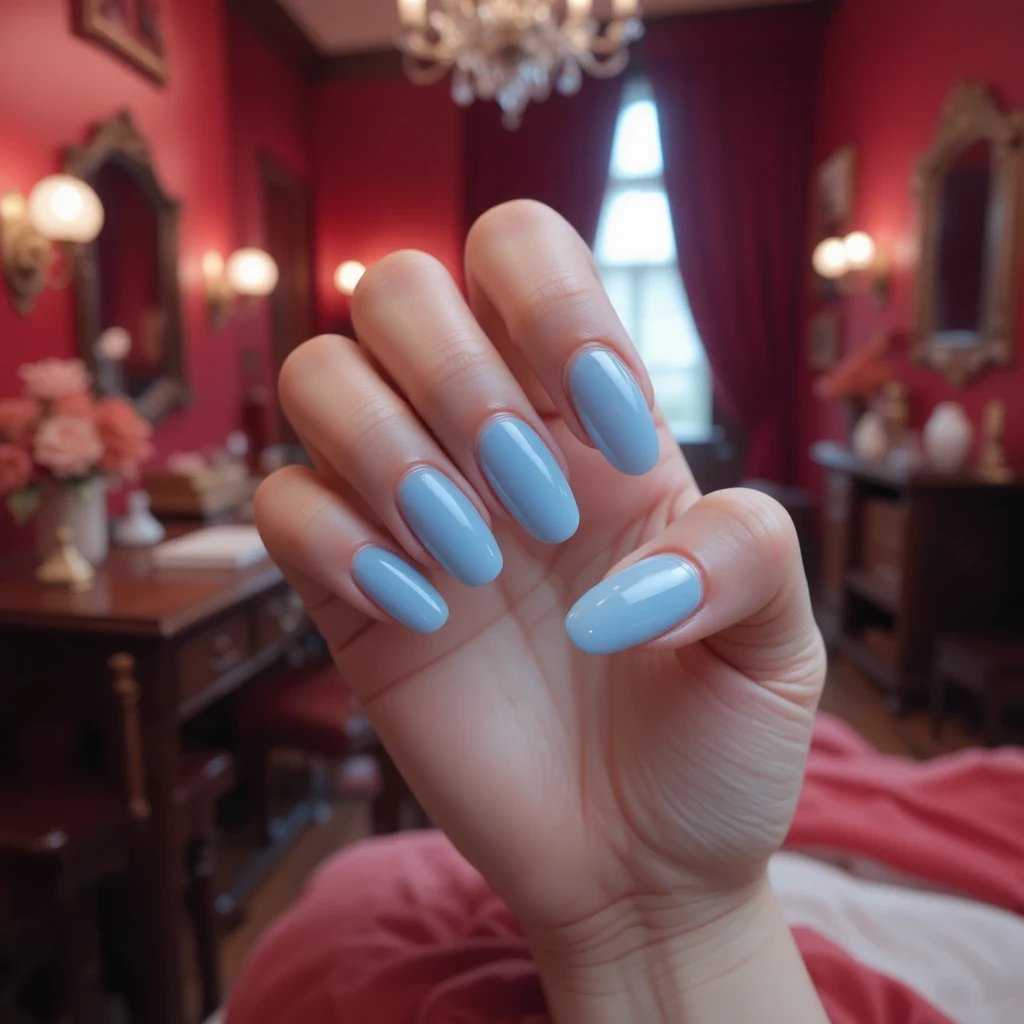
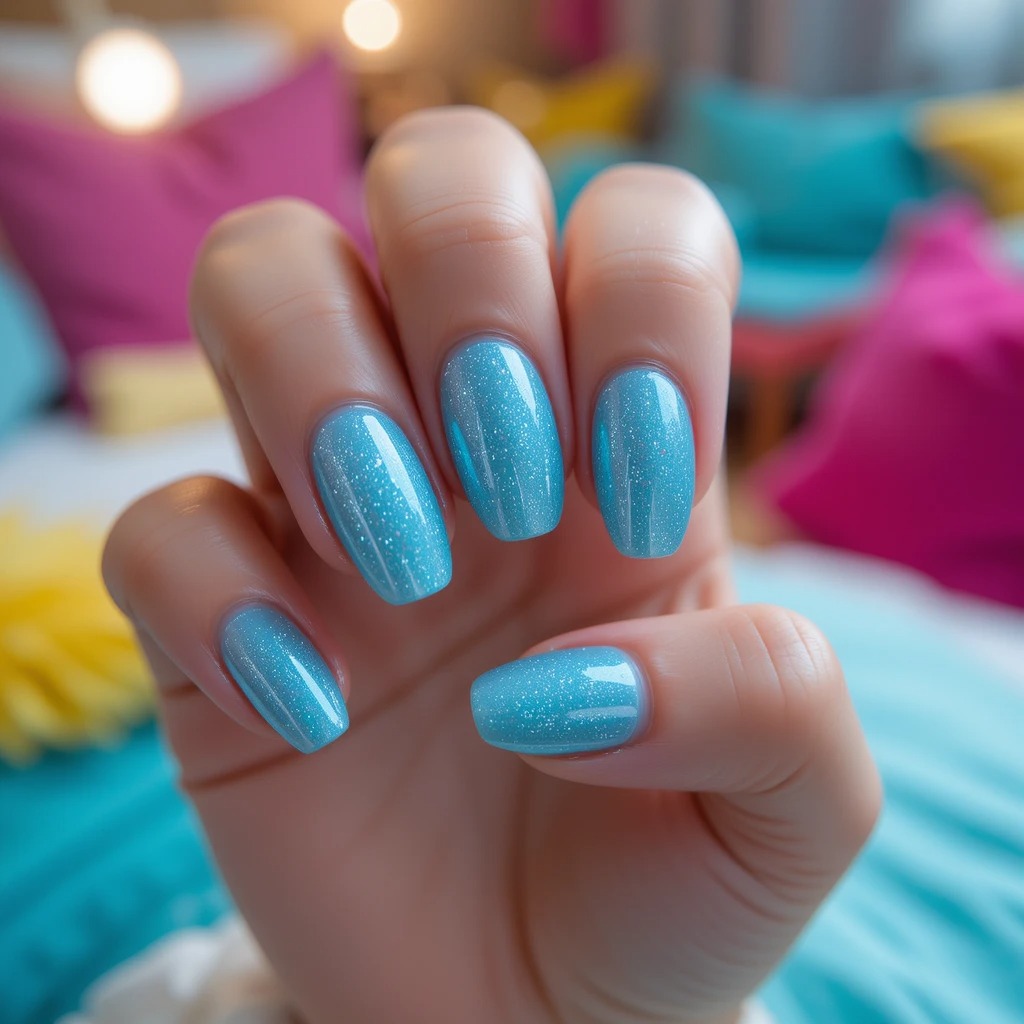
1. Classic Ice Blue Gloss
This is your quintessential winter nail—a pale, crystalline blue with a high-shine finish that catches light like fresh snow. The color sits somewhere between baby blue and silvery white, creating an ethereal, almost translucent effect. It’s clean, modern, and pairs beautifully with both casual knits and formal winter wear.
Difficulty: Beginner
Time to complete: 30-40 minutes
Best for: Anyone wanting a polished, professional winter look that works for any occasion
Why it works: The translucent quality of ice blue in glossy finish catches light like actual ice, creating dimension without any nail art
What makes it different: Three thin coats create depth that one or two thick coats can’t achieve
Step-by-Step:
- File nails to almond or oval shape using 180-grit file
- Push back cuticles after soaking in warm water for 2 minutes
- Apply one thin coat Orly Bonder base coat, let dry 2 minutes
- Apply first coat ice blue polish in thin, even strokes
- Wait 4 minutes between coats
- Apply second coat slightly thicker for coverage
- Wait 4 minutes
- Apply third thin coat focusing on tips
- Apply Seche Vite top coat, wrapping tips
- Clean up edges with brush dipped in acetone
Products: Essie “Borrowed & Blue” ($9) works perfectly for this look
2. Matte Ice Blue Minimalist
Take that same pale ice blue and give it a velvety matte finish for an ultra-modern, Scandinavian-inspired look. The matte texture adds depth and sophistication while softening the color into something almost cloud-like. This finish hides minor imperfections better than gloss and feels contemporary and fashion-forward.
Difficulty: Beginner
Time to complete: 35-45 minutes
Best for: People who want modern, Scandinavian-inspired elegance without high-maintenance shine
Why it works: Matte texture softens the blue into something cloud-like and hides minor surface imperfections
What makes it different: The velvety finish completely transforms ice blue from icy to soft
Step-by-Step:
- Buff nail surface with 240-grit buffer (light pressure, don’t over-buff)
- Apply base coat, let dry completely
- Apply first coat ice blue polish
- Wait 4 minutes
- Apply second coat ice blue
- Wait 4 minutes
- Apply third coat if needed for opacity
- Wait 10 minutes – crucial for matte finishes to avoid texture issues
- Apply one coat Essie Matte About You in smooth strokes
- Don’t touch for 15 minutes
- Apply cuticle oil heavily around edges
Products: Any ice blue + Essie “Matte About You” ($9, drugstores)
DIY Hack: Don’t have matte top coat? Lightly buff dried glossy polish with a fine buffer for similar effect.
3. Icy Blue French Tips
Update the classic French manicure with ice blue tips instead of white for a fresh, winter-appropriate twist. The pale blue creates subtle definition without the stark contrast of traditional white tips. This design works on any nail length and brings just enough color to feel special.
Difficulty: Intermediate
Time to complete: 50-60 minutes
Best for: Professional settings where you want subtle winter personality
Why it works: Colored tips feel modern and fresh while maintaining the timeless French manicure structure
What makes it different: The pale blue creates definition without the harsh white contrast that can look dated
Step-by-Step:
- Apply base coat, let dry
- Apply 2 coats sheer nude or pale pink base (Essie “Ballet Slippers”)
- Let dry 15 minutes minimum
- Apply French tip guides just below smile line
- Press down firmly, especially at curved edges
- Paint ice blue tips in 1-2 coats
- Remove guides immediately while wet
- Let dry 5 minutes
- Apply glossy top coat over entire nail
- Use angled brush with acetone to perfect smile line
Products: OPI “Put It In Neutral” ($11) for base + Essie “Borrowed & Blue” ($9) for tips
Beginner Tip: Use round reinforcement stickers from office supply stores as guides—they’re 50 cents for 200.
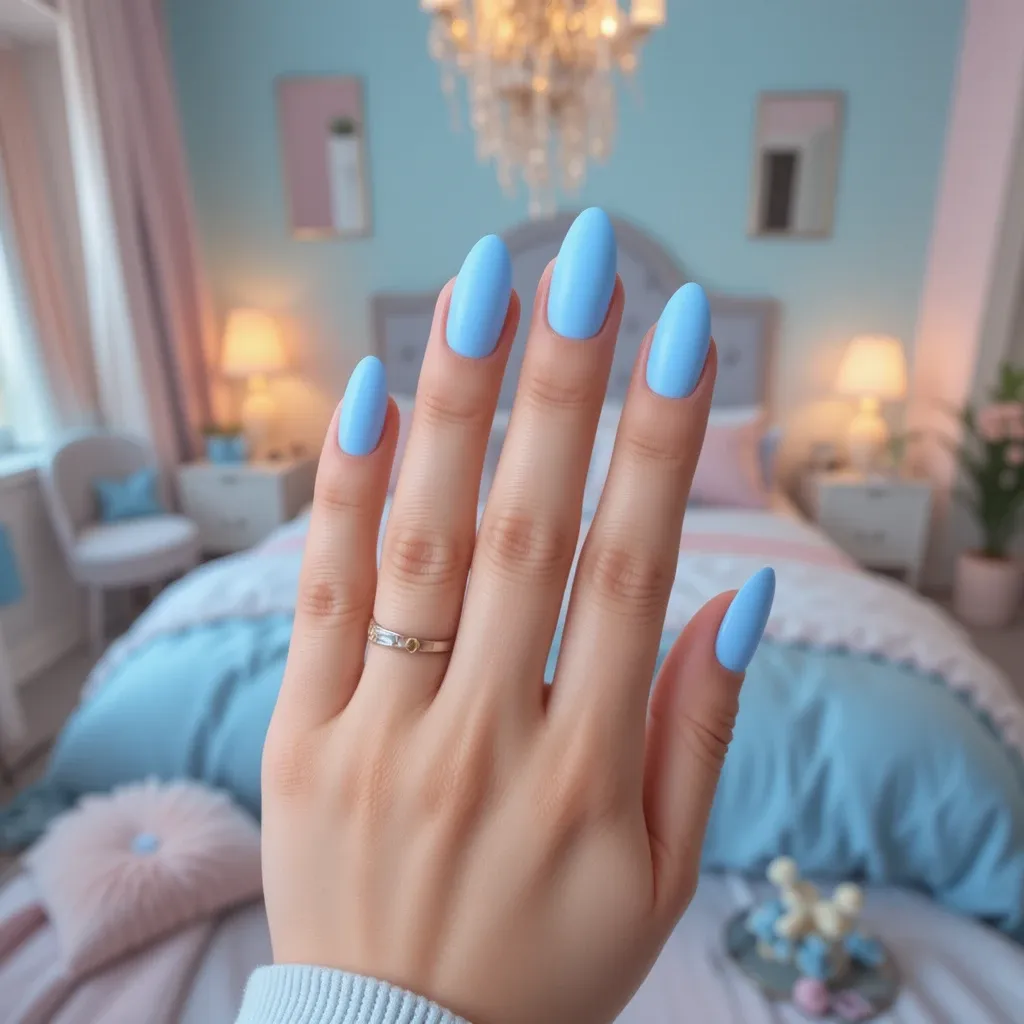
4. Sheer Ice Blue Wash
Imagine a barely-there tint of ice blue, so sheer it looks like your nails are naturally tinged with winter sky. This is the “your nails but better” approach—fresh, clean, and effortlessly elegant. The sheerness allows your natural nail to show through, creating a soft, romantic effect.
Difficulty: Beginnerv
Time to complete: 20-30 minutes
Best for: Conservative workplaces or anyone preferring “your nails but better” subtlety
Why it works: The sheerness adds just enough color to look intentional without any bold commitment
What makes it different: One coat creates a barely-there tint that looks naturally elegant, not polished-over
Step-by-Step:
- Ensure nails are well-manicured (this look shows natural nail)
- Apply base coat
- Apply ONE very thin coat sheer ice blue
- Let dry and evaluate—you may stop here
- Apply second thin coat only if desired
- Finish with clear top coat
- Apply cuticle oil
Products: Essie “Find Me An Oasis” ($9) or Zoya “Blu” ($10)—both naturally sheer
DIY Sheer Polish: Mix 1 drop ice blue + 3-4 drops clear polish on a palette for custom sheerness.
5. Ice Blue Ombré Fade
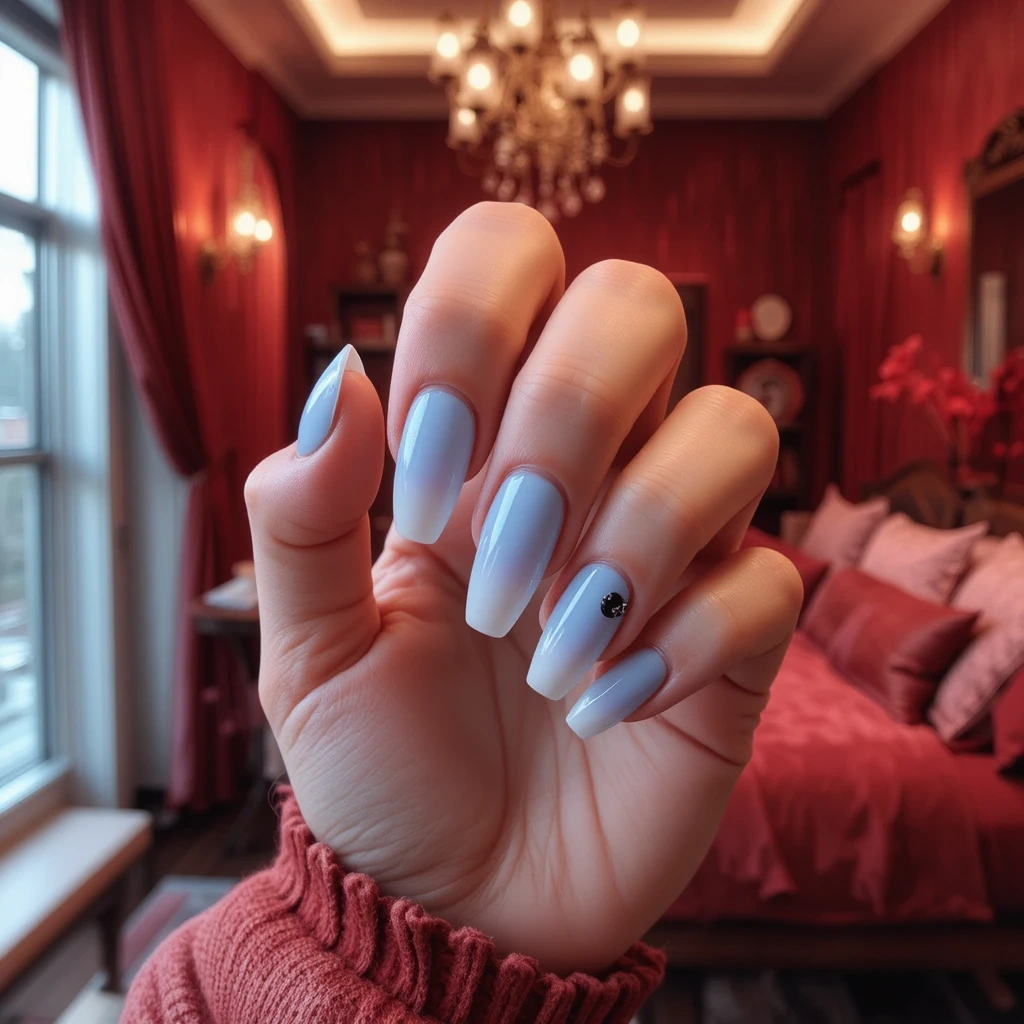
Start with deeper ice blue at the cuticle and gradually fade to almost white or clear at the tips. This creates a stunning gradient effect that feels dimensional and sophisticated, like winter sky meeting snow. The ombré technique adds visual interest without requiring intricate nail art skills or steady hands.
Difficulty: Intermediate
Time to complete: 60-75 minutes
Best for: People wanting artistic nails without hand-painting skills
Why it works: The gradient creates natural depth that elongates fingers visually
What makes it different: The sponge-blending technique creates seamless transitions polish brushes can’t achieve
Step-by-Step:
- Apply base coat
- Apply 2 coats white or pale blue base
- Let dry 10 minutes
- On palette, paint stripes: darker ice blue and white side-by-side
- Dampen makeup sponge, squeeze out excess water
- Dab sponge over polish stripes to pick up both colors
- Bounce sponge onto nail starting at cuticle (darker end)
- Repeat bouncing 2-3 times per nail
- Reload sponge and continue for all nails
- Let dry 15 minutes (gradient is thick)
- Clean up skin with acetone and brush
- Apply 2 coats glossy top coat to smooth texture
Products: OPI “I Can Teal You Like Me” ($11, darker) + OPI “Alpine Snow” ($11, white)
Common Mistake: Using dry sponge creates patchy gradient. Dampen slightly first
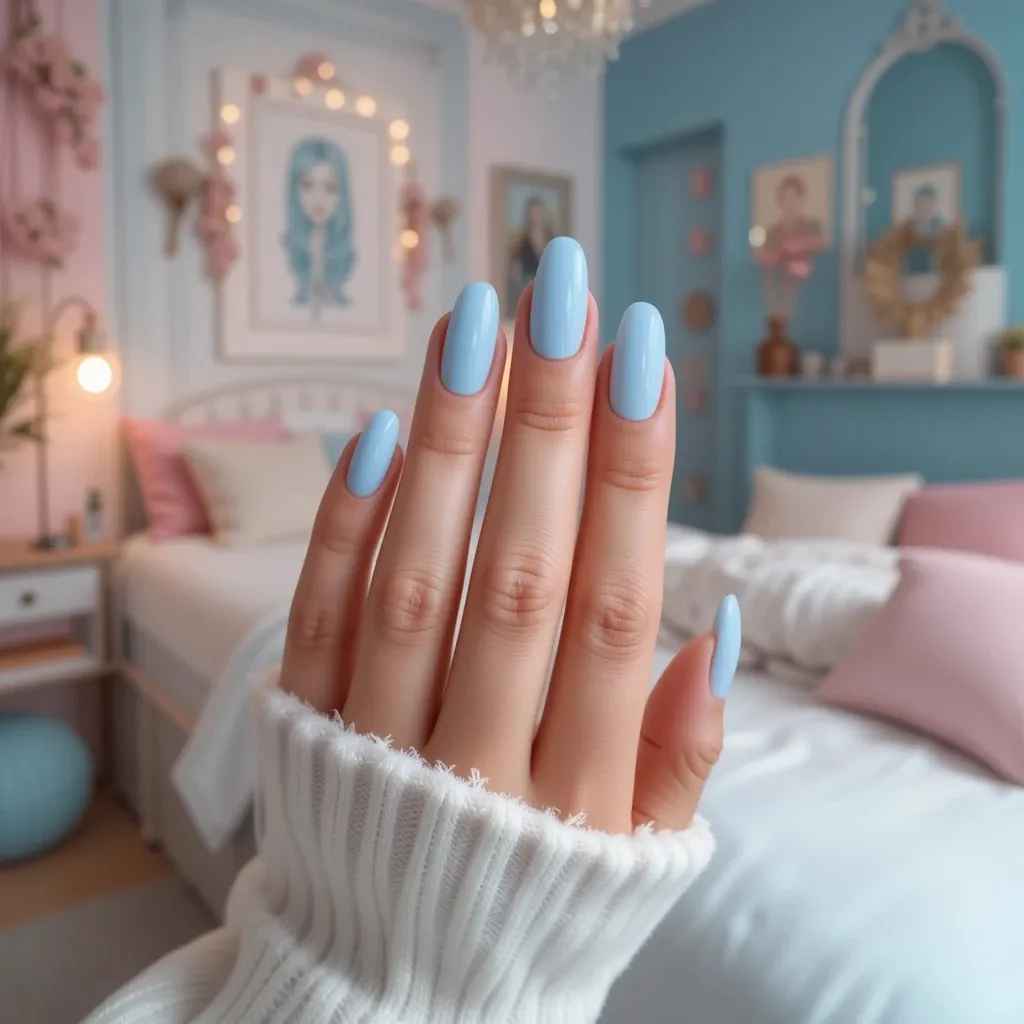
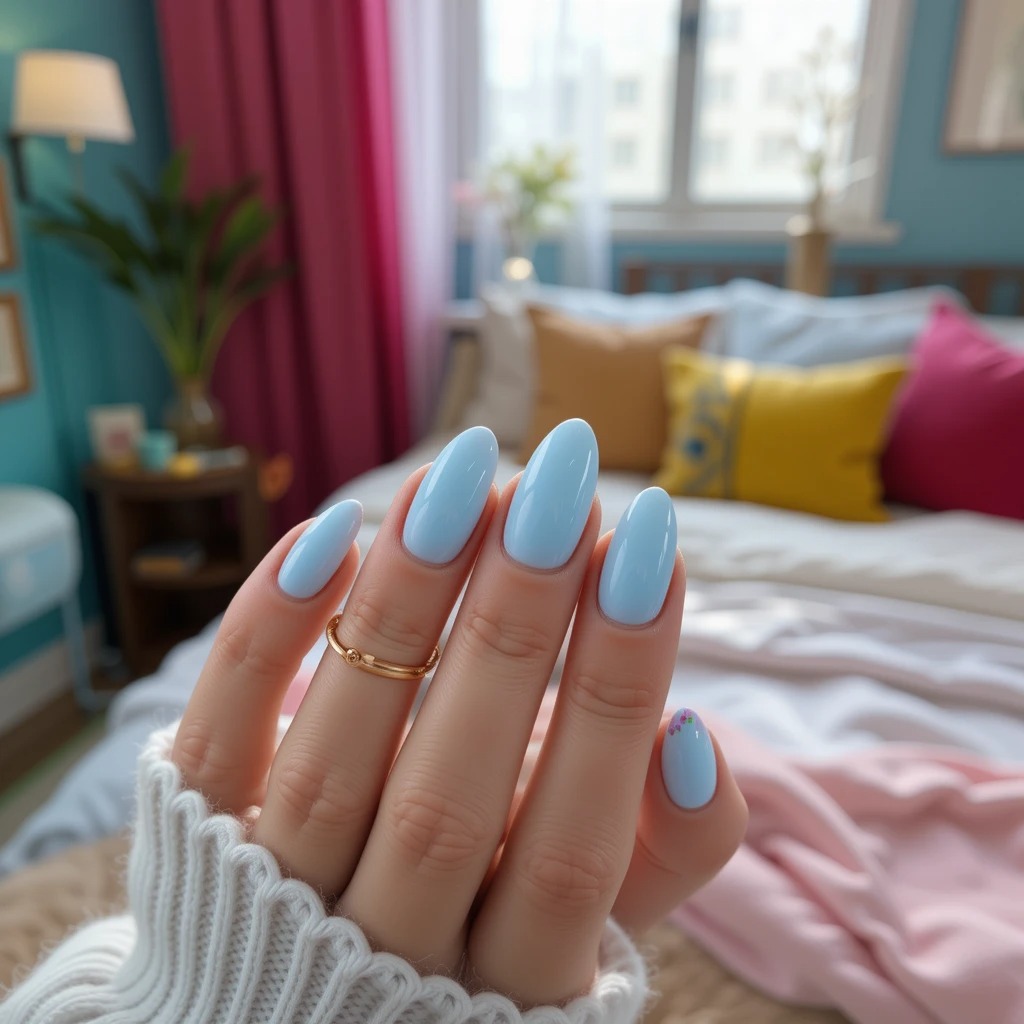
6. Powder Blue Minimalist
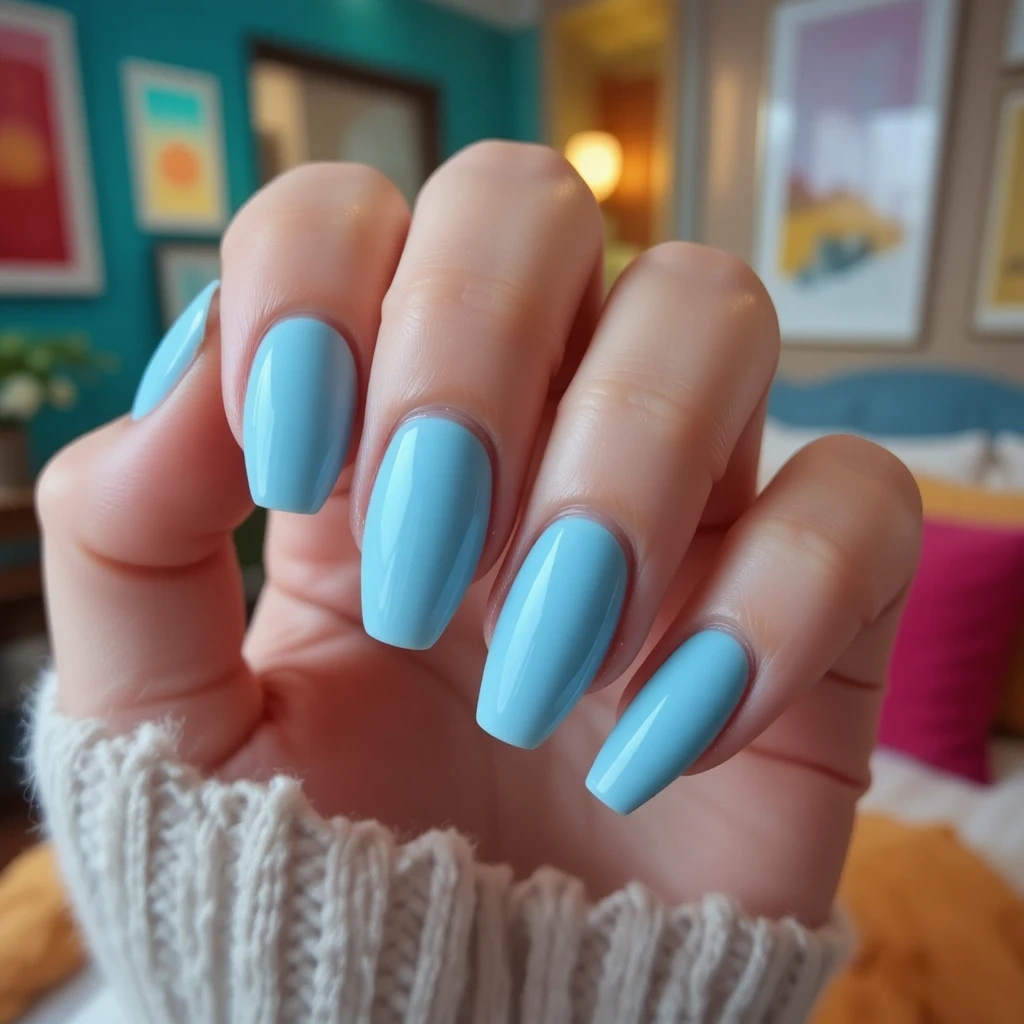
This slightly deeper version of ice blue leans toward a soft powder blue with cool undertones that feel vintage-inspired yet modern. The shade has more pigment than sheer ice blue but remains light and airy, perfect for everyday wear. It’s sophisticated enough for the office yet pretty enough for date nights and winter celebrations.
Difficulty: Beginner
Time to complete: 30-40 minutes
Best for: Everyday wear when you want visible color without going bold
Why it works: More pigment than sheer ice blue means you get full coverage in 2 coats
What makes it different: The slightly deeper tone reads as soft blue instead of icy white-blue
Step-by-Step:
- File nails to squoval (square with rounded corners)
- Push back cuticles after softening
- Apply base coat
- Apply first coat powder blue in three strokes: center, left, right
- Let dry 4 minutes
- Apply second coat for full opacity
- Seal with quick-dry top coat
- Apply cuticle oil while drying
Products: Essie “Bikini So Teeny” ($9) or Sally Hansen “Blue Me Away” ($5)
Shape Guide: File straight across, then round corners at 45-degree angle for squoval.
Chrome & Metallic Winter Magic
7. Ice Blue Chrome Mirror

This is ice blue taken to its most futuristic, attention-grabbing extreme—a full-coverage chrome finish that reflects like a frozen mirror. The metallic sheen shifts from pale blue to silver depending on the light, creating mesmerizing dimension. It’s bold, glamorous, and undeniably eye-catching without being loud or garish.
Difficulty: Advanced
Time to complete: 45-60 minutes (gel method)
Best for: Special occasions when you want maximum impact and aren’t worried about chips showing
Why it works: The mirror finish shifts from pale blue to silver in different lighting, creating mesmerizing dimension
What makes it different: Chrome powder creates true mirror reflection that metallic polish can’t achieve
Step-by-Step (Gel Method):
- Buff nails smooth with 240-grit buffer
- Apply gel base coat, cure 60 seconds LED
- Apply coat pale blue gel polish, cure 60 seconds
- Apply second coat gel, cure 60 seconds
- Apply Beetles no-wipe gel top coat, cure 60 seconds
- While nail is warm from lamp, rub chrome powder on with applicator
- Buff powder in circles until mirror-smooth
- Dust off excess with fluffy brush
- Seal with gel top coat, cure 60 seconds
- Wipe with alcohol to reveal chrome
Step-by-Step (Regular Polish Method):
- Buff nails smooth
- Apply base coat, 2 coats light blue, quick-dry top coat
- Wait until top coat is tacky (1-2 minutes)
- Rub chrome powder onto nail with applicator
- Buff to mirror finish
- Seal with top coat VERY gently
Products: Born Pretty Ice Blue Chrome Powder ($3-8, Amazon) + Beetles No-Wipe Top Coat ($8, Amazon) for gel
Beginner Tip: Start with one or two accent nails for first attempt—full chrome is unforgiving.
8. Icy Blue Metallic Shimmer
Think of this as chrome’s softer, more approachable sister—ice blue packed with ultra-fine metallic shimmer particles. The effect is luminous and dimensional without the full mirror finish, creating a frosted metallic look. It has movement and sparkle but remains wearable and sophisticated rather than costume-y.
Difficulty: Beginner
Time to complete: 30-40 minutes
Best for: Anyone wanting sparkle without glitter removal hassles
Why it works: Ultra-fine shimmer catches light from every angle but removes like regular polish
What makes it different: Packed shimmer particles create dimension without texture or grit
Step-by-Step:
- Apply base coat
- Roll shimmer polish between hands (don’t shake)
- Apply first thin coat, let shimmer settle
- Dry 5 minutes
- Apply second coat with smooth strokes (no back-and-forth)
- Dry 5 minutes
- Apply glossy top coat to amplify shimmer
- Optional: Layer shimmer over solid ice blue base for intensity
Products: OPI “This Color’s Making Waves” ($11) or Essie “Set In Stones” ($9)
Formula Fix: If shimmer polish is patchy, apply 1-2 coats solid ice blue underneath first.
9. Chrome Ice Blue Accent Nails
Keep most nails in classic ice blue gloss or matte, then add full chrome to your ring fingers only. This creates a stunning focal point without overwhelming your hands or committing to full chrome’s intensity. The contrast between finishes adds sophisticated dimension and modern edge to a simple manicure.
Difficulty: Intermediate
Time to complete: 50-60 minutes
Best for: Experimenting with chrome without full commitment
Why it works: Accent nails let you try bold finishes while keeping overall look wearable
What makes it different: The finish contrast creates dimension no single-finish manicure can match
Step-by-Step:
- Follow Classic Ice Blue Gloss steps (#1) on all nails
- Let dry 20 minutes minimum
- On ring fingers only, apply quick-dry top coat
- Wait until slightly tacky (1-2 minutes)
- Apply chrome powder to ring fingers with applicator
- Buff to mirror finish
- Seal ring fingers with top coat
- Apply another top coat layer to ALL nails for uniform shine
Products: Base color + Born Pretty Chrome Powder ($3-8)
Design Variation: Try chrome on thumb and ring finger for more balanced look.
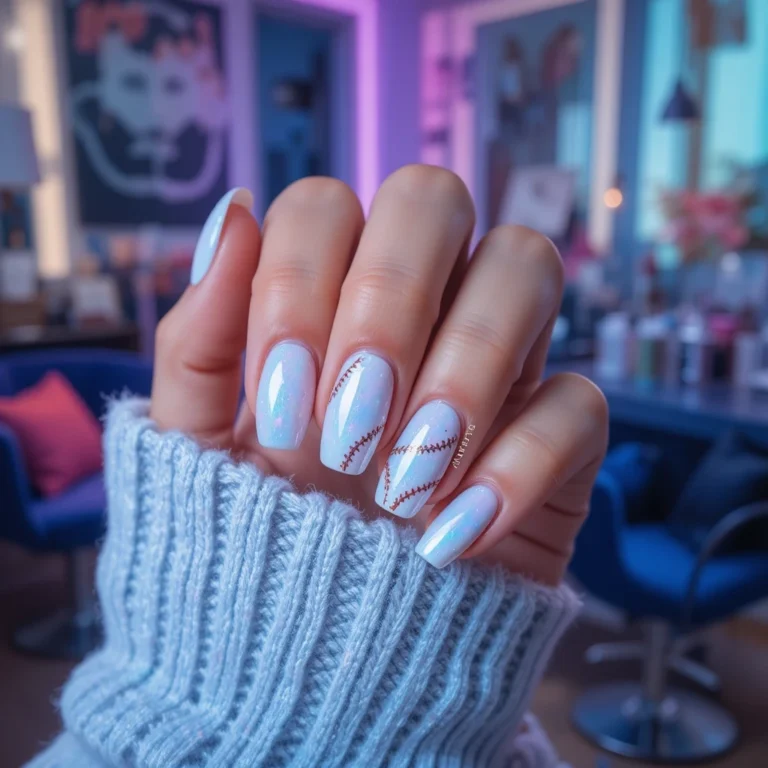
10. Icy Pearl Finish
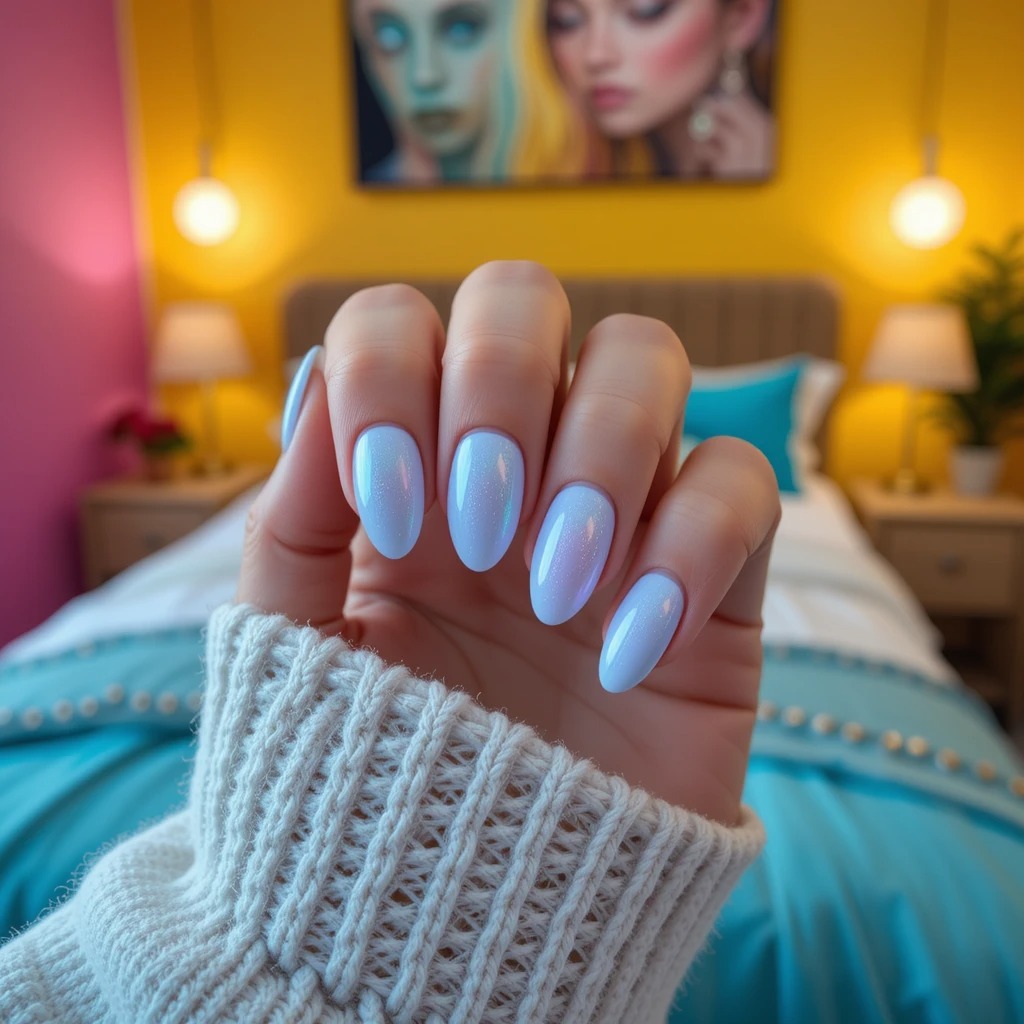
This sophisticated finish combines ice blue with an iridescent pearl effect, creating subtle color shifts between blue, silver, and lavender. The pearl sheen is softer than metallic but more complex than simple shimmer, offering understated luxury. It looks expensive and refined without trying too hard or appearing overly trendy.
Difficulty: Beginner
Time to complete: 35-45 minutes
Best for: People wanting subtle iridescence without full shimmer or glitter
Why it works: Pearl creates soft color shifts between blue, silver, and lavender that feel expensive
What makes it different: Iridescence is softer than metallic but more complex than regular shimmer
Step-by-Step:
- Apply base coat
- Shake pearl polish well (particles settle fast)
- Load brush with good amount for even distribution
- Apply first coat in smooth strokes without over-brushing
- Dry 5 minutes
- Apply second coat slightly thicker
- Optional: Layer pearl over solid ice blue for intensity
- Top with glossy coat to enhance iridescence
Products: Zoya “Monet” ($10) or Essie “Virgin Snow” ($9)
Layering Technique: Apply 2 coats solid ice blue + 1-2 coats pearl top coat for maximum shift.
Pros and Cons of Ice Blue Winter Nails
Pros ✅
- Universally flattering across all skin tones – The cool undertone works with both warm and cool skin
- Elongates fingers visually – Light colors create length illusion unlike dark shades
- Hides chips better than dark colors – When ice blue chips, it’s less obvious than burgundy or navy
- Professional-appropriate in most finishes – Matte, glossy, and sheer work for conservative offices
- Photographs beautifully – The pale shade looks crisp in photos, not washed out
- Versatile across finishes – Works in chrome, matte, glossy, shimmer, or glitter
- Coordinates with winter wardrobe easily – Pairs with grays, blacks, navies, whites
- Brightens hands in dim winter light – Light color reflects available light better than dark shades
- Lower maintenance than dark shades – No visible nail line as nails grow out
Cons ❌
- Sheer formulas require 3-4 coats for opacity – Adds 15-20 minutes to application time
- Shows staining from some products easily – Self-tanner and certain foods can discolor pale polish
- Chrome finish requires LED lamp investment – $30-80 upfront for proper chrome application
- Glitter variations take 15-20 minutes to remove – Requires acetone soaking and scrubbing
- Can look washed out on very pale skin without contrast – May need slightly deeper powder blue instead
- Matte finish highlights nail surface imperfections – Requires thorough buffing prep or ridges show
- Crystal accents pop off with handwashing – Expect to lose 1-2 crystals per week
- Complex nail art designs take 2-3 hours – Color blocking and marble require significant time investment
- Gel removal damages nails if done incorrectly – Must soak properly and not force off
- Limited color depth – If you prefer dramatic, moody nails, ice blue may feel too light
Common Mistakes and How to Fix Them
Mistake 1: Streaky, Patchy Ice Blue Application
What it looks like: Visible brush strokes, uneven color with light and dark patches, especially noticeable in pale shades.
Why it happens: Ice blue formulas are often sheer and require thin coats. Thick application or over-brushing disturbs the first layer and creates dragging.
How to fix it:
- Apply 3-4 THIN coats instead of 2 thick ones
- Let each coat dry 5 minutes before next application
- Don’t go back over areas once polish starts to dry
- Use three-stroke method: center, left side, right side—then leave it alone
- For very sheer formulas, apply white base coat first
How well this works: The thin coat method eliminates streaking 95% of the time in my experience. The white base underneath is a game-changer for sheer formulas.
Mistake 2: Chrome Powder Won’t Stick or Looks Patchy
What it looks like: Chrome has bald spots, won’t buff to mirror finish, or rubs off completely.
Why it happens: The base layer wasn’t tacky enough, you waited too long after applying top coat, or the base coat had a wipe layer that needed removing.
How to fix it:
- For gel: Use specifically no-wipe gel top coat as chrome base
- Apply chrome while base is still warm from LED lamp
- For regular polish: Apply chrome when top coat is tacky (1-2 minutes after application)
- Buff chrome powder more aggressively in circular motions
- If it won’t stick at all, remove everything and start over with proper no-wipe base
How well this works: Using the right no-wipe top coat solves this issue almost every time. The timing window is narrow with regular polish (maybe 30-60 seconds), so gel is more forgiving.
Mistake 3: Glitter Gradient Looks Chunky and Uneven
What it looks like: Distinct lines between glitter sections instead of smooth fade, or glitter concentrated in blobs instead of evenly distributed.
Why it happens: Sponge was too dry, you applied too much polish at once, or you didn’t blend while polish was still wet.
How to fix it:
- Dampen makeup sponge slightly before applying (squeeze out excess)
- Build gradient in 4-5 thin layers instead of 2 thick ones
- Blend each layer while still wet—don’t wait until dry
- Use dabbing/bouncing motion, not wiping
- If already dry and chunky, remove with acetone and restart
- For temporary fix, apply 2-3 thick top coats to smooth texture
How well this works: The damp sponge technique fixes this completely. The temporary top coat fix helps smoothness but won’t fix color distribution issues.
Mistake 4: Ice Blue Yellowing After a Few Days
What it looks like: Pale blue turns slightly green-tinted or dingy yellow, especially around edges and cuticles.
Why it happens: No base coat used, low-quality top coat oxidized, or exposure to UV light, self-tanner, or certain chemicals.
How to fix it:
- Prevention: ALWAYS use quality base coat (Orly Bonder or OPI)
- Prevention: Use quick-dry top coat that resists yellowing (Seche Vite)
- Prevention: Avoid self-tanner for 24 hours after application
- If already yellowed: Remove and reapply—yellowing can’t be reversed
- Going forward: Reapply top coat every 3 days to create fresh protective layer
How well this works: Base coat prevents 90% of yellowing issues. Once yellowing happens, there’s no fix except removal and starting over.
Mistake 5: Snowflake or Detail Art Looks Blobby and Messy
What it looks like: Snowflakes have thick, uneven lines instead of delicate details, or white polish bled into ice blue base.
Why it happens: Detail brush was too large, polish was too thick, you applied too much pressure, or the base coat wasn’t fully dry.
How to fix it:
- Use size 00 or 000 detail brush (smaller than you think you need)
- Thin white polish with 1 drop polish thinner if it’s goopy
- Wipe excess polish off brush before painting
- Use very light pressure—let brush tips do the work
- If design is already blobby: Dip clean brush in acetone and gently “erase” mistakes before they dry
- For dried mistakes: Apply another coat of ice blue over area and try again once dry
How well this works: The acetone “eraser” technique works perfectly if you catch it within 30 seconds. Once dry, you’ll need to cover and redo.
Mistake 6: Matte Top Coat Makes Ice Blue Look Streaky
What it looks like: Matte finish shows obvious brush strokes, or some areas look more matte than others with glossy patches.
Why it happens: Base color wasn’t completely dry before matte coat, you over-brushed the matte coat, or you used thick matte coats instead of thin.
How to fix it:
- Wait 10-15 minutes after final color coat before matte top coat
- Apply matte coat in ONE smooth stroke per section—don’t go back over it
- Use thin coat of matte top coat, not thick
- If already streaky and wet: Remove matte coat with acetone and reapply
- If already dry: Apply another thin coat to even out texture
How well this works: Waiting the full 15 minutes prevents this 100% of the time. The second thin coat fix works about 60% of the time—sometimes you need to remove and start fresh.
What Happens After 2-4 Weeks? Real Wear Test
I wore ice blue nails in various finishes over a full winter to see how they actually held up. Here’s the honest timeline:
Days 1-7: The Honeymoon Phase
Glossy ice blue looked perfect for the full first week. The light color meant chips at tips weren’t obvious like they would be with dark polish. I reapplied top coat on day 4, which kept the shine bright. Chrome started showing tiny wear spots where I typed constantly (index and middle fingers) around day 5, but from a distance it still looked good. Matte finish collected tiny particles in the texture by day 3 but was still wearable. Glitter gradient held up surprisingly well—no glitter loss.
Days 8-14: Reality Sets In
Tip wear became visible on my dominant hand—the ice blue had worn down to bare nail on the very edges. Growth line was about 2mm at cuticles but barely noticeable thanks to the light color. Chrome had visible scratches on thumbs and index fingers from phone use and typing. I lost 2 out of 12 crystal rhinestones from washing hands. Matte started looking dull and slightly dingy around cuticles. Glitter still intact but top coat was no longer smooth—needed another layer.
Days 15-21: Pushing It
Growth line at 3-4mm but still less obvious than it would be with dark polish. Tips were definitely worn on dominant hand—bare nail showing on 3-4 fingers. Chrome looked legitimately scratched and worn, no longer mirror-like on most-used fingers. Lost 3 more crystals (5 total gone out of 12). Matte had a slight shine to it from natural oils. Glitter gradient still looked decent but edges were rough. I wouldn’t wear these to a nice event at this point, but they were fine for everyday.
Days 22-28: Time to Change
Growth line very obvious at 4-5mm. Tips worn through completely on 6 out of 10 nails. Chrome was scratched and dull—looked bad, honestly. Lost 2 more crystals (7 total missing). Matte had reverted to semi-gloss in high-contact areas. Glitter was the best performer—still looked acceptable with fresh top coat. At this point, even though ice blue hides wear better than dark colors, the manicure looked noticeably grown out and tired.
What Lasted Best: Simple glossy ice blue and glitter gradient
What Failed First: Chrome (scratched badly by week 2), crystal accents (lost over half)
Honest Assessment: 2 weeks is the sweet spot for ice blue. You can push to 3 weeks if needed, but it won’t look polished.
Maintenance Tips for Ice Blue Winter Nails
Days 1-3: Protect Your Fresh Manicure
Avoid water for 2 hours after application. Polish may feel dry, but it’s still curing underneath. I learned this the hard way when sheet marks appeared on day-old polish after showering too soon.
Reapply cuticle oil 2-3 times daily. Use CND Solar Oil ($8-12, Amazon) or jojoba oil. The moisture prevents cuticles from drying and lifting polish edges. Apply after washing hands and before bed minimum.
Wear gloves for any cleaning or dishes. Even gentle dish soap breaks down polish faster than you’d think. I keep Playtex Living Gloves ($4, drugstores) under every sink.
Days 4-7: Maintain the Shine
Reapply top coat on day 4. This single step extends wear by a full week in my experience. Use the same top coat from original application—Seche Vite ($10) is my go-to.
Moisturize hands constantly. Keep O’Keeffe’s Working Hands ($8, drugstores) everywhere—desk, purse, car, bedside. Apply every time you wash hands. Dry skin causes polish to lift at cuticles.
File down any chips immediately. Don’t wait. Use a fine 240-grit file to smooth the chip, apply a thin coat of matching polish, then top coat. Takes 3 minutes and prevents spreading.
Days 8-14: Combat Wear
Apply top coat again on day 8-10. Twice-weekly top coat refresh keeps glossy finishes looking new and smooths glitter textures.
Check chrome and crystal accents. Gently press down any lifting chrome edges and reapply top coat over them. Replace any lost crystals or embrace the minimalist look.
Push back cuticles gently. Growth shows more at 2 weeks. Use wooden cuticle stick after shower when cuticles are soft. Never cut—just push back.
Days 15-21: Extend If Needed
Honestly assess if they still look good. At this point, your manicure is wearing thin. If you have an important event, change them. For everyday wear, they’re probably still acceptable.
Touch up tips with matching polish. If tips have worn through, apply thin coat just to tips, blend slightly, and top coat everything.
Consider switching to gel next time. If you consistently want 3-week wear, regular polish won’t cut it. Beetles Gel Polish ($8-10, Amazon) lasts 3-4 weeks without this level of maintenance.
Chrome-Specific Maintenance
Don’t expect chrome to last beyond 10-14 days. It scratches easily. Phone use, typing, and washing dishes all dull the mirror finish. This is normal.
Buff out minor scratches carefully. On days 5-7, you can sometimes buff very gently with chrome powder applicator to restore some shine. After that, scratches are too deep.
Glitter-Specific Maintenance
Apply thick top coat every 5 days. Glitter texture breaks through top coat faster than regular polish. Essie Gel Setter ($10) is thick enough for this.
Don’t pick at loose glitter pieces. You’ll create bigger chips. File smooth instead and top coat.
FAQ
Q: Does ice blue nail polish work on short nails?
Yes, ice blue actually works better on short nails than most dark colors. The light shade creates a visual length illusion without requiring actual long nails. I recommend sticking with Classic Ice Blue Gloss (#1), Sheer Ice Blue Wash (#4), or Powder Blue Minimalist (#6) on shorter lengths. Avoid heavy glitter or complex nail art that can overwhelm small surface areas—those need medium to long nails to shine.
Q: How do I remove chrome powder nails without damaging my nails?
For gel chrome: Soak cotton pads in pure acetone, press onto nails, wrap each finger in aluminum foil, and wait 15 minutes. The chrome and gel should slide off with gentle pressure from a cuticle stick—never force it. For regular polish chrome: Regular acetone removes it like any polish, though you may need to scrub a bit more. The key is patience. I ruined my nails once trying to peel off gel chrome—don’t make my mistake.
Q: Why does my ice blue polish look streaky no matter what I do?
Pale blue formulas are naturally sheer, which makes streaking more visible than with opaque colors. Apply 3-4 thin coats instead of 2 thick ones, waiting 5 minutes between each coat. Don’t go back over areas once polish starts to dry—this disturbs the layer and creates dragging.
If your specific formula is impossible to work with even with thin coats, apply one coat of white polish as a base first (OPI “Alpine Snow” works great). This gives the ice blue something opaque to grip and eliminates streaking almost completely.
Q: How long does ice blue chrome actually last compared to regular ice blue polish?
In my experience, ice blue chrome lasts about 10-14 days before it looks noticeably scratched and worn, while regular ice blue polish lasts about 14-21 days looking decent. Chrome scratches easily from typing, phone use, and daily activities—the mirror finish is gorgeous but not durable.
If longevity is your priority, stick with regular glossy or matte ice blue. Save chrome for special occasions or when you don’t mind changing it after 10 days.
Embrace Your Frosty Winter Glow
Ice blue nails offer the perfect combination of elegance, versatility, and seasonal appropriateness for winter. Start with the Classic Ice Blue Gloss (#1) or Sheer Ice Blue Wash (#4) if you’re new to the shade—both are beginner-friendly and universally flattering.
Once you’re comfortable, experiment with chrome, glitter, or nail art using the step-by-step instructions provided. Save this guide for reference when you need product recommendations or troubleshooting help—I’ve included everything I wish I’d known before spending $200 figuring this out through trial and error.