How to Do Nail Art on Your Non Dominant Hand
Let’s be honest — you can do a flawless design on your right hand, then switch to your left and it looks like a toddler got hold of your nail polish. It’s one of the most frustrating parts of doing your own nails, and almost nobody talks about why it actually happens or how to genuinely fix it.
This isn’t a “just practice more!” article. I’m going to walk you through exactly what trips people up and what actually makes a difference — including a few things I wish someone had told me way earlier let jump to How to Do Nail Art on Your Non Dominant Hand
Why Your Non-Dominant Hand Looks So Different
It’s not just about being “bad” with your weaker hand. There are three real reasons this happens:
1. Grip and angle are completely different. Your dominant hand naturally holds the brush at a comfortable angle. Your non-dominant hand tends to hold it stiffer, more vertical, or slightly twisted — which changes how the bristles touch the nail. Even a few degrees off makes a visible difference.
2. You can’t feel the pressure. With your dominant hand, you feel through the brush. With the other, you’re kind of guessing. This leads to pressing too hard (which drags the polish) or too light (which leaves gaps).
3. Your non-dominant wrist doesn’t pivot the same way. Most nail art strokes involve a small wrist rotation. Your dominant wrist does this naturally. Your other wrist is stiff and fights you.
The fix isn’t “get better” — it’s changing how you set up and approach that hand entirely.
Step-by-Step: How to Actually Do It
Step 1: Reposition your body, not just your hand
Most people try to bring the brush to their hand. Instead, bring your hand to a stable position and keep it there.
Rest your non-dominant hand flat on a table with your fingers slightly spread. Place a folded towel or a nail rest under your wrist so it’s elevated slightly — about an inch off the surface. This stops the wobble that kills your lines.
Step 2: Change how you hold the brush
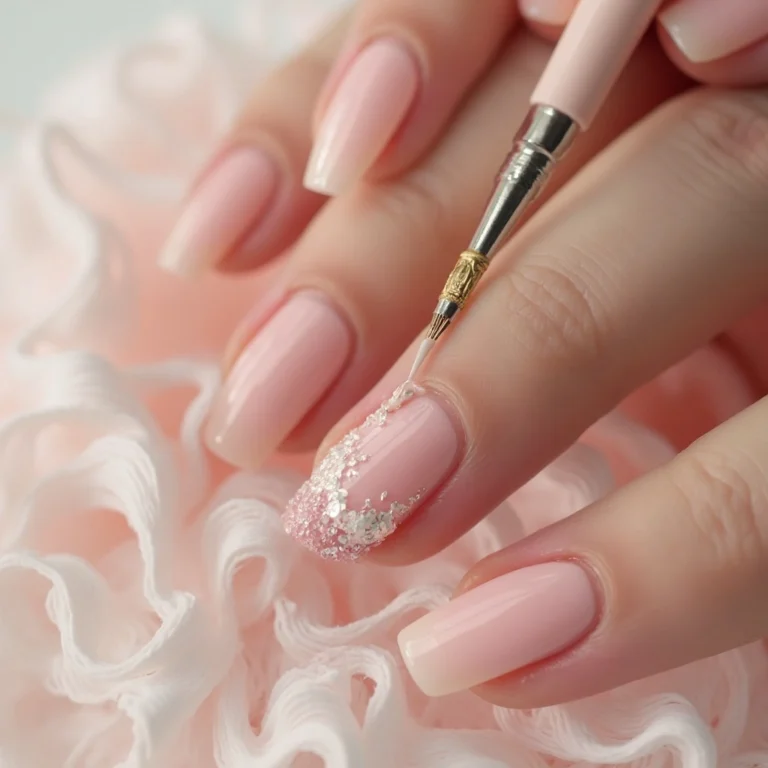
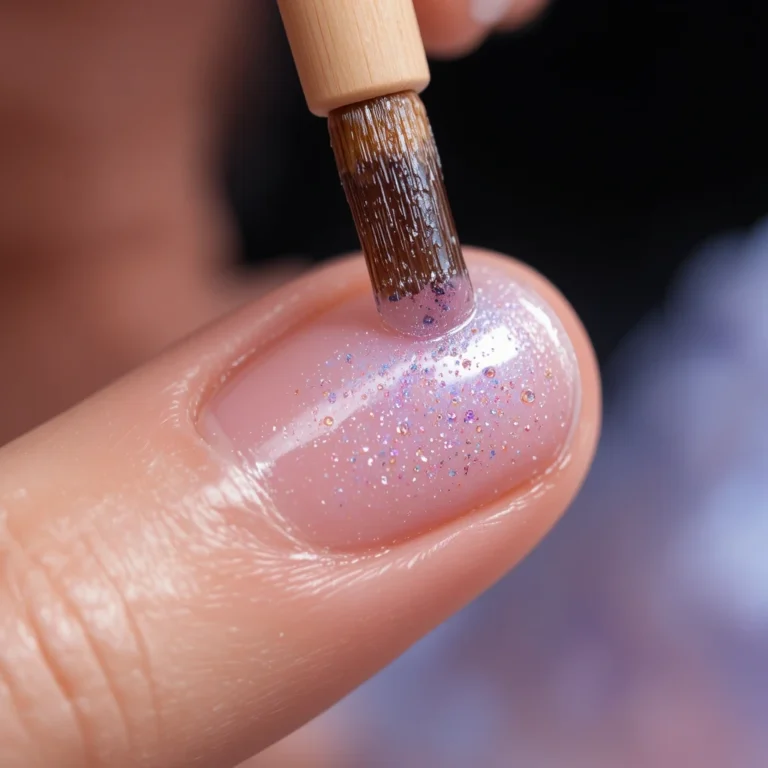
Don’t grip the brush like a pen. Hold it closer to the ferrule (the metal part), loosely, between your thumb and index finger. Let it rest against your middle finger. This gives you control without tension.
For your non-dominant hand specifically, try holding the brush lower than you normally would — almost horizontal to the nail surface. It feels weird but gives you far more control.
Step 3: Use your whole arm, not your fingers
This is the thing nobody says. When painting your dominant hand’s nails, your fingers do the work. On your non-dominant, your fingers are too stiff. Instead, make the stroke with a small movement from your elbow, keeping your wrist locked. It sounds strange but it works — the movement becomes more controlled and less shaky.
Step 4: Work smaller
Break every stroke into shorter segments. Instead of one long line, do two or three short ones that connect. Your non-dominant hand can handle short, deliberate movements much better than long sweeping ones.
Step 5: Do a “dry run” first
Before touching polish to nail, do the exact motion you’re about to make — in the air, about an inch above the nail. One or two rehearsal strokes helps your hand learn the path before committing to it. Sounds silly, takes 3 seconds, makes a real difference.
Step 6: Go slower than feels natural
Your brain wants to rush through the hand it finds awkward. Resist it. Slow down to about half the speed you use on your dominant hand. You’ll have better control and fewer dragged edges.
Common Mistakes (And What’s Really Going Wrong)
Mistake: You keep smudging the wet base coat. This happens because your non-dominant hand is positioned awkwardly and your palm or another finger brushes the nail. Fix: let each nail dry fully before moving to the next one on that hand. I know it’s tempting to rush, but even 60 seconds of waiting prevents most smudges.
Mistake: Your lines come out wobbly even when you’re going slow. Usually this means you’re holding your breath and tensing up. It sounds like advice from a yoga class, but actually exhale slowly as you make the stroke. Tension travels straight into your hand.
Mistake: The design looks “heavier” or bolder on the non-dominant hand. This is a pressure issue — you’re pressing harder because you feel less in control. Try using less polish on the brush and doing two light passes instead of one heavy one.
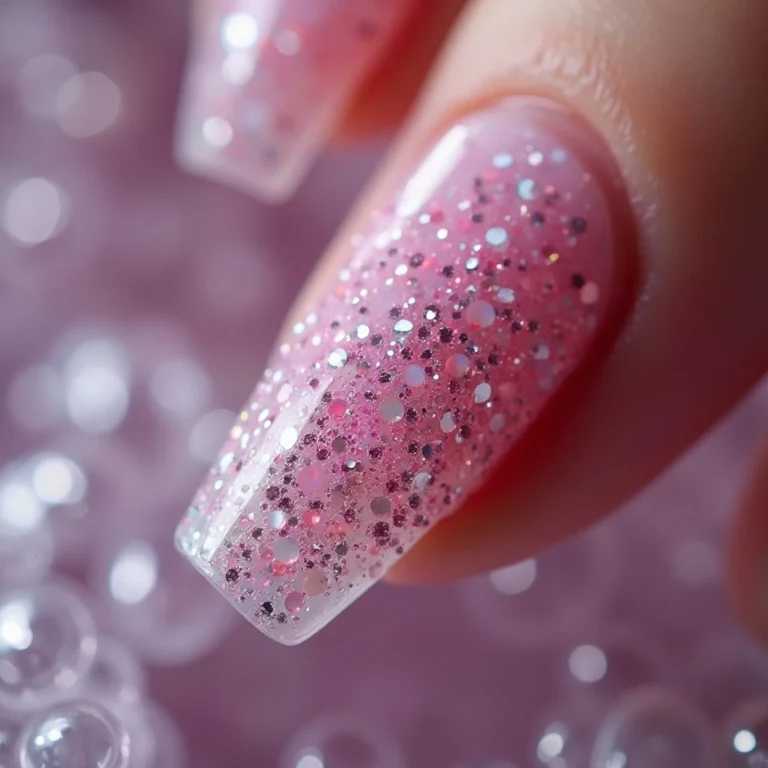
Mistake: You give up halfway and just do a plain color on that hand. We’ve all done this. But if you’re attempting something like [chrome nails or a gradient](internal link suggestion #1 — link to your chrome nails or ombré tutorial here), doing a simplified version on the non-dominant hand is better than nothing. A half-moon or a single accent nail on that hand is a legitimate design choice, not a failure.
What to Expect After You Try This
Be realistic: the first time you apply these techniques, your non-dominant hand will still look slightly less polished. That’s normal. The goal at the start isn’t perfection — it’s reducing the gap.
Within 3 or 4 attempts applying these methods, most people notice their non-dominant hand goes from “obviously worse” to “mostly matches.” The big breakthroughs usually happen at the wrist positioning stage and the elbow-stroke method.
You probably won’t get them identical every single time, and honestly? That’s fine. Real nail salons don’t produce identical results on both hands either. Close is good enough for most designs.
Extra Tips That Actually Make a Difference
Use a thinner consistency for your non-dominant hand. Add one drop of nail polish thinner to your polish before doing that hand. Thinner polish is more forgiving — it self-levels a little and hides small brush strokes better.
Natural light is your friend. Artificial light creates shadows that hide problems until you step outside. If possible, do your non-dominant hand near a window. You’ll catch issues while they’re still fixable.
Your thumbnail is your warm-up nail. The thumbnail is the easiest nail to paint on your non-dominant hand because it’s the flattest and largest. Start there to get your hand used to the motion before moving to the trickier smaller nails.
Nail stamping is your secret weapon for that hand. If you’ve been wanting to try nail stamping, your non-dominant hand is the perfect use case. The stamp does the design for you. [Check out this beginner guide to nail stamping](internal link suggestion #2 — link to a stamping tutorial if you have one) if you haven’t tried it yet.
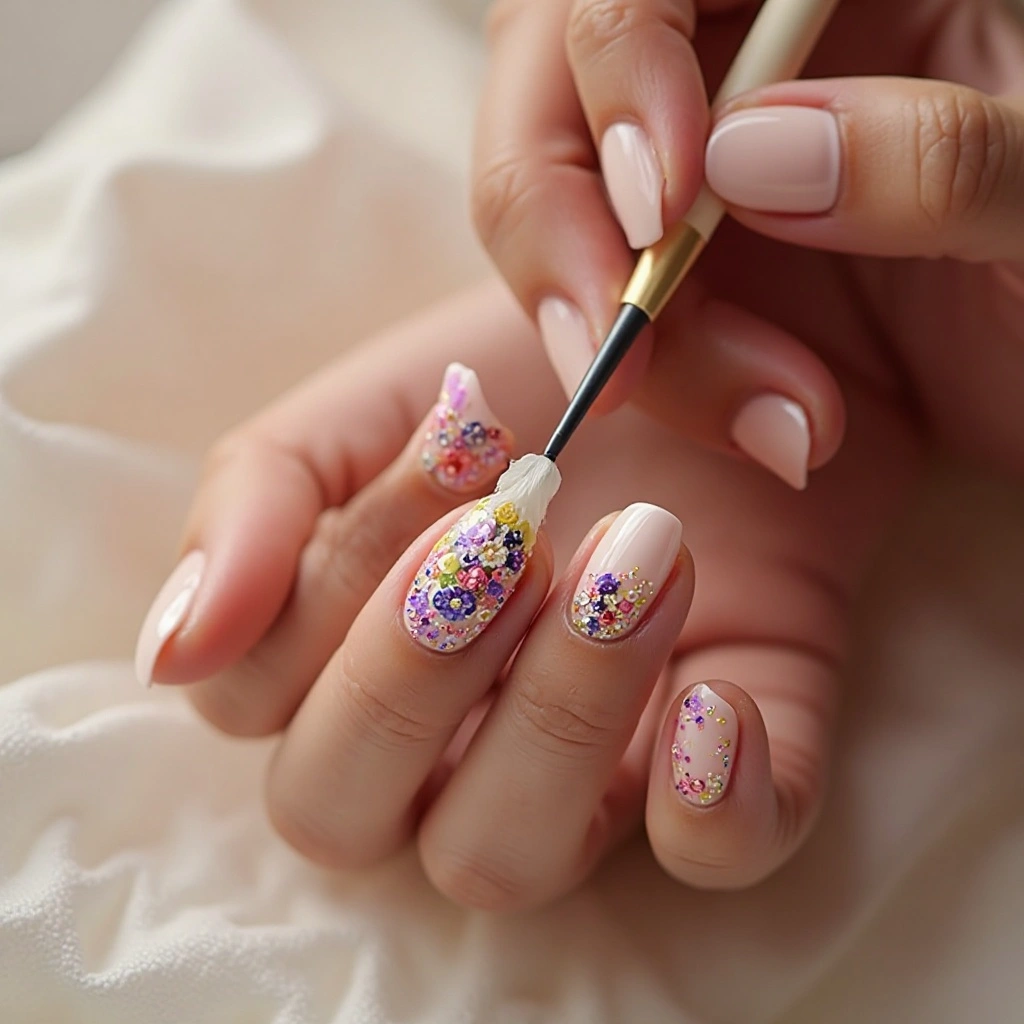
For detailed nail art like florals or geometric designs, do the major background or base design first, then add details last when your hand has already warmed up. Trying to do fine details cold on an unfamiliar hand rarely ends well.
If you’re working on something like [a step-by-step ombré nail tutorial](internal link suggestion #3 — link to ombré or sponge gradient tutorial), the sponge technique actually works quite well on the non-dominant hand since it doesn’t require precise brush control at all — worth trying if you want something that looks impressive without the struggle.
FAQs
Q: Should I use my dominant hand to paint my non-dominant, or the other way around?
You should use your dominant hand to paint both — meaning your dominant hand holds the brush and does the work while the non-dominant hand stays still. The issue is the non-dominant hand is the one being painted, so it’s often positioned awkwardly. The tips above are all about making that receiving hand more stable, not about switching which hand paints.
Q: Does a nail art pen help with the non-dominant hand?
Sometimes, yes — but only for detail work. Nail art pens feel more like writing, which your dominant hand is better at controlling. For base designs or full-nail coverage, a regular brush is still easier to manage.
Q: What if my non-dominant hand is genuinely unsteady due to tremors or a medical condition?
Stamping, nail wraps, and press-ons are genuinely the best options here — not because they’re a workaround, but because they produce beautiful results without requiring precise brush control at all. There’s no shame in choosing the tool that works for your body.
Final Thought
The non dominant hand problem is real, and it’s mostly a setup and technique issue — not a talent issue. Once you fix your wrist position and switch to elbow-driven strokes, you’ll notice the difference almost immediately.
Your next step: Try this on a plain base coat before doing a full design. Just practice the positioning and stroke method with clear polish or a single color. No stakes, no pressure — and you’ll build the muscle memory before it counts.