7 Baseball Nails Ideas – Game Day Glam for Your Fingertips
Baseball nails are manicures inspired by baseball aesthetics—think classic white and red stitching, team colors, field green bases, or even tiny painted baseballs and bats. They’re a fun way to show team spirit during game season while keeping your look stylish enough for everyday wear, not just stadium visits.
Why Read This Guide?
Unlike articles that just show pretty pictures, this guide walks you through actual step-by-step tutorials for creating each design at home, complete with specific product recommendations, exact prices, troubleshooting for common failures, and honest talk about what’s actually difficult versus what looks harder than it is.
How to Choose the Best Baseball Nail Design
For your first time trying baseball nails: Start with the Classic White Baseball Stitch on just one or two accent nails. The red-on-white stitching is forgiving because small wobbles actually look realistic, and if you mess up, you’re only redoing two nails instead of ten.
If you have a professional job: The Diamond Dust Neutrals or Grass & Diamond Green designs work beautifully in office settings. They reference baseball subtly enough that non-fans just see chic neutrals or a pretty green, while fellow fans recognize the field and diamond motifs.
If you want something for special events or playoff games: Chrome Baseball Shimmer brings enough glamour for dinners out, while Double Team Stripe makes an unmistakable bold statement perfect for game day photos and stadium cheering sessions.
If you’re comfortable with nail art: Try the Mini Baseball & Bat design, which requires steady hands and detail work. Number Game Accent using stamping plates offers an intermediate challenge that looks advanced but uses tools to help you succeed.
If you have short nails: Stick with Double Team Stripe, solid team colors, or simple stitching on one accent nail. Short nails don’t have enough surface area for tiny illustrations like baseballs and bats without them looking cramped and illegible.
If you change your mind often: Avoid chrome finishes or intricate hand-painted details if you get bored easily. These take significant time investment and feel wasteful to remove after just a few days. Stick with simpler team color blocks you can switch up weekly without guilt.
What You’ll Need: Baseball Nails Starter Kit
Basic Supplies:
- Base coat (I use Orly Bonder at $9 because it grips polish better than the $3 drugstore versions that let color peel off in sheets)
- White nail polish (Essie “Blanc” $9 or OPI “Alpine Snow” $11 have the best opacity—cheap whites look streaky even after 4 coats)
- Red nail polish (any brand works since red covers well naturally)
- Top coat (Seche Vite $10 dries in 5 minutes versus 30+ for regular top coats)
- Acetone-based nail polish remover and cotton swabs
Design Tools:
- Thin striping brush ($3-5 on Amazon—makes detail work 10x easier than the regular polish brush)
- Dotting tools set ($6 for 5 different sizes, creates perfect circles every time)
- Striping tape ($4 for 10 rolls, ensures straight lines without hand-steadiness struggles)
- Toothpicks (free alternative to dotting tools if you’re testing whether you like nail art before investing)
Optional but Helpful:
- Nail stamping kit ($12-18 gets you plates, stamper, and scraper—worth it if hand-painting intimidates you)
- Vinyl number stencils ($5-8, makes player numbers crisp without artistic skill)
- Matte top coat ($8, transforms any design from glossy-sweet to modern-sporty)
- Chrome powder kit ($12-15, but only if you already have gel polish and UV lamp setup)
You don’t need everything immediately. I started with just base coat, white and red polish, top coat, and a $3 striping brush. That’s under $35 total and enough for the classic stitching design.
Minimalist & Classic Baseball
1. Classic White Baseball Stitch

Clean white base with delicate red curved stitching that mimics an actual baseball, creating an instantly recognizable sports motif. The crisp contrast between bright white and cherry red gives this design a fresh, athletic vibe that’s surprisingly sophisticated. This look works beautifully on short to medium nails with a glossy finish that catches light like a new ball fresh out of the box.
Difficulty: Beginner
Time to complete: 20-25 minutes
Best for: First-time baseball nail attempts or anyone who wants recognizable team spirit without learning complex techniques
Why it works: The stitching pattern is forgiving—slight wobbles actually look realistic like hand-sewn baseballs
What makes it different: Unlike painted baseballs that require perfect circles, stitching is just curved lines that don’t need precision
Pro Tip: Rest your pinky finger on a stable surface while painting for steadier control. If your hand still shakes, try painting just two simple stitches on each accent nail instead of covering the entire nail—it still reads as “baseball” without the difficulty.
Beginner Alternative: Baseball-themed nail stickers ($6-8 on Amazon or Etsy) apply in 30 seconds and look hand-painted. Just press on, smooth out air bubbles, seal with top coat, and you’re done.
2. Diamond Dust Neutrals
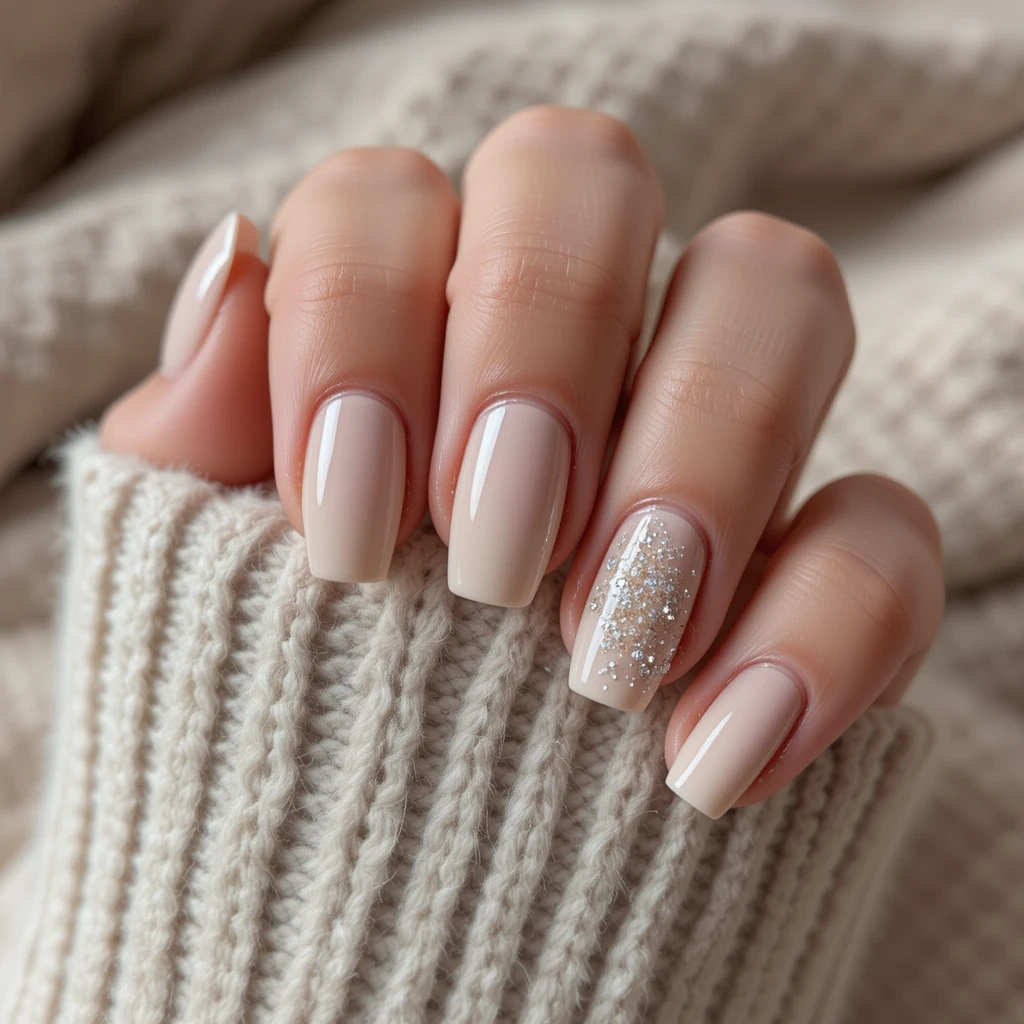
Soft beige or nude base with a single glitter accent nail featuring fine diamond-shaped confetti that references the baseball diamond. The neutral palette keeps things understated while the strategic sparkle adds just enough personality and sports reference. This design transitions seamlessly from the ballpark to brunch with its sophisticated, low-key glamour.
Difficulty: Beginner
Time to complete: 15-20 minutes
Best for: Office environments or anyone who wants baseball nails that don’t scream “sports fan” to everyone who sees them
Why it works: Non-fans see elegant neutrals with glitter, while baseball fans recognize the diamond field reference
What makes it different: Subtle team spirit that passes professional dress codes unlike bold team colors
Product Recommendations:
- OPI “Samoan Sand” ($11) or Essie “Topless & Barefoot” ($9) for warm-toned nudes
- Sally Hansen “Tickled Pink” ($8) for cool-toned nudes
- Diamond-shaped glitter multi-packs on Amazon ($6-8) because you get multiple colors to match different team jerseys
What I learned: The second thick layer of top coat is non-negotiable. I skipped it once thinking one coat was enough, and my glitter nail felt like sandpaper and snagged on everything within hours.
Bold Team Spirit
3. Double Team Stripe
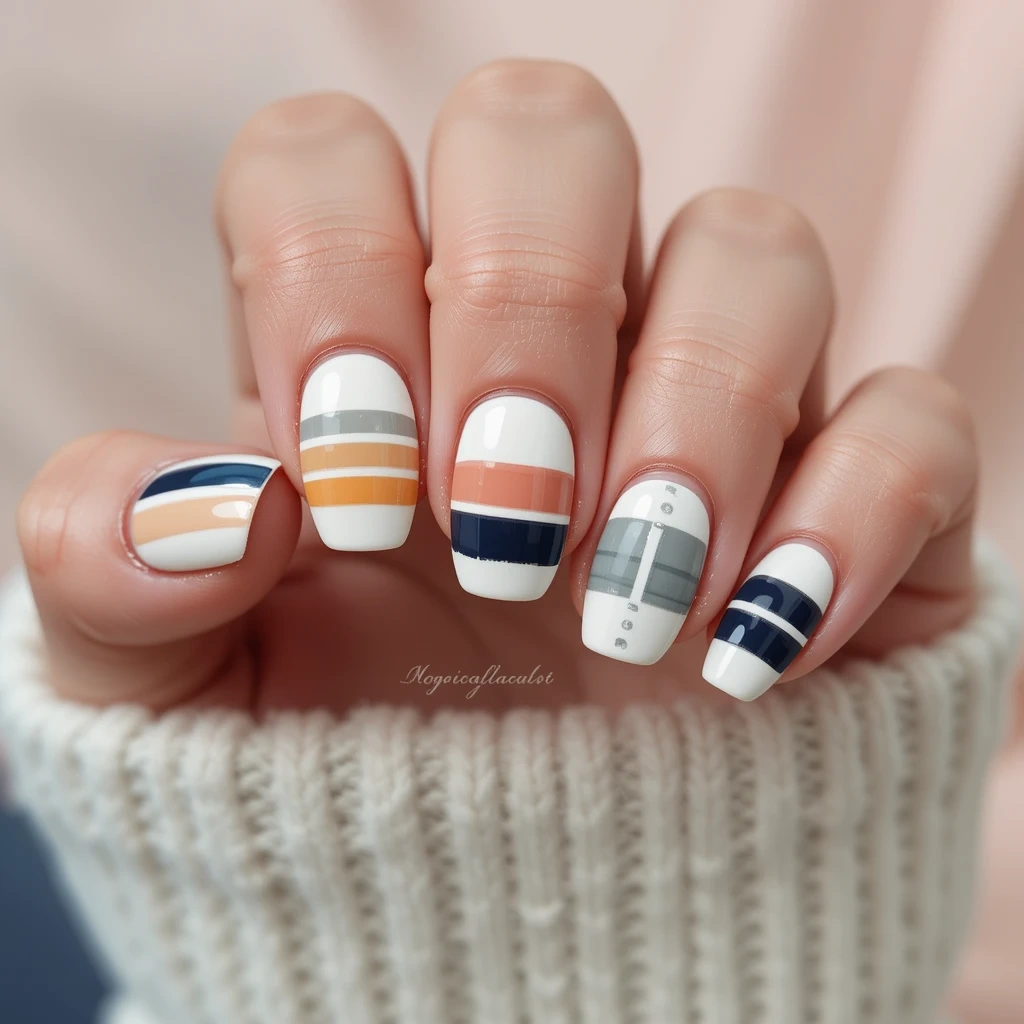
Two bold horizontal stripes in your favorite team’s colors painted across each nail, separated by a thin white or metallic line for definition. The graphic, color-blocked design makes a strong statement while remaining clean and modern rather than cluttered. This look channels vintage sports uniforms with a contemporary nail art twist that feels fresh and intentional.
Difficulty: Intermediate
Time to complete: 35-40 minutes
Best for: Game day attendance when you want unmistakable team loyalty that photographs well in stadium selfies
Why it works: More sophisticated than solid team-color nails but still boldly shows which team you support
What makes it different: The striped pattern references classic baseball uniforms rather than just using team colors randomly
Why striping tape matters: I tried freehand stripes my first attempt and spent 20 minutes cleaning up wobbly edges with acetone and a tiny brush. Striping tape costs $4 and guarantees perfect lines every single time.
Time-Saving Hack: Pre-cut vinyl nail stencils ($5-10 on Etsy) are reusable and easier for beginners than tape. You just press them on, paint over, and peel off.
4. Number Game Accent
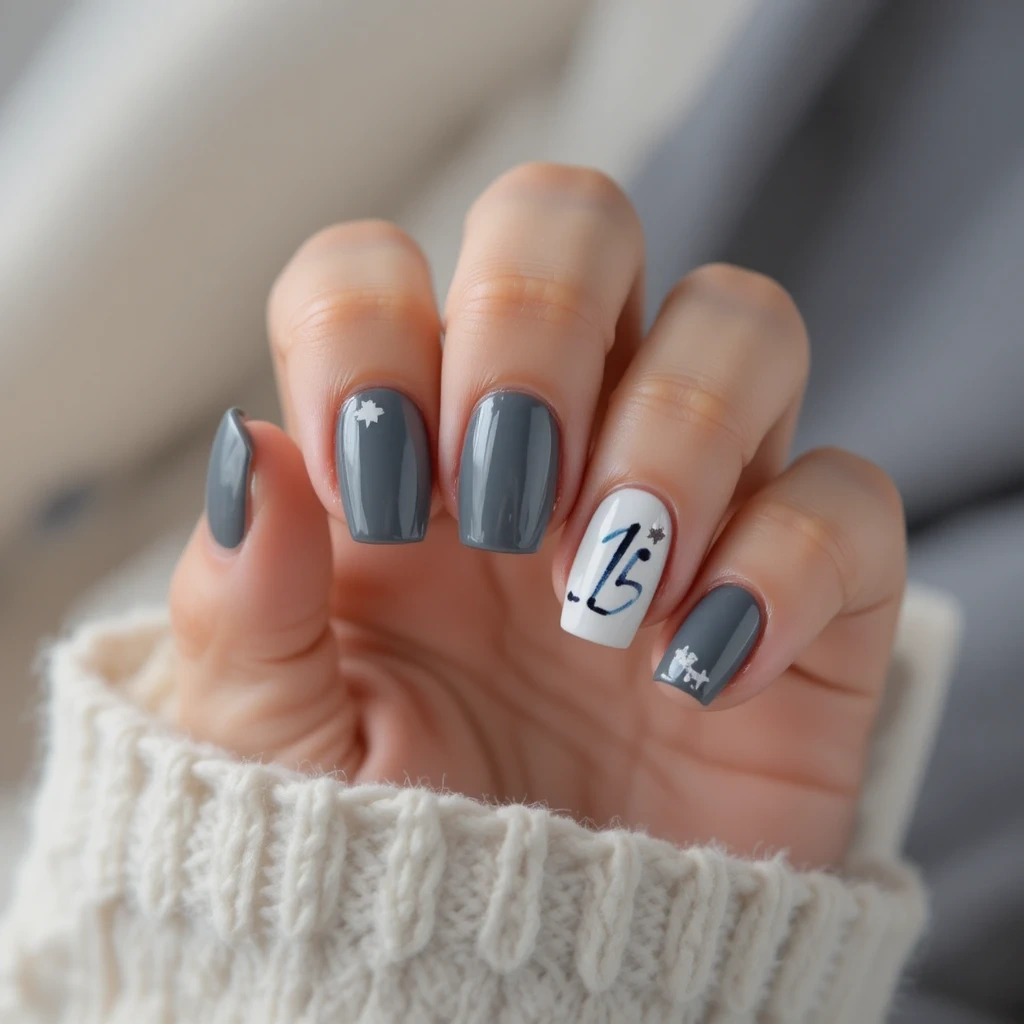
Solid team color base on all nails with your favorite player’s number hand-painted or stamped on one or two accent nails. The personalized touch makes this design special and meaningful while keeping the overall look cohesive and balanced. Pair the number with a small heart, star, or your team’s logo for extra charm without overwhelming the design.
Difficulty: Intermediate (with stamping) / Advanced (hand-painted)
Time to complete: 25-30 minutes with stamping, 45-50 minutes hand-painted
Best for: Fans who have a favorite player they want to celebrate, or anyone who likes personalized details
Why it works: The number sparks conversations with fellow fans and feels more personal than generic team colors
What makes it different: This isn’t just team spirit—it’s YOUR specific fandom on display
Hand-Painting Alternative: Use a thin nail art brush loaded with contrasting color (white or metallic gold). Paint the number outline first, then fill in the center. Let first coat dry, add second coat for crisp edges. This takes practice—I messed up three attempts before getting numbers that looked intentional.
Recommended Stamping Plates:
- Maniology sports-themed plates ($12-15) have numbers plus baseball designs
- Born Pretty stamping plates on Amazon ($3-5) for budget-conscious testing before investing in pricier options
- The budget plates work fine but sometimes need 2-3 attempts to transfer cleanly versus Maniology’s one-press transfers
Playful & Creative
5. Mini Baseball & Bat
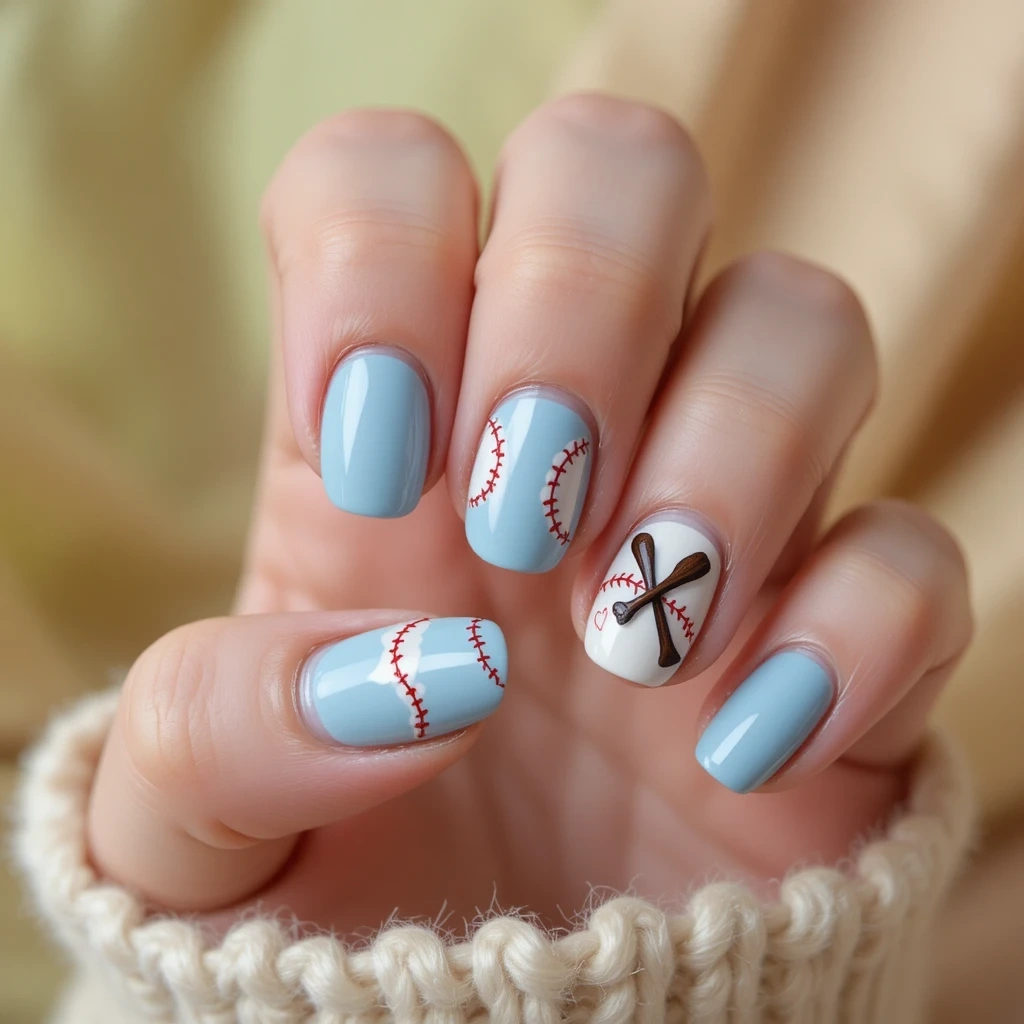
Tiny baseball illustrations on a soft cream or sky blue base, with one accent nail featuring a crossed bat design in brown or black. The miniature artwork is adorable and whimsical while still being recognizably sporty and thematic. This design has a playful, illustrated quality that feels like wearing tiny sports cartoons on your nails.
Difficulty: Advanced
Time to complete: 50-60 minutes
Best for: Experienced nail art enthusiasts who enjoy detailed work and have steady hands
Why it works: The illustrated approach feels fun and lighthearted rather than serious team-spirit aggressive
What makes it different: Cartoon-style artwork versus photorealistic attempts makes imperfections look intentional and charming
Honest reality: This design took me three tries to get right. The first attempt, my baseballs looked like wonky eggs. Second attempt, I rushed the drying and smudged everything. Third time I waited proper dry times and used reference photos taped next to me.
Beginner Alternative: Baseball-themed water decals ($6-10 on Etsy) come pre-designed with perfect little baseballs and bats. Soak for 10 seconds, slide onto nail, seal with top coat. You get professional results in 5 minutes instead of an hour of frustration.
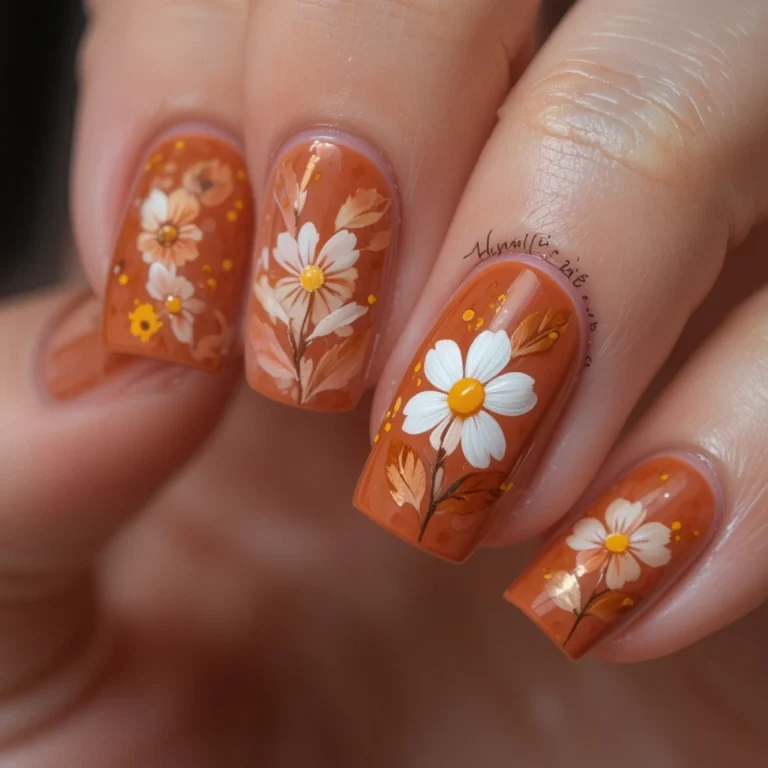
6. Grass & Diamond Green
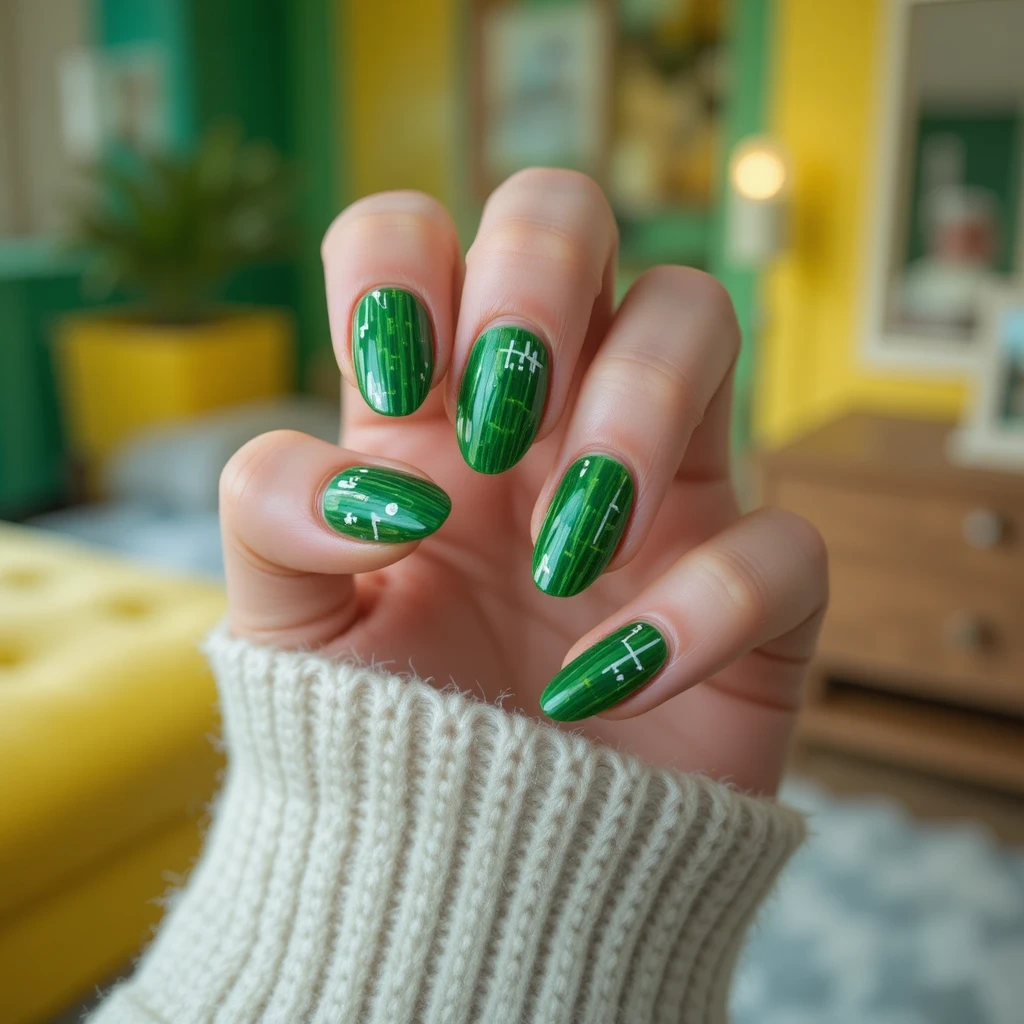
Rich grass green base that references the outfield, with white baseline details or tiny white dots mimicking stadium lights. The unexpected green gives this baseball manicure an earthy, fresh twist that stands out from typical red-white-blue combinations. Add a glossy topcoat to make the green shimmer like sun-soaked grass during a day game.
Difficulty: Beginner
Time to complete: 20-25 minutes
Best for: Anyone who wants baseball nails that don’t rely on obvious imagery and work in professional settings
Why it works: The field-inspired color evokes baseball atmosphere without needing stitching or team colors
What makes it different: Completely unique approach that references the setting rather than equipment or uniforms
Color Recommendations:
- Essie “Pretty Edgy” ($9) perfect bright grass green that reads as sporty not military
- OPI “I’m Sooo Swamped!” ($11) vibrant kelly green
- Sinful Colors “Go Go Girl” ($2.99) budget option that actually has great pigmentation
Quick Shortcut: Use thin white striping tape ($4) left on the nail permanently as your baselines instead of painting them. Apply over dried green base, seal with top coat, and you’re done. I do this when I’m short on time because it takes 2 minutes instead of 10.
Elegant & Sophisticated
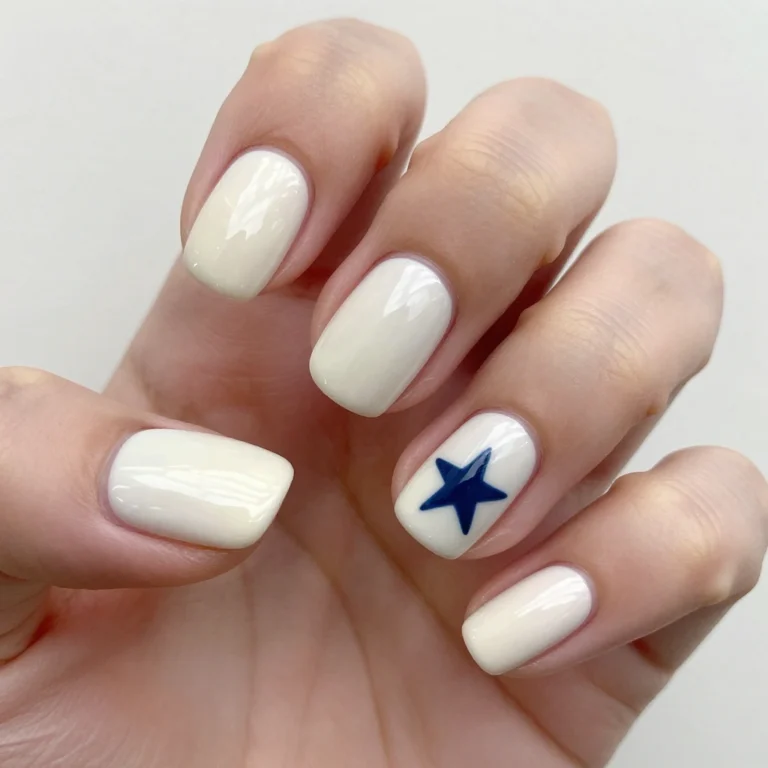
7. Chrome Baseball Shimmer
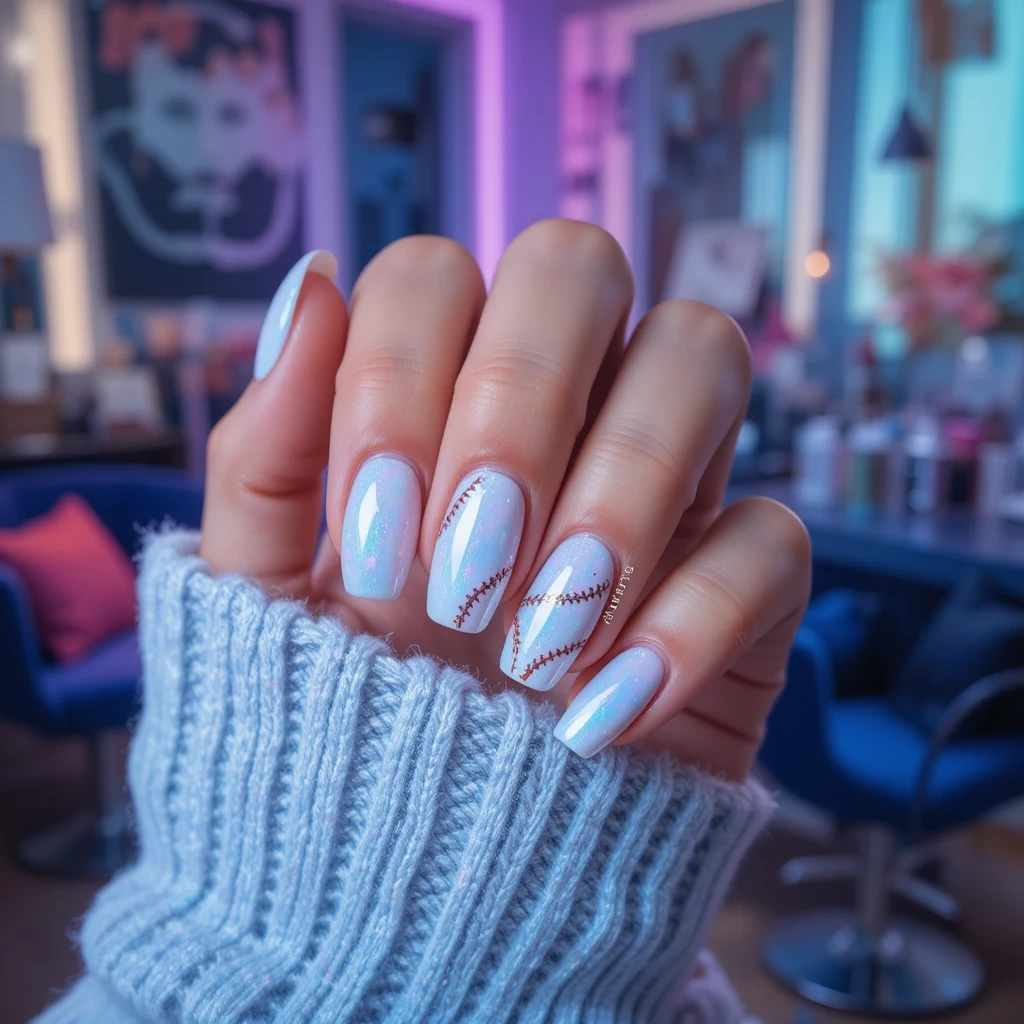
Pearlescent white chrome base with subtle holographic effect that catches light like stadium floodlights on a night game. One accent nail features delicate rose gold or silver stitching detail for that baseball reference without being literal. The luxe finish elevates the sporty theme into something genuinely glamorous and red-carpet worthy.
Difficulty: Advanced (with gel setup) / Intermediate (with chrome polish)
Time to complete: 45-60 minutes with gel and powder, 25-30 minutes with chrome polish
Best for: Special occasions or anyone wanting baseball nails elegant enough for non-game events
Why it works: Transforms sports theme into actual glamour that photographs beautifully
What makes it different: Chrome finish is trendy and luxe versus standard polish textures
Step-by-Step (Regular Polish Method):
- Apply base coat, then two coats high-shine white polish
- Let dry completely (15 minutes minimum)
- Apply chrome nail polish (Sally Hansen Insta-Dri Chrome $7-8 or similar)
- Use thin coats—thick coats look gloppy not mirror-like
- Add metallic stitching on accent nails once chrome dries
- Seal with high-shine top coat
Product Recommendations:
- Beetles Chrome Powder Kit ($12-15 on Amazon) includes multiple chrome colors and applicators—worth it because cheap powder looks patchy
- Kiara Sky Chrome Powder ($8-10) professional quality that buffs to actual mirror finish
- Sally Hansen Insta-Dri Chrome ($7-8) drugstore option for non-gel method that gives 70% of the effect for fraction of cost
Real talk: The gel method with actual chrome powder looks significantly better—like truly mirror-like. Chrome polish gives you maybe 60-70% of that effect. I use chrome polish for everyday wear and save gel chrome for special events because the time investment feels more worthwhile.
Pros and Cons of Baseball Nails
Pros
✅ Show team spirit in a creative way that starts conversations with fellow fans and feels more personal than just wearing team merch
✅ Surprisingly versatile because subtle designs like Diamond Dust Neutrals or Grass Green work in professional settings where jerseys wouldn’t
✅ Customizable to any team since you can adapt every design to your team’s specific colors and add personal touches like player numbers
✅ Works on any nail length from short practical nails to long statement nails, though specific designs suit different lengths better
✅ Good for beginners because simple stitching or team stripes are genuinely easy first nail art projects with forgiving techniques
✅ Relatively inexpensive compared to other nail art styles—you can create most designs with under $30 in supplies
✅ Timeless during baseball season so you don’t feel like you’re chasing micro-trends that’ll look dated next month
Cons
❌ Time-consuming application especially for detailed designs like Mini Baseball & Bat that can take an hour when you include dry times
❌ Requires steady hands for hand-painted elements, and if your hands shake naturally, some designs become extremely frustrating
❌ Chrome finishes show scratches from daily typing, phone use, and general hand activity—every tiny scratch catches light and becomes visible
❌ White polish is difficult to apply smoothly without streaks, and cheap white formulas require 4-5 coats that still look uneven
❌ Detailed designs aren’t repairable if one nail chips—you often need to redo the entire accent nail rather than quick touch-ups
❌ Limited color palette if you’re loyal to one team means you’re working with the same 2-3 colors repeatedly, which can feel repetitive
❌ Removal takes time especially for gel versions with chrome powder that need 15-20 minutes of acetone soaking and gentle scraping
❌ Not subtle for conservative workplaces—bold team stripes or obvious stitching clearly read as sports nails, which some dress codes don’t accommodate
What Happens After 2 Weeks? Real Wear Test
I wore the Classic White Baseball Stitch design in regular polish and the Double Team Stripe in gel polish for comparison. Here’s what actually happened.
Regular Polish – Days 1-3: Nails looked perfect and crisp. The white base stayed bright, red stitching remained sharp with no bleeding. I got compliments from strangers at the grocery store who noticed the design.
Regular Polish – Days 4-7: Small tip wear started appearing on my dominant hand pointer and middle fingers by day 5. The stitching on my thumb started looking dull from repeatedly scrolling my phone. Applied fresh top coat on day 6 which helped the shine but didn’t fix the tip wear.
Regular Polish – Days 8-10: Removed on day 8 because two nails had visible chips at the tips and the white base was starting to look dingy from daily hand washing and dish soap exposure. Could’ve pushed to day 10 with touch-ups but it felt easier to start fresh.
Gel Polish – Week 1: Flawless. The stripes stayed crisp, colors remained vibrant, and the gel shine looked freshly painted even after three stadium trips with bathroom hand washing and ballpark food handling.
Gel Polish – Week 2: Still looked great with one exception—my right pointer finger developed a tiny chip at the very tip edge from aggressively opening a package. The chip didn’t spread. I filed the rough edge smooth and it was barely noticeable.
Gel Polish – Week 3: Natural nail growth became visible at the cuticle line (about 2-3mm gap). The polish itself still looked good but the obvious growth line made it appear overdue for fills. Colors hadn’t faded at all, which impressed me.
Gel Polish – Week 4: Removed on day 25 because the growth gap looked sloppy in close-up photos. The gel itself could’ve gone longer—no chips beyond that one on day 9—but the grown-out look bothered me aesthetically.
Bottom line: Regular polish works fine if you’re changing designs weekly anyway. Gel is worth the investment for important games when you want perfect nails for 2-3 weeks straight without maintenance.
Maintenance Tips
Daily Care (Every Day)
Apply cuticle oil morning and night. I use CND Solar Oil ($8 for a bottle that lasts 3+ months) because it absorbs quickly without leaving greasy residue on my phone screen. This prevents cuticles from drying out and cracking, which makes your whole manicure look neglected even if the polish is perfect.
Wash hands with lukewarm water, not hot. Hot water causes polish to expand and contract, leading to earlier chipping. I learned this after watching my fresh manicure chip within 24 hours of a hot shower.
Every 2-3 Days
Reapply top coat to refresh shine and add protective layer. This single habit extends regular polish wear by 2-3 days in my experience. Just brush on a fresh layer of Seche Vite ($10) or whatever top coat you used originally.
Weekly Maintenance
Check for rough edges or small chips and file them smooth immediately before they spread. I keep a glass nail file ($6 on Amazon) in my bag because catching chips early prevents them from turning into full nail breaks.
For gel polish, gently push back cuticles with wooden orange stick after shower when they’re soft. This keeps the grown-out look from developing too quickly.
Before Important Games
Apply an extra layer of glossy top coat 2-3 hours before heading to the stadium. This ensures maximum shine for photos and protects against chips from enthusiastic clapping and cheering.
Carry a small bottle of your team color polish ($9) in your bag for emergency touch-ups if a nail chips during pre-game activities.
Common Mistakes and How to Fix Them
Mistake #1: Stitching Lines Look Wobbly and Uneven
What it looks like: The red stitching curves look shaky, uneven in thickness, or have gaps where you lifted the brush.
Why it happens: Your hand isn’t stabilized while painting, or you’re trying to do the entire curve in one continuous stroke without breaking.
The fix: Rest your painting hand’s pinky finger firmly on a table while you work. Paint the curve in 2-3 short strokes instead of one long stroke—this lets you reposition between segments. Practice the motion on paper first.
How well it works: This stabilization technique genuinely helps. My stitching went from looking drunk to intentional after one session of practicing with pinky-down support.
Mistake #2: White Polish Looks Streaky No Matter How Many Coats
What it looks like: You can see the nail line underneath, or there are visible brush strokes and uneven patches even after 3-4 coats.
Why it happens: White polish is naturally more transparent than other colors, and cheap formulas make this worse. Thick coats create texture problems while trying to compensate.
The fix: Start with white or light-colored base coat underneath (OPI “Put a Coat On” $11 works well). Apply 3-4 THIN coats of white rather than 2 thick coats. Let each coat dry 3-4 minutes between applications. Invest in quality white polish—OPI “Alpine Snow” ($11) or Essie “Blanc” ($9) have better pigmentation than $3 drugstore whites.
How well it works: The white base coat trick cut my required polish coats from 4 to 2 and gave me smoother results. The quality polish investment is worth it if you’ll do multiple baseball manicures.
Mistake #3: Colors Bleed Together and Create Muddy Lines
What it looks like: Your team color stripes blend into each other, or stitching red bleeds into the white base creating pink halos.
Why it happens: You’re not waiting for the first color to completely dry before adding the second color or tape.
The fix: Wait 8-10 minutes after painting the base color before applying tape or painting over it. Test dryness by gently tapping nails together—if they feel even slightly tacky, wait longer. When using tape, press it down firmly especially at edges to seal against bleeding. Remove tape while the top color is still slightly tacky, not bone dry.
How well it works: Patience is everything here. When I rushed and applied tape at 5 minutes, I got bleeding. At 10 minutes, I got crisp lines every single time.
Mistake #4: Glitter Won’t Stay Put and Falls Off
What it looks like: Diamond glitter pieces fall off within hours, or loose glitter doesn’t adhere evenly to the nail.
Why it happens: You applied glitter over completely dry polish instead of tacky polish, so it has nothing to grab onto.
The fix: Apply loose glitter immediately after painting clear polish while it’s still wet. Press glitter pieces gently into the wet polish with a silicone tool or clean fingertip. Apply 2-3 thick layers of top coat over glitter—the first coat to encapsulate, the second and third to smooth the texture. Wait 30 seconds between top coat layers.
How well it works: The multiple top coat layers are mandatory. One layer left my glitter rough and catchy. Three layers made it completely smooth and the glitter stayed put for 10+ days.
Mistake #5: Chrome Looks Patchy Instead of Mirror-Smooth
What it looks like: Some areas of your nail have full chrome effect while others look dull or barely reflective, creating an inconsistent finish.
Why it happens: Your base color wasn’t completely cured (for gel) or dry (for regular polish), or you didn’t buff the chrome powder thoroughly enough across the entire nail surface.
The fix: For gel: Make sure you cure the white base for the full recommended time (usually 60 seconds under LED). For regular polish: Wait 15 full minutes before applying chrome polish. When using chrome powder, buff in small circular motions covering every millimeter of the nail—don’t just pat it on. Work one nail at a time so you can focus on thorough coverage.
How well it works: The timing is critical. I tried rushing once at 10 minutes instead of 15 and got patchy results. At 15+ minutes with thorough buffing, I got consistent mirror finish across all nails.
Frequently Asked Questions
How do I remove baseball nail art without damaging my nails?
For regular polish, soak cotton pads in acetone remover, place on nails, wrap fingertips in aluminum foil, and wait 5-10 minutes before gently wiping off. For gel polish or chrome, soak for 15-20 minutes then use a wooden orange stick to gently scrape softened polish off without forcing it. Never peel off gel polish—it removes layers of your natural nail and causes damage that takes months to repair.
Can I do baseball nails on very short nails?
Yes, but stick with simpler designs. Double Team Stripe, solid team colors with one accent nail of stitching, or Diamond Dust Neutrals all work beautifully on short nails. Avoid tiny illustrations like Mini Baseball & Bat because there isn’t enough surface area to make the details visible and they’ll just look like unclear smudges.
How much does it cost to get baseball nails done at a salon versus doing them at home?
Salons charge $35-60 for basic gel manicures, plus $10-20 extra for custom nail art like baseball designs. Your first at-home setup costs $30-50 for supplies, but then subsequent manicures cost under $5 in materials. I saved about $200 in my first baseball season doing my own nails for multiple games instead of salon visits.
Do baseball nails work for people who aren’t sports fans?
Absolutely. Several designs like Diamond Dust Neutrals, Grass & Diamond Green, and Chrome Baseball Shimmer are subtle enough that non-fans see stylish manicures rather than sports references. The stitching design is the most obviously sports-themed, so avoid that one if you want plausible deniability about being a baseball fan.
Baseball Nail Trends to Know
Classic Sport Motifs with Modern Finishes
Traditional baseball imagery like stitching and bats are being reimagined with matte finishes, chrome effects, and holographic top coats. The combination of nostalgic symbols with trendy nail finishes creates designs that appeal to both longtime fans and people who just discovered they enjoy baseball aesthetics. I’m seeing this especially with younger fans who want vintage imagery but modern execution.
Team Color Blocking
Bold graphic stripes and color blocks using team colors have replaced intricate hand-painted logos. This shift happened because color blocking is more accessible for at-home nail artists while still making strong team loyalty statements. The clean lines photograph better for social media than busy detailed artwork that looks muddy in photos.
Micro Detail Artwork
Nail artists are pushing boundaries with microscopic baseball gloves, tiny stadium scenes, and detailed player portraits painted on single nails. These designs showcase serious artistic skill and take 2-3 hours to complete. They’re impressive but unrealistic for most people to recreate at home without professional training.
Negative Space Designs
Using bare natural nail as part of the design creates an airy modern look. Baseball stitching outlined on unpainted nail, or team colors framing clear sections, feels fresh and different from fully painted nails. This trend works well for people who want something less high-maintenance since there’s less surface area to chip.
Subtle Field References
The newest approach uses field-inspired elements like grass green or dirt brown rather than obvious baseball equipment imagery. Only true fans recognize these references while everyone else sees chic earth tones. This lets people show team loyalty in professional settings where obvious sports nails wouldn’t fly.
Conclusion
Baseball nails combine team spirit with personal creativity, giving you control over how bold or subtle you want your game day look. Start with the Classic White Baseball Stitch if you’re new to nail art—the forgiving technique builds confidence before tackling advanced designs.
Remember that even simple team color stripes or a single glitter accent nail count as baseball nails if they make you happy during game season.