8 Yellow Nails Inspo You’ll Want to Copy ASAP
Yellow nails are manicures featuring any shade of yellow polish—from soft buttery creams to bold neon brights to metallic gold tones. Unlike nude or pink nails that blend in, yellow makes a statement while still being surprisingly wearable when you choose the right shade and finish for your style.
Yellow nails are having a major moment, and it’s easy to see why. This cheerful, confidence-boosting shade brings instant warmth and personality to your look, whether you opt for soft buttery tones or bold neon brights. From minimalist accents to head-turning chrome finishes, yellow nails offer endless versatility that works year-round while staying fresh and modern.
Why read this guide? Unlike other yellow nails articles that just show pretty pictures, this one includes complete step-by-step tutorials for recreating each look at home, specific product recommendations with real prices, and honest troubleshooting for the problems I’ve actually encountered when working with yellow polish.
How to Choose the Best Yellow Nail Design
For your first time trying yellow: Start with Butter Cream Dream or Lemon Sorbet Tips. These softer shades feel less bold than true yellow, making them easier to wear if you’re nervous about the color. The French tip option lets you test yellow without full commitment.
If you have a professional job: Stick with Butter Cream Dream, Gold-Dusted Yellow (without heavy shimmer), or Lemon Sorbet Tips. Avoid neon shades and chrome finishes, which read too bold for conservative workplaces. Shorter nail lengths also help keep yellow office-appropriate.
If you want something for special events: Yellow Chrome Luxury and Gold-Dusted Yellow photograph beautifully and feel expensive enough for weddings, parties, or date nights. The metallic finishes elevate yellow from casual to special-occasion worthy.
If you’re comfortable with nail art: Try Sunshine Ombré or Daisy Accent Nails. These require multiple steps and some practice, but they’re not difficult enough to be frustrating. The ombré technique especially looks impressive while being relatively forgiving of imperfections.
If you have short nails: Choose Butter Cream Dream, Lemon Sorbet Tips, or Yellow Chrome Luxury. Avoid Neon Electric Yellow in full coverage, which can overwhelm small nail beds. Metallics and French tips create the illusion of length on shorter nails.
If you change your mind often: Skip gel-based looks like Yellow Chrome Luxury, which require soaking and scraping to remove. Stick with regular polish designs that come off quickly with acetone. Press-on nails in yellow are also perfect for commitment-phobes.
Minimalist & Soft Yellow
1. Butter Cream Dream
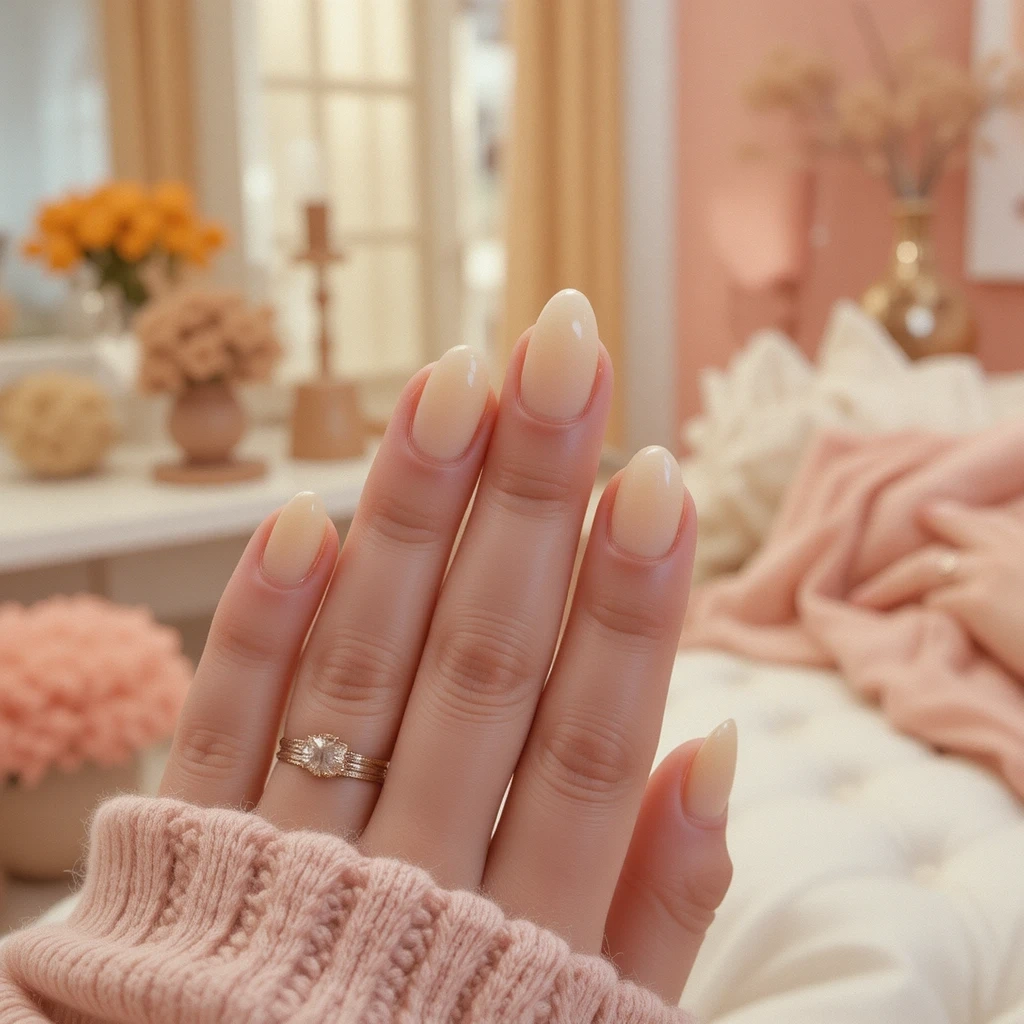
A soft, creamy pale yellow with a glossy finish that feels luxurious without being loud. This sophisticated shade has just enough color to stand out from traditional nudes while maintaining an elegant, understated vibe. Perfect for those who want to dip their toes into yellow without going too bold—it’s like sunshine filtered through sheer curtains.
Difficulty: Beginner
Time to complete: 25-30 minutes
Best for: First-timers who want yellow without going bold
Why it works: The subtle warmth adds freshness while remaining sophisticated enough for any setting, from office meetings to weekend brunches.
What makes it different: Unlike true yellow or pastels, this shade sits perfectly between nude and color—it’s recognizable as yellow but won’t shock anyone.
Products I recommend:
- OPI “Bee Mine Forever” ($10-12 at Ulta) – This formula has better opacity than most pale yellows, so you’ll need fewer coats
- Essie “Aim to Misbehave” ($9-10 at drugstores) – Slightly more affordable and the brush is wider, making application faster
- Seche Vite Top Coat ($10 at Sally Beauty) – Dries genuinely fast and gives that salon-quality shine that cheaper top coats can’t match
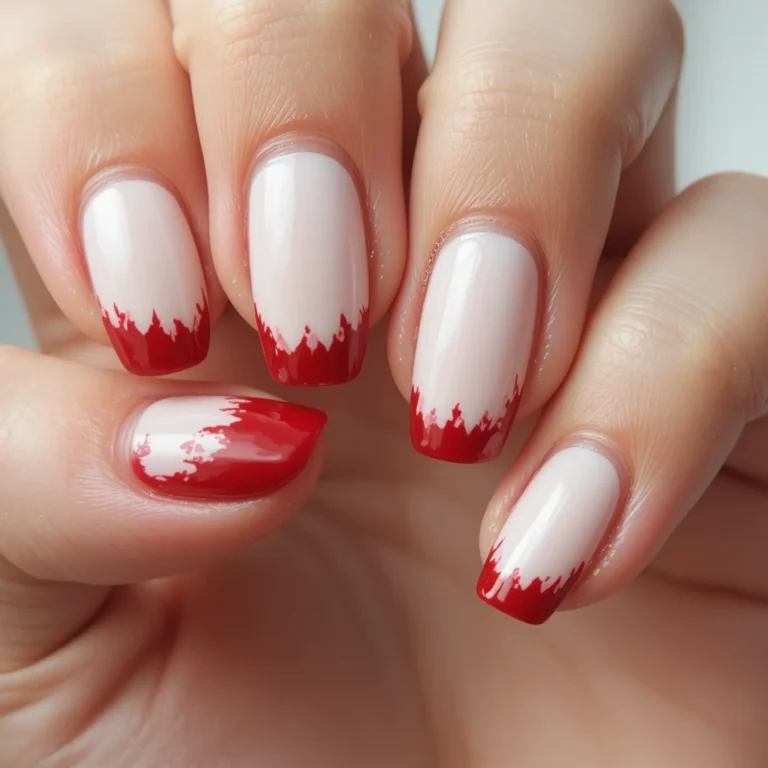
2. Lemon Sorbet Tips
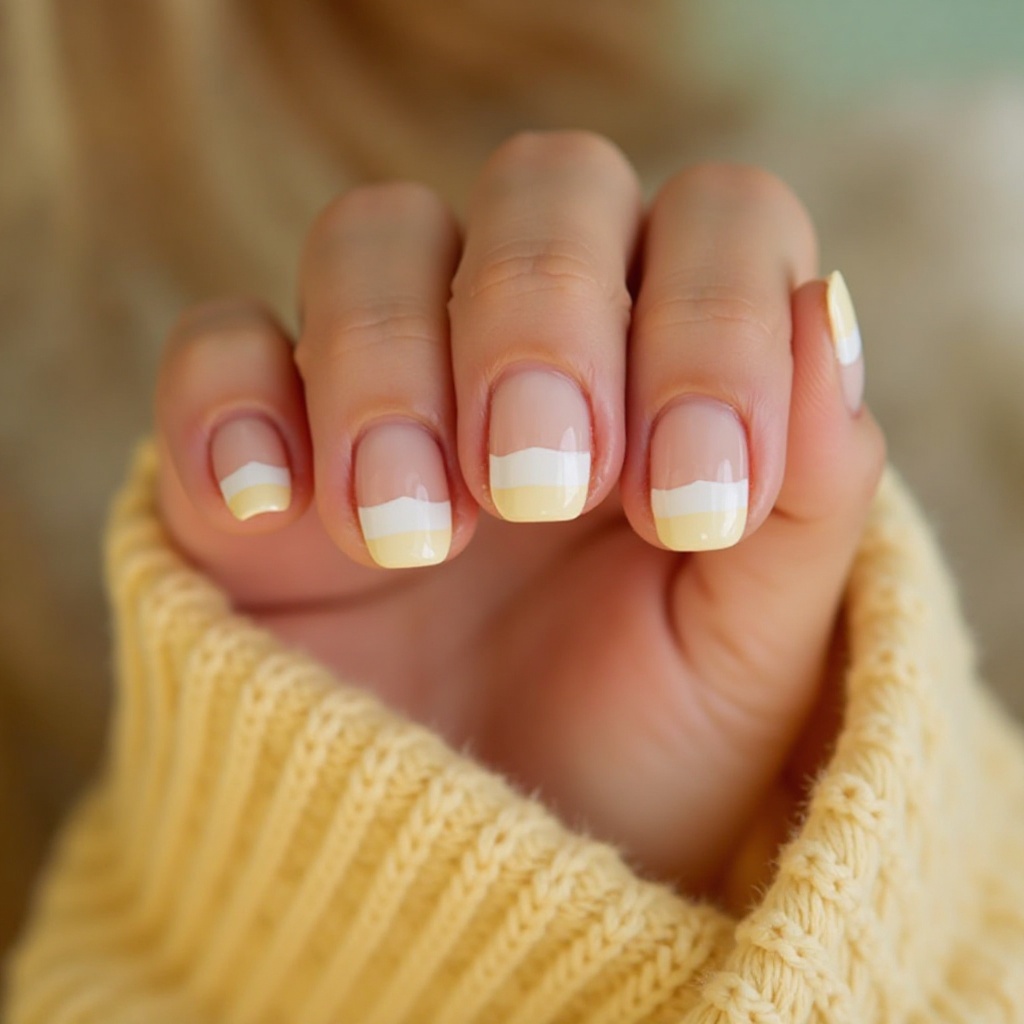
Classic French tips reimagined with a pale lemon yellow instead of traditional white, creating a fresh twist on a timeless style. The sheer nude base keeps it grounded while the yellow tips add playful brightness. This design works beautifully on short to medium length nails and feels modern yet wearable.
Difficulty: Intermediate
Time to complete: 35-40 minutes
Best for: People who love French manicures but want a modern twist
Why it works: You get the sophistication of French manicure with an unexpected pop that photographs beautifully for social media.
What makes it different: Most French manicure updates use bold colors or glitter—this one stays subtle and wearable while still feeling current.
Products I recommend:
- Essie “Ballet Slippers” ($9) – The classic sheer pink that works on everyone, with a formula thin enough for streak-free application
- Sally Hansen “Mellow Yellow” ($7-8) – Affordable pale yellow that actually shows up on tips without needing five coats
- Kiss French Tip Guides ($3-4 at drugstores) – These stick better than cheaper brands and don’t leave residue when you peel them off
Bold & Vibrant Yellow
3. Sunflower Shine
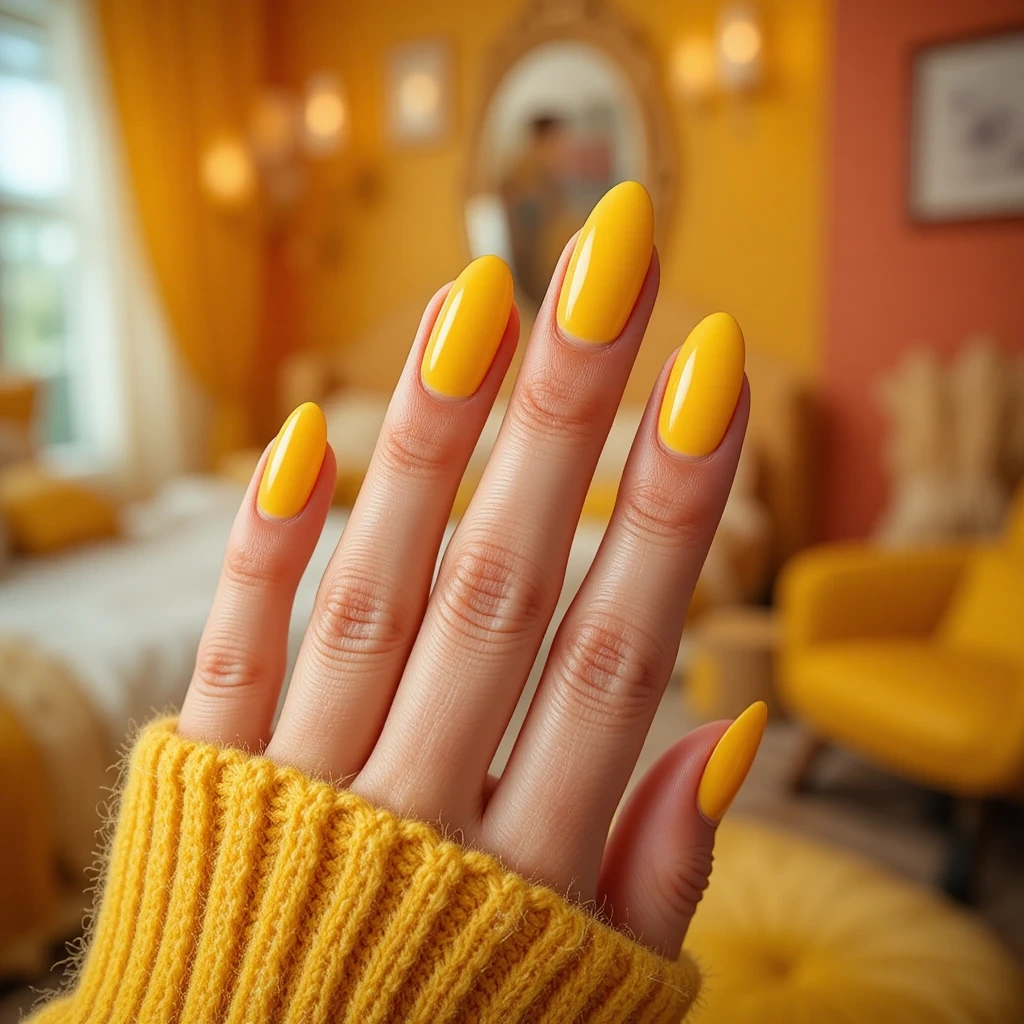
A rich, true yellow with a glossy finish that demands attention and radiates pure joy and confidence. This is yellow in its full glory—not pastel, not neon, but that perfect sunflower shade that feels warm and inviting. The high-shine finish amplifies the color’s intensity while keeping it polished rather than flat.
Difficulty: Beginner
Time to complete: 35-40 minutes
Best for: Anyone ready to commit to true yellow and make a statement
Why it works: This is the yellow people picture when they think “yellow nails”—bold enough to pop but warm enough to feel friendly rather than jarring.
What makes it different: While most yellows lean pastel or neon, this is pure saturated yellow that doesn’t apologize for being bright.
Products I recommend:
- OPI “Alpine Snow” ($10) – The best white base because it’s truly opaque in two coats, unlike sheer whites that waste your time
- China Glaze “Happy Go Lucky” ($8) – Perfect true yellow that’s not too orange or too lemony, with a surprisingly smooth formula
- Essie Gel Couture Top Coat ($11) – More expensive but gives that gel-like shine without needing a lamp
4. Neon Electric Yellow
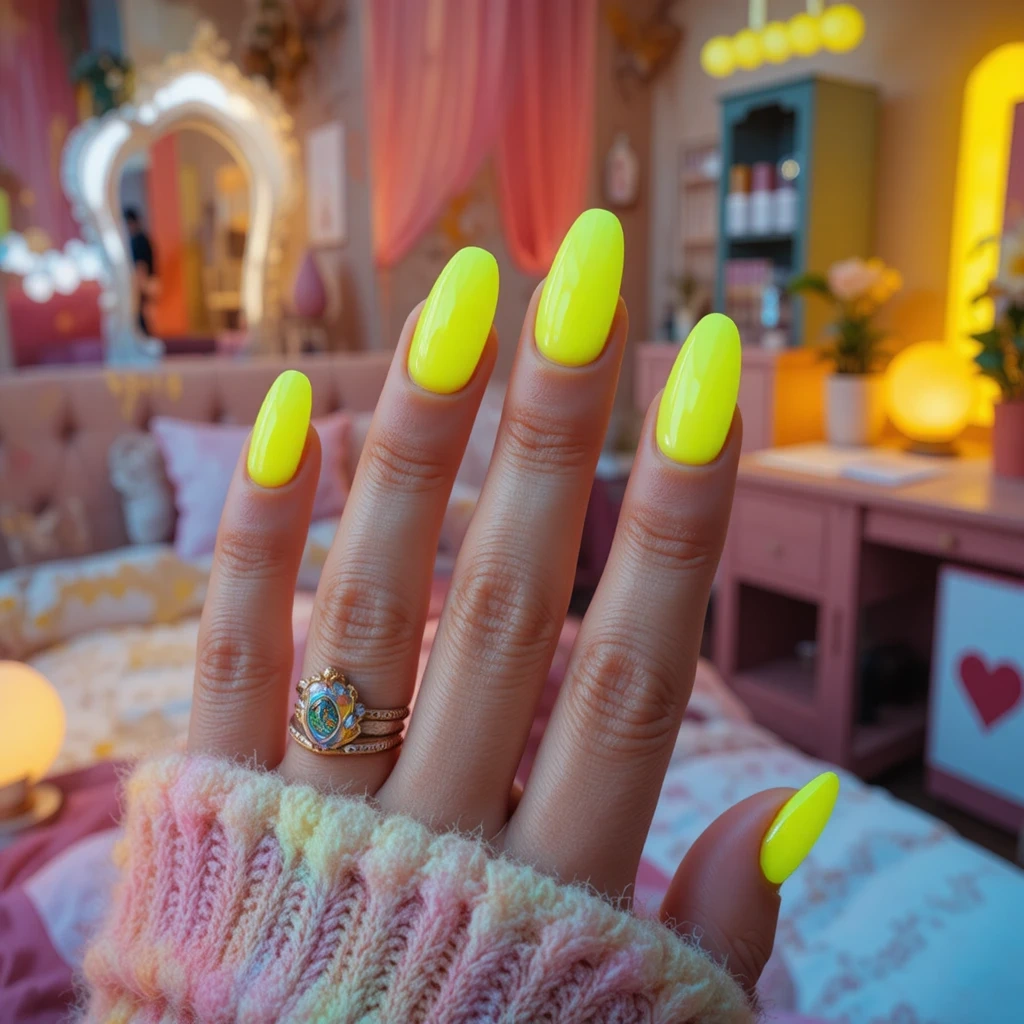
An eye-catching neon yellow that practically glows, perfect for making a fearless fashion statement. This shade has cool undertones that give it that electric, almost-fluorescent quality that photographs beautifully. It’s bold, it’s fun, and it absolutely refuses to be ignored—ideal for festivals, vacations, or anytime you want maximum impact.
Difficulty: Intermediate
Time to complete: 30-35 minutes
Best for: Bold personalities who want maximum attention and aren’t afraid of bright color
Why it works: Neon yellow is impossible to ignore and pairs unexpectedly well with everything from casual denim to evening black dresses.
What makes it different: Unlike warm yellows that feel sunny, this has cool undertones that make it look almost fluorescent—it’s the most eye-catching yellow option.
Products I recommend:
- China Glaze “Sun-Kissed” ($8) – This neon actually builds to opacity better than most, which tend to stay sheer no matter how many coats
- Orly “Glowstick” ($9) – Slightly more expensive but the formula is less watery than cheap neons
- Essie Matte About You Top Coat ($9) – Try this instead of glossy for a completely different vibe—neon yellow goes from fun to edgy with matte finish
Elegant Accents & Metallics
5. Gold-Dusted Yellow
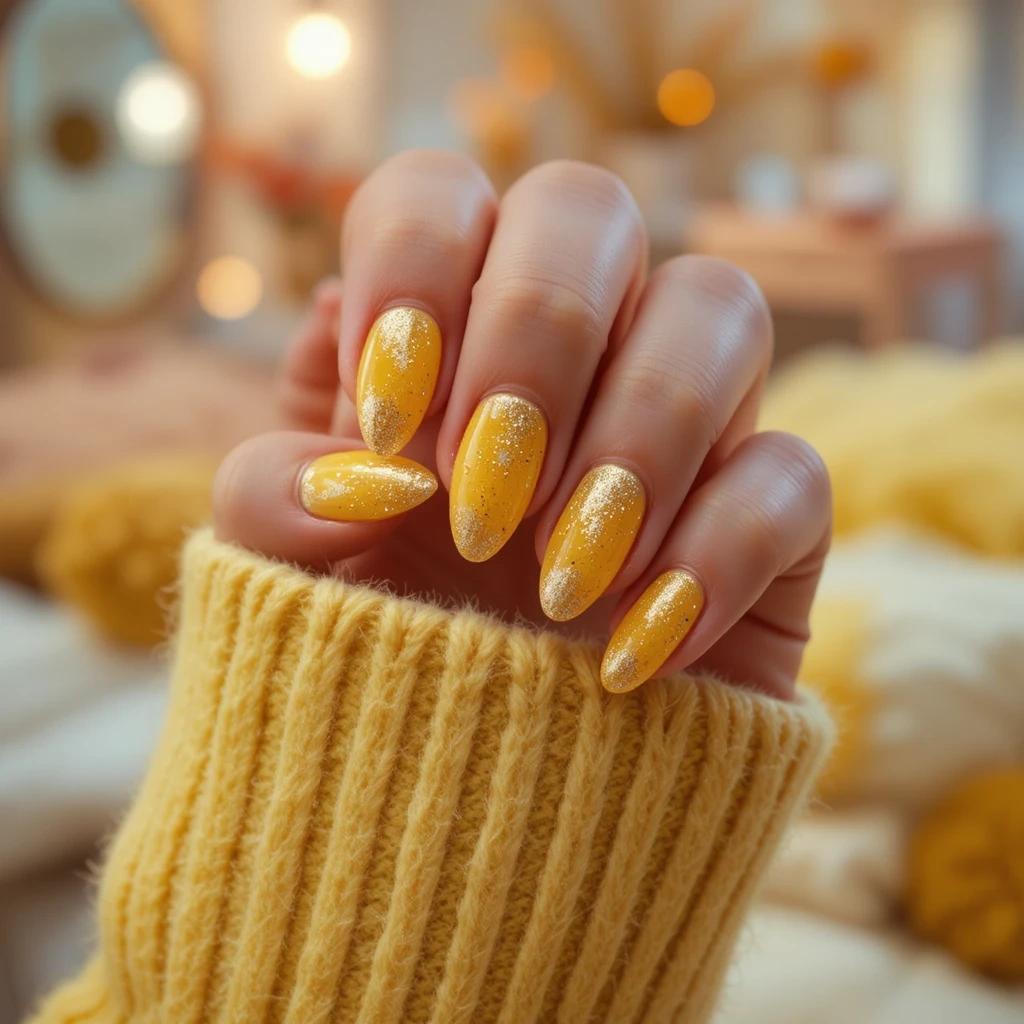
A sophisticated yellow base with delicate gold shimmer particles that catch the light beautifully. The shimmer adds dimension and luxury without overwhelming the base color, creating depth that solid colors can’t achieve. This design walks the line between playful and elegant, making it surprisingly versatile for various occasions.
Difficulty: Intermediate
Time to complete: 40-45 minutes
Best for: Anyone wanting yellow that feels elevated enough for evening events
Why it works: The metallic shimmer transforms casual yellow into something that feels special-occasion appropriate.
What makes it different: Most shimmer nails go heavy on the glitter—this keeps it delicate so you see yellow first, sparkle second.
Products I recommend:
- Essie “As Gold As It Gets” ($9) – Fine shimmer particles that don’t feel gritty, unlike chunky glitters that create texture
- Sally Hansen “Mellow Yellow” ($7) – Good bright yellow base that doesn’t cost much
- Seche Vite Top Coat ($10) – Essential here because shimmer creates texture that needs a thick, smoothing top coat
6. Yellow Chrome Luxury
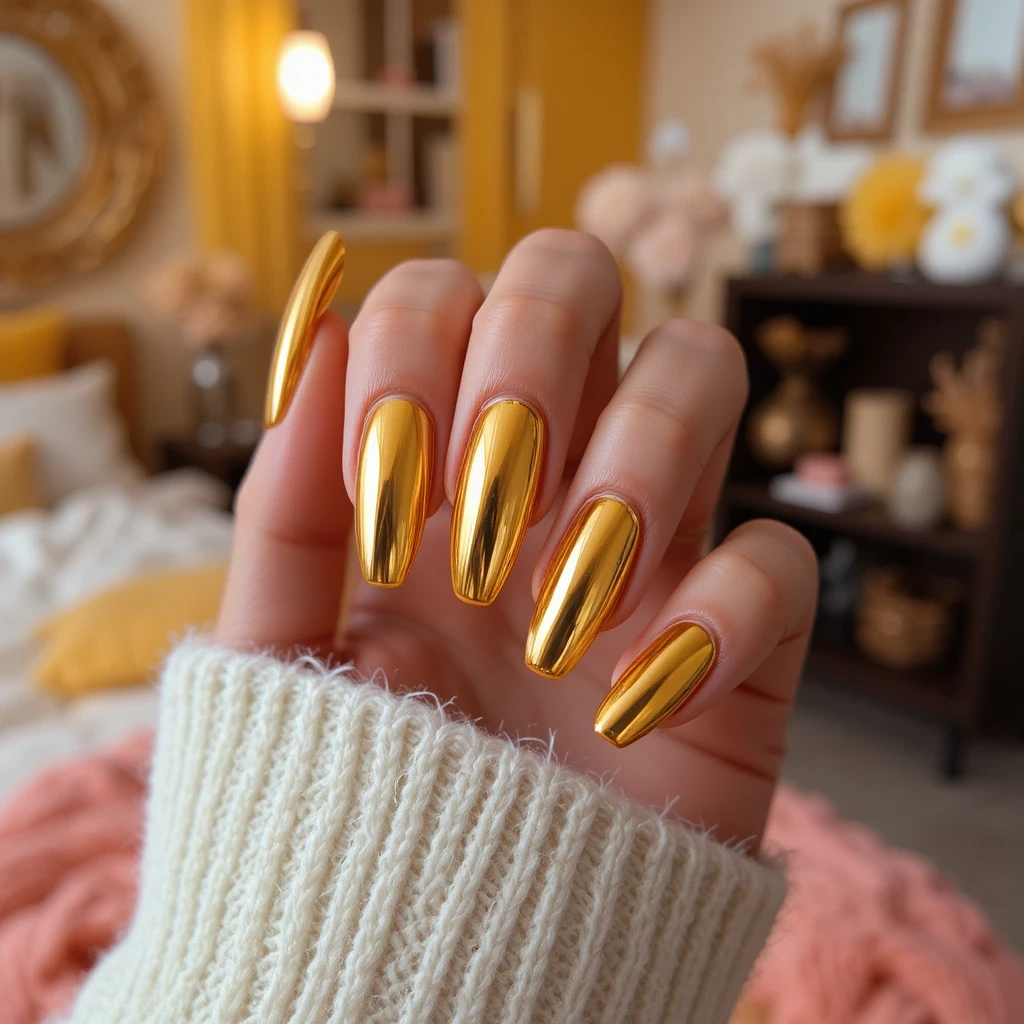
A mirror-like chrome finish in warm yellow gold that looks expensive and futuristic. The reflective surface creates a liquid metal effect that shifts and changes in different lighting. This high-impact style makes short nails look luxe and elongates longer nails with its sleek, seamless finish.
Difficulty: Advanced
Time to complete: 60-75 minutes (including cure time)
Best for: Experienced DIY-ers ready to invest in gel equipment for salon-quality chrome
Why it works: Chrome is the only finish that truly looks professional and expensive—regular polish can’t replicate this mirror effect.
What makes it different: This isn’t just shiny yellow—it’s a legitimate mirror finish that reflects like metal.
Products I recommend:
- Beetles Gel Polish Kit ($25-30 on Amazon) – Includes lamp, base, top coat, and everything you need to start; cheaper kits have weak lamps that don’t cure properly
- Born Pretty Chrome Powder in Gold ($8-12) – Fine powder that creates smooth mirror finish; cheap chrome powders look patchy and streaky
- Makartt No-Wipe Gel Top Coat ($10) – Specifically formulated to stay tacky for chrome application, whereas regular gel top coat wipes clean
Alternative for beginners: Static Nails Chrome Press-Ons in Gold ($16) give you the chrome look without gel equipment investment.
Artistic & Creative Yellow
7. Sunshine Ombré
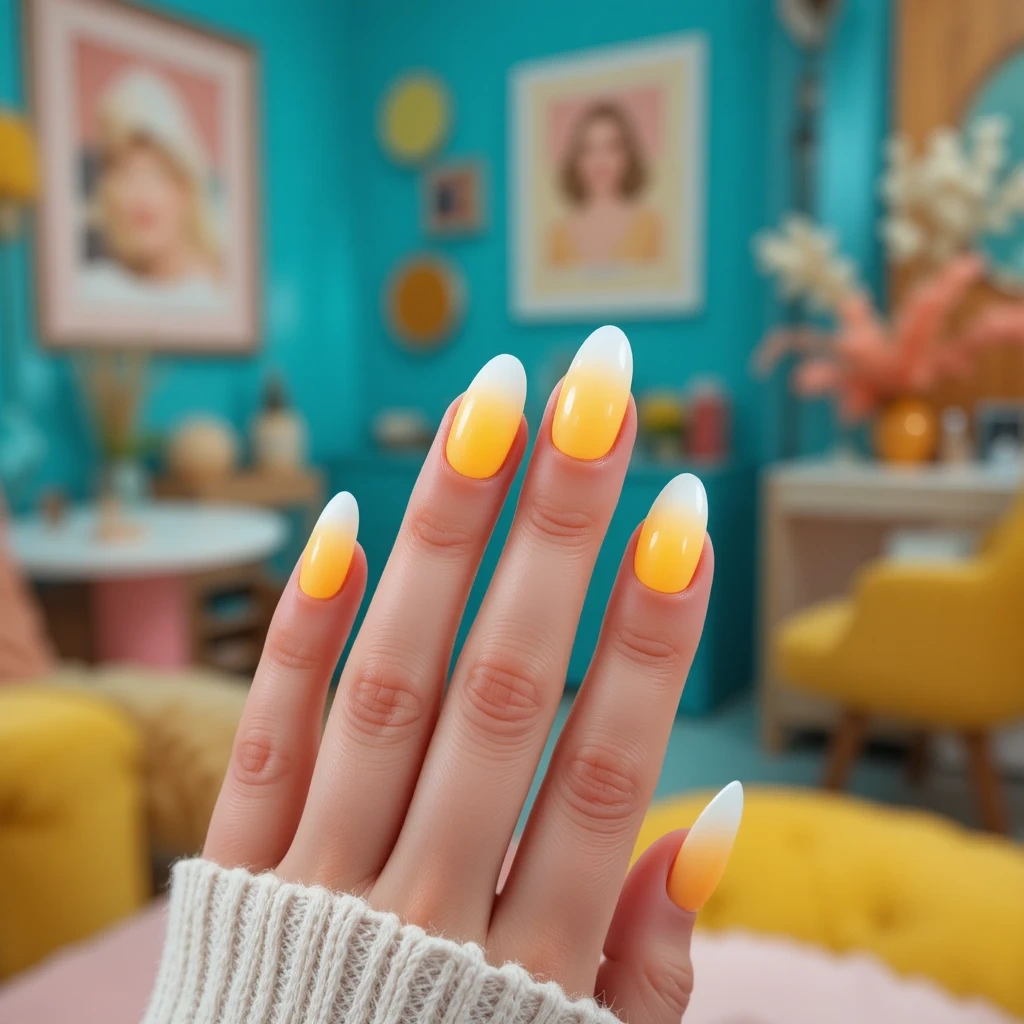
A gradient that transitions from white or cream at the cuticle to vibrant yellow at the tips, creating a sunrise effect. The soft blend gives dimension and movement while making the yellow feel less overwhelming than full coverage. This technique works on any nail length and adds visual interest without requiring intricate nail art skills.
Difficulty: Intermediate
Time to complete: 50-60 minutes
Best for: People who want dimension and visual interest without intricate nail art
Why it works: The gradient makes yellow feel softer and more wearable while creating the illusion of longer nails.
What makes it different: Most ombré nails use similar tones; this white-to-yellow gradient is more dramatic and eye-catching.
Products I recommend:
- OPI “Alpine Snow” ($10) – Bright white that creates better contrast than off-white shades
- Liquid Palisade from Kiesque ($12) – Peels off cleanly unlike tape which can pull up your gradient when removed
- Makeup wedge sponges ($3 for pack of 20 at drugstore) – Buy cheap ones since you’ll throw them away after
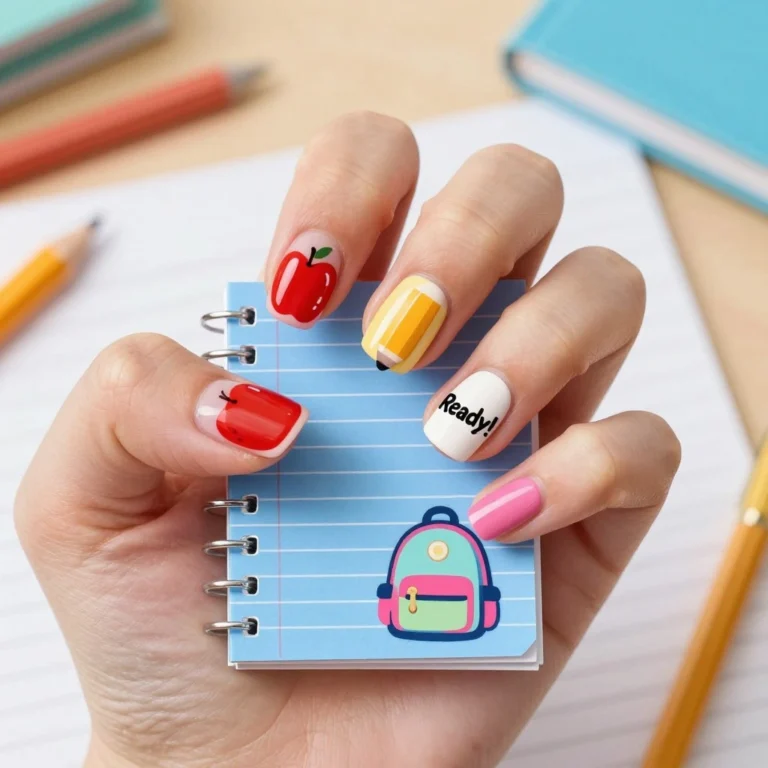
8. Daisy Accent Nails
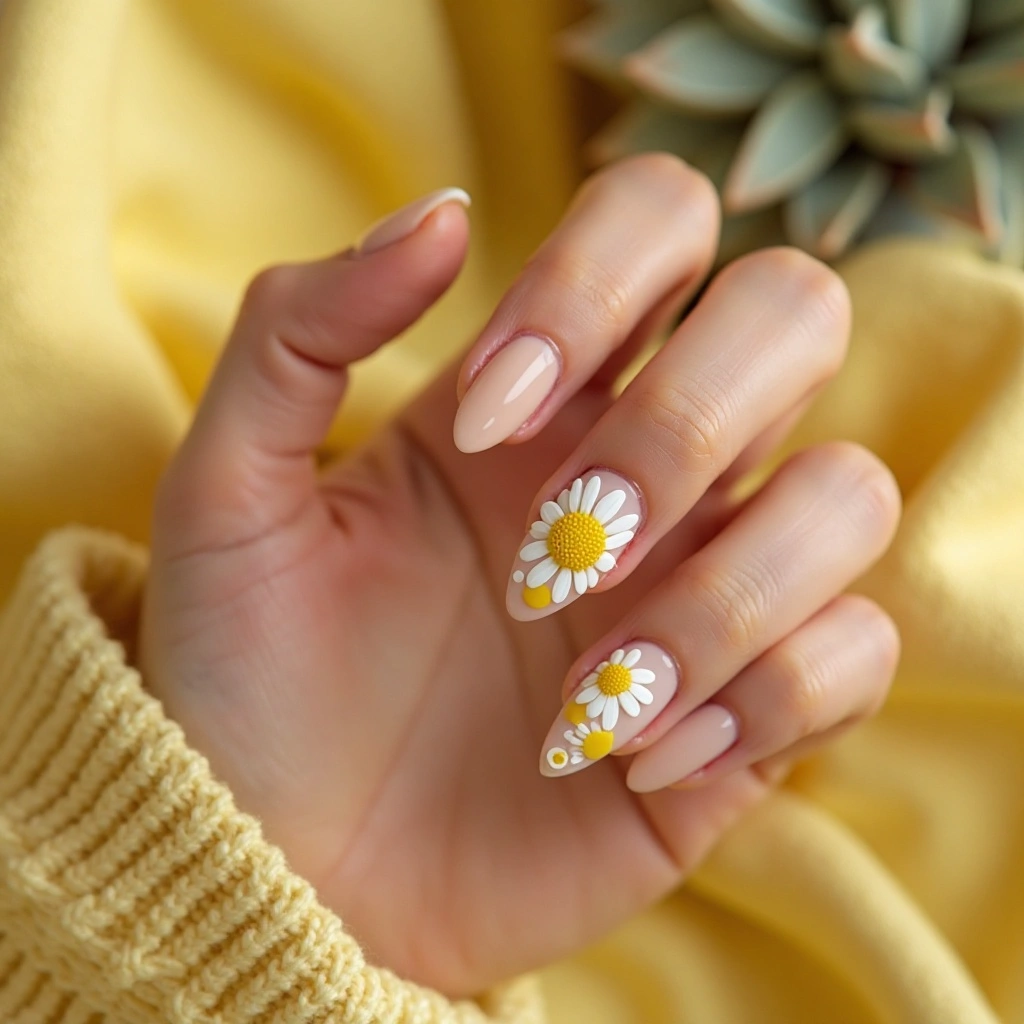
A neutral nude or white base on most nails with one or two accent nails featuring cheerful white daisy designs on yellow. The contrast between minimal base nails and detailed accent creates balance and keeps the look from feeling too busy. This design captures spring and summer energy while remaining wearable and fresh.
Difficulty: Beginner to Intermediate (depending on method)
Time to complete: 30-45 minutes
Best for: People who want cute nail art without covering all nails in yellow
Why it works: Accent nails let you experiment with yellow and nail art on just 2 fingers instead of committing all 10.
What makes it different: Most floral nail art covers all nails—this strategic placement keeps it wearable for work and daily life.
Products I recommend:
- Dotting tool set ($6-8 on Amazon) – Get a set with multiple sizes; you’ll use the same tools for dozens of nail art designs
- Kiss Nail Art Paint in White ($4) – Better consistency than regular polish for detailed work
- Alternative: Daisy nail stickers ($5-8) – If you want perfect daisies without any skill, stick these on and seal with top coat
Current Yellow Nail Trends You Need to Know
Yellow has evolved way beyond basic sunny summer nails. Here’s what I’m seeing everywhere right now.
Yellow as a year-round color: People are finally treating yellow like a neutral that works in every season instead of limiting it to summer. I’ve been wearing mustard yellow in December and butter yellow in February, and it works. The key is matching your yellow tone to the season—pastels for spring, neons for summer, mustard for fall, gold metallics for winter.
Warm metallic finishes: Gold-toned yellows and chrome finishes are absolutely dominating Instagram right now. These metallic versions feel more sophisticated than flat yellow, which makes them easier to wear for people who think yellow is “too much.” I tried chrome yellow last month and got more compliments than any manicure I’ve done in years.
Strategic yellow accents: Instead of full yellow manicures, tons of people are using yellow just on French tips or single accent nails. This makes yellow approachable—you get the pop of color without committing all ten fingers. It’s perfect for testing whether you actually like yellow on yourself.
Matte yellow: I was skeptical about this until I tried it. Matte top coat completely transforms yellow from bright and shiny to moody and sophisticated. It’s especially gorgeous in deeper mustard shades for fall. The flat finish makes even neon yellow feel wearable.
Monochromatic mixing: Wearing 3-5 different yellow shades across your nails—pale on pinkies, deep on thumbs, medium everywhere else. It creates this gradient effect that’s way more interesting than one solid color. I did this with yellows ranging from cream to goldenrod and it looked intentional, not like I couldn’t decide on one shade.
Negative space designs: Yellow geometric patterns, dots, or lines on bare nails keep the look modern and airy. The clear spaces prevent yellow from overwhelming, especially good for people nervous about wearing bold color. I’ve done yellow half-moons (cuticle area left clear) and it photographs really well.
Pros and Cons of Yellow Nails
Pros
✅ Instant mood booster – I genuinely feel happier looking at my yellow nails throughout the day
✅ Pairs with way more than expected – Works with denim, black, white, navy, and surprisingly well with pink and purple
✅ Makes a statement without trying too hard – Yellow is bold but friendly, not aggressive like some bright colors
✅ Photographs beautifully – Shows up clearly in photos unlike some pastels that disappear
✅ Works year-round – Not limited to summer if you choose the right shade for each season
✅ Makes short nails look intentional – Unlike some colors that look unfinished on short nails, yellow feels complete
✅ Budget-friendly – Most yellow polishes cost $7-12, same as any other color
Cons
❌ Shows staining on natural nails – Yellow pigment can leave your nails with a yellowish tinge if you skip base coat; I learned this the hard way
❌ Streaky application – Yellow is genuinely one of the trickiest colors to apply smoothly; expect to need 3 coats and good technique
❌ Fades faster than other colors – Yellow loses vibrancy within 5-7 days on regular polish, 10-14 days on gel
❌ Can look sloppy when chipped – Chips are way more noticeable on yellow than on nude or pink
❌ Not office-appropriate everywhere – Some conservative workplaces consider bright yellow too casual or attention-seeking
❌ Makes skin imperfections more visible – Bright colors draw attention to your hands, including hangnails, dry cuticles, or age spots
❌ Requires confidence to pull off – People will notice and comment; you need to be comfortable with that attention
❌ Hard to match undertones – Wrong yellow shade can clash with your skin tone badly; testing is essential
What Happens After 2 Weeks? Real Wear Test
I wore Sunflower Shine (bright yellow gel polish) for 21 days to see exactly how it held up. Here’s what actually happened.
Days 1-4: Perfect. The yellow looked vibrant, glossy, and freshly done. I got tons of compliments. No chips, no dullness, no issues whatsoever. I reapplied top coat on day 3 out of habit, which helped maintain the shine.
Days 5-9: Still looked good overall, but I started noticing the shine wasn’t as intense even with top coat refreshes every few days. The color itself remained vibrant with no fading, which surprised me since regular yellow polish fades by now. Tiny bit of growth visible at cuticles but not enough to bother me. No chips yet.
Days 10-14: Growth at cuticles became obvious—about 2mm of bare nail showing. The yellow color itself still looked great, no fading at all, but the glossy finish was definitely duller even with top coat refreshing. I got my first chip on my right thumb nail (my most-used finger) on day 12. It was small, just at the tip corner.
Days 15-21: Growth was around 3-4mm and looked sloppy. I got three more small chips, all on my dominant hand. The yellow color surprisingly still hadn’t faded much—gel really does protect color better than regular polish. But the combination of visible growth and multiple chips made it look worn out. I removed it on day 21.
Honest assessment: Gel yellow genuinely lasts about 2 weeks looking good. After that, growth becomes the main issue rather than color fading. If I’d filled in the growth at day 14, I probably could’ve gone another week. For regular polish, expect 5-7 days max before it looks rough.
Common Yellow Nail Mistakes (And How to Fix Them)
Mistake 1: Streaky, Uneven Yellow
What it looks like: You can see the brush strokes, and some areas look darker yellow than others. It’s patchy and sloppy-looking.
Why it happens: Yellow pigment particles are larger and settle differently than other colors, making even application really difficult. Most people also apply coats too thick trying to get coverage fast.
How to fix it:
- Don’t panic—this is fixable
- Let what you’ve applied dry completely (10 minutes)
- Apply another very thin coat, working quickly with minimal brush strokes
- If still streaky after drying, add one more thin coat
- Finish with thick top coat to even out the surface
How well it works: Usually fixes it completely if you’re patient with thin coats. If you’ve already applied 4+ coats and it’s still streaky, remove and start over with a white base coat first.
Mistake 2: Yellow Staining on Natural Nails
What it looks like: After removing yellow polish, your nails have a yellowish tinge that won’t come off with regular washing.
Why it happens: Yellow pigments penetrate the nail plate, especially if you skipped base coat or used very cheap yellow polish with heavy staining pigments.
How to fix it:
- Make a paste with baking soda and hydrogen peroxide
- Scrub nails gently with an old toothbrush dipped in the paste
- Let sit for 2-3 minutes
- Rinse and apply cuticle oil
- Repeat every few days until staining fades
How well it works: Lightens staining significantly but may not remove it completely. Deep staining can take 2-3 weeks to fully grow out. Prevention (using base coat) is way easier than fixing this.
Mistake 3: Chrome Powder Won’t Stick or Looks Patchy
What it looks like: The chrome powder rubs off in spots, leaving patchy areas where the yellow base shows through instead of mirror finish.
Why it happens: Either the gel top coat wasn’t tacky enough, you touched the nail surface before applying powder, or you didn’t cure the base layers long enough.
How to fix it:
- If you haven’t sealed with top coat yet: rub more chrome powder into the patchy spots immediately
- If you’ve already sealed: Sorry, you need to remove and start over
- Make sure you’re using no-wipe gel top coat specifically
- Cure it fully but work while it’s still slightly tacky
- Don’t touch the surface with your fingers before applying chrome
How well it works: Adding more powder before sealing usually works if you catch it immediately. Once you’ve sealed with top coat, there’s no fixing patchy chrome—you have to start fresh.
Mistake 4: Neon Yellow Dries Matte Instead of Glossy
What it looks like: Your neon yellow has this flat, dull finish instead of the shiny bright look you wanted.
Why it happens: Some neon formulas naturally dry with a semi-matte finish due to the fluorescent pigments used. It’s not a mistake in your application—it’s the polish itself.
How to fix it:
- Apply a thick coat of glossy top coat
- Wait 2 minutes, apply a second thick coat of glossy top coat
- Use a fast-dry top coat formula for best shine
How well it works: Usually brings back the glossy shine completely. If it still looks matte after two top coats, the polish formula is just resistant to shine—try a different brand next time.
Maintenance Tips for Yellow Nails
Week 1: Keeping It Fresh
Day 1-2 after application:
- Avoid water completely for 12 hours after painting to let polish fully cure. This means no dishes, no long showers, no swimming. I know it’s annoying, but it genuinely adds 3-4 days to your manicure’s lifespan.
- Apply cuticle oil twice daily using a pen like CND Solar Oil ($8) or any drugstore cuticle oil. Focus on the cuticle area and edges where lifting starts. This keeps the seal between polish and skin intact.
Day 3:
- Reapply top coat for the first time. Use the same top coat you applied originally and make sure to cap the free edge. This refreshes the protective barrier before it starts breaking down.
Day 5:
- Check for early lifting at cuticles or tips. If you see any tiny separation, apply a thin layer of top coat just to that area immediately. Catching lifting early prevents moisture from getting underneath and causing bigger problems.
Why this matters: The first week is when your manicure is most vulnerable to damage from daily activities. Being careful now means it lasts way longer.
Week 2: Maintaining the Look
Day 7:
- Second top coat refresh. By now, your original top coat has worn down significantly from handwashing and daily activities. Reapply to all nails, being generous with the product.
Day 10:
- Assess growth. You’ll have about 2mm of visible natural nail at cuticles. If it bothers you aesthetically, this is when you’d typically remove and redo. If you want to push it longer, continue maintenance.
Every 2-3 days:
- Keep applying cuticle oil religiously. I use Burt’s Bees Lemon Butter Cuticle Cream ($6) at night because it’s thicker and more moisturizing than oils.
Why this matters: Week two is when yellow starts fading on regular polish (though gel holds up better). The top coat refreshes help maintain color vibrancy and prevent chips from turning into full peeling.
Seasonal Adjustments
Summer (extra sun exposure):
- Reapply top coat every 2 days instead of every 3 because UV exposure breaks down polish faster
- Consider gel polish or UV-resistant top coat like Out the Door Northern Lights ($9) if you’re outdoors a lot
- Apply an extra thick top coat before swimming (chlorine is brutal on yellow)
Winter (extreme dryness):
- Apply cuticle oil 3 times daily minimum because dry cuticles cause lifting
- Keep nails shorter than usual—dry nails break easily when long
- Use thick hand cream like Eucerin or CeraVe ($10-15) after every hand washing
Why this matters: I’ve had yellow manicures last 3 days in summer sun versus 9 days in winter with the same polish—seasonal care genuinely changes longevity.
FAQ
How do I keep yellow polish from staining my nails?
Always use a base coat—this is non-negotiable with yellow. I learned this the hard way after my nails stayed yellow-tinted for two weeks. Apply base coat to completely dry nails and let it dry for a full 2 minutes before adding color. If you’re using a very pigmented yellow, apply two coats of base for extra protection.
Can I wear yellow nails to a job interview?
It depends on the industry. For creative fields, tech, or casual environments, softer yellows like butter cream or French tips with yellow are fine. For conservative fields like law, finance, or corporate, I’d skip yellow entirely or choose a barely-there pale yellow that reads more as an unusual nude. When in doubt, go with nude—job interviews aren’t the time to test boundaries.
Why does my yellow polish look green/orange after a few days?
This happens when yellow’s undertones become more visible as the polish oxidizes. Yellow polish with blue undertones shifts greenish; yellow with red undertones shifts orangey. There’s no fix once it happens—you need to remove and repaint. To prevent it, choose higher-quality polishes from brands like OPI or Essie that have better color stability, and use a UV-resistant top coat if you’re in the sun a lot.
How long does yellow gel polish actually last?
In my experience, about 2-3 weeks before growth becomes too obvious to ignore. The color itself doesn’t fade much during that time—growth is the limiting factor. I’ve pushed it to day 21 before, but by then I had visible chips and 3-4mm of growth that looked sloppy. If you get fills at a salon every two weeks, you could theoretically keep yellow gel going indefinitely.
Conclusion
Yellow nails might feel bold at first, but they’re more wearable than you think when you choose the right shade and technique. A good starting point is Butter Cream Dream or Lemon Sorbet Tips—both give you yellow’s cheerful energy without the full commitment.
Grab the products mentioned for your chosen design, set aside an hour this weekend, and give it a try. You might be surprised how much you love seeing that pop of sunshine every time you look at your hands.