Why Does Chrome Powder Look Dull or Patchy? (And How to Fix It)
If you’ve ever rubbed chrome powder onto your nails and ended up with something that looks more like smudged eyeshadow than a mirror finish, you’re not alone. This is probably the most frustrating thing about chrome nails — it looks so easy in videos, but in real life, it can go flat, patchy, or just… wrong.
I’ve been there. The first few times I tried chrome, I thought I had a bad product. Nope. It was almost always something I was doing (or skipping) that killed the effect.
This guide is going to walk you through exactly why it happens and how to actually fix it — not with vague tips, but with the specific things that make the difference.
Why Does Chrome Powder Look Dull or Patchy
Chrome powder doesn’t bond to your nail itself — it bonds to the gel that’s underneath it. This is the thing most beginners don’t fully understand, and it explains almost every problem.
The powder works by filling into an ultra-smooth, slightly tacky surface and reflecting light off of it. If that surface is too thick, too bumpy, too dry, or the wrong type of gel — the chrome won’t stick properly, and it definitely won’t shine.
Here are the main culprits:
1. Using regular top coat instead of no-wipe gel This is the #1 mistake. Regular gel top coat has a “wipe” layer (the tacky inhibition layer) that you remove with alcohol. Chrome needs that tacky layer to grip onto. If you wipe it away, you have nothing for the chrome to stick to.
2. Curing too long — or not long enough If your no-wipe top coat is over-cured, it becomes too hard and the chrome just sits on top instead of bonding. Under-cured, it stays wet and smears. There’s a sweet spot, and it depends on your specific lamp.
3. The base isn’t smooth enough Chrome amplifies every tiny bump, ridge, or bubble in your gel layers. If your gel base isn’t perfectly smooth before you apply chrome, all of those imperfections show up even more once the powder is on.
4. Applying too much pressure when rubbing It feels like you should press hard to “buff” it in. But chrome is delicate — heavy pressure moves it around instead of bonding it, and you end up with streaks.
5. Using your finger instead of a proper chrome applicator Fingers leave oils and uneven pressure. The silicone-tipped chrome applicators exist for a reason.
Step-by-Step: How to Get Chrome to Actually Work
Let’s go through this from the top, assuming you’re starting fresh.
Step 1: Prep your nails properly (this matters more than people admit)
Push back your cuticles and file your nails smooth. Any lifting or peeling at the edges will catch chrome powder and make it look messy.
Apply your gel base coat, cure it, then apply your colored gel (black, nude, or whatever base you want under the chrome). Cure each layer fully. Make sure the surface is smooth — if you see any brush marks or bumps, gently file them down before your final layer.
Step 2: Apply a THIN layer of no-wipe gel top coat
This is not optional — it must be a no-wipe formula. Apply it thinly and evenly. Thick layers cause problems.
Cure it in your lamp, but here’s the key: reduce your cure time by about 10–15 seconds from what you normally do. You want it cured but with just a tiny bit of tackiness left. This gives the chrome something to grip.
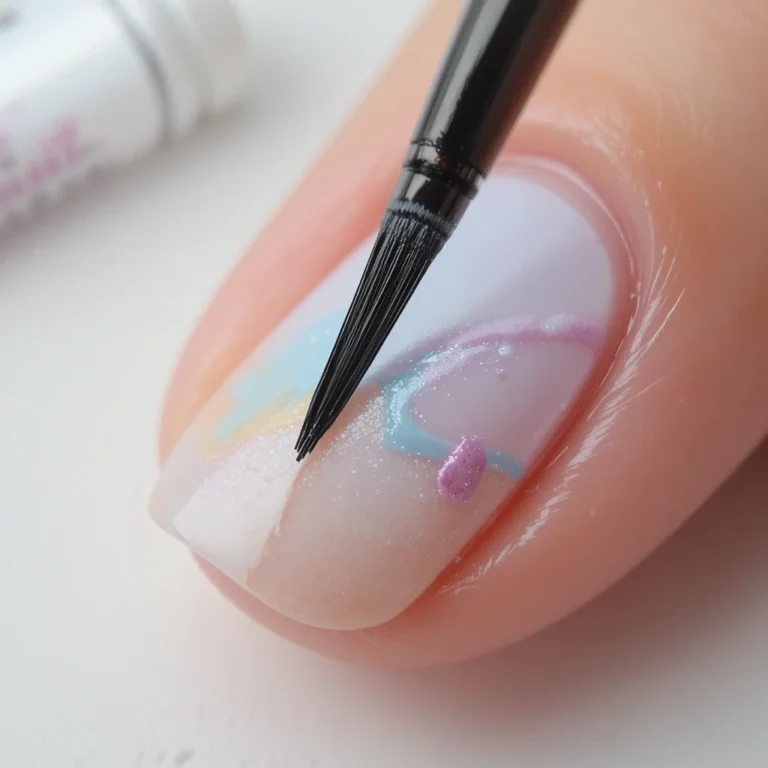
Step 3: Apply the chrome powder with light, circular strokes
Take a small amount of chrome powder on your silicone applicator. Start from the center of the nail and work outward in small, light circular motions. Don’t press hard.
You’ll see it start to shift from matte to metallic after a few passes. Keep going until the whole nail is covered. If one area looks dull, add a tiny bit more powder and go over it again lightly.
Step 4: Buff with a clean part of the applicator
Once you’ve applied the chrome, use a clean section of your silicone tip (or a fresh one) to do one final light buff across the whole nail. This evening-out step removes any powder that didn’t bond and makes the finish more uniform.
Wipe away the excess loose powder with a dry brush — not a wet wipe.
Step 5: Seal it properly
Apply your final no-wipe top coat over the chrome. Do this carefully — use light strokes and don’t go back and forth repeatedly, or you’ll move the chrome underneath. Cure fully.
If you want extra shine or longevity, a second top coat layer works well.
Common Mistakes (And What’s Really Happening)
“I used no-wipe top coat but it still looks dull.” Check your cure time. If you’re curing for the full recommended time and it’s coming out too hard, the chrome has nothing to bond into. Try shaving 10 seconds off. Every lamp is different.
“One part of the nail is shiny but the rest is patchy.” This usually means your top coat layer wasn’t even. Thicker spots cure differently than thin spots, so you end up with inconsistent tackiness. Practice applying the top coat in one smooth pass.
“The chrome looks great but smears when I apply the final top coat.” You’re probably using too much pressure with the brush, or your top coat is too thick. Use a gel brush with very light strokes, and make sure you’re not going back and forth — one direction only.
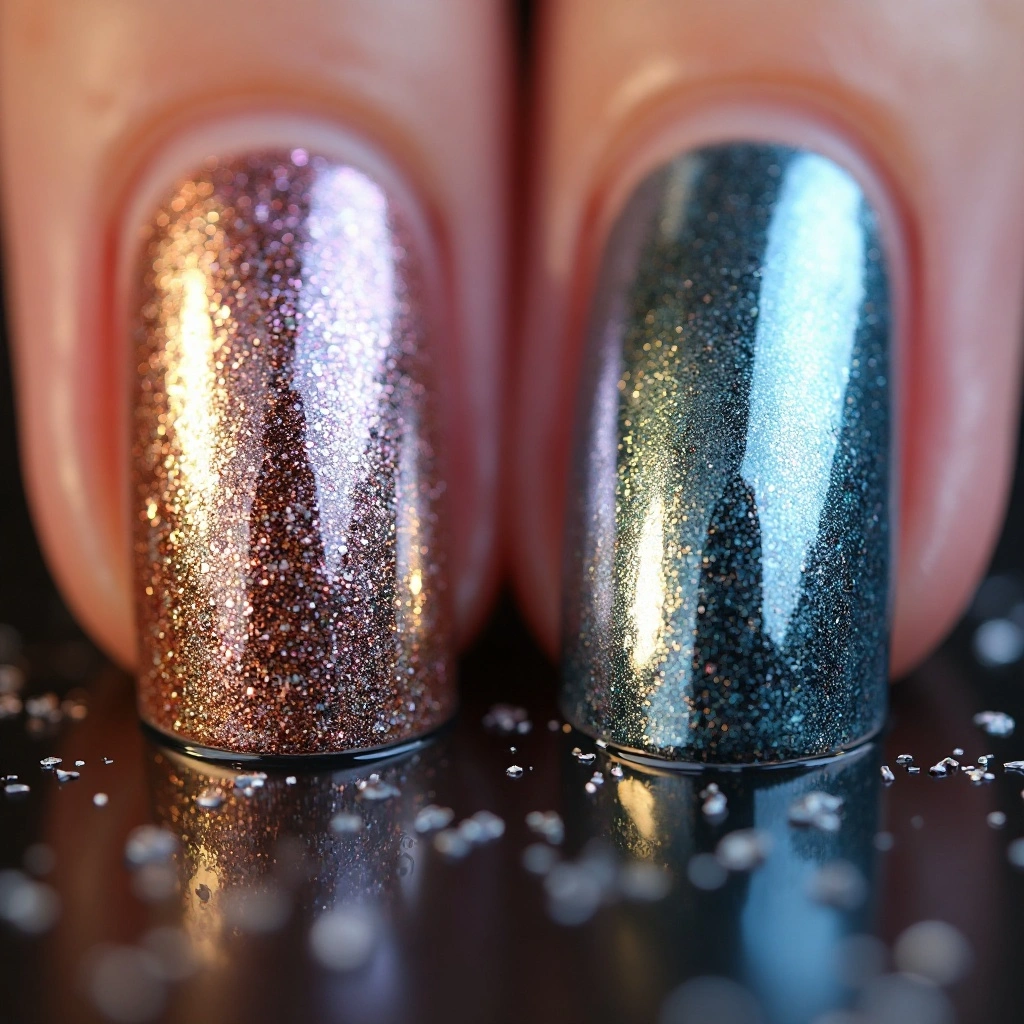
“I tried chrome on a light color base and it looks washed out.” Chrome works best over dark bases — especially black. On nude or pastel colors, it reflects less dramatically. If you want chrome on a lighter base, look at “aurora” or “unicorn” chrome powders which are designed for that.
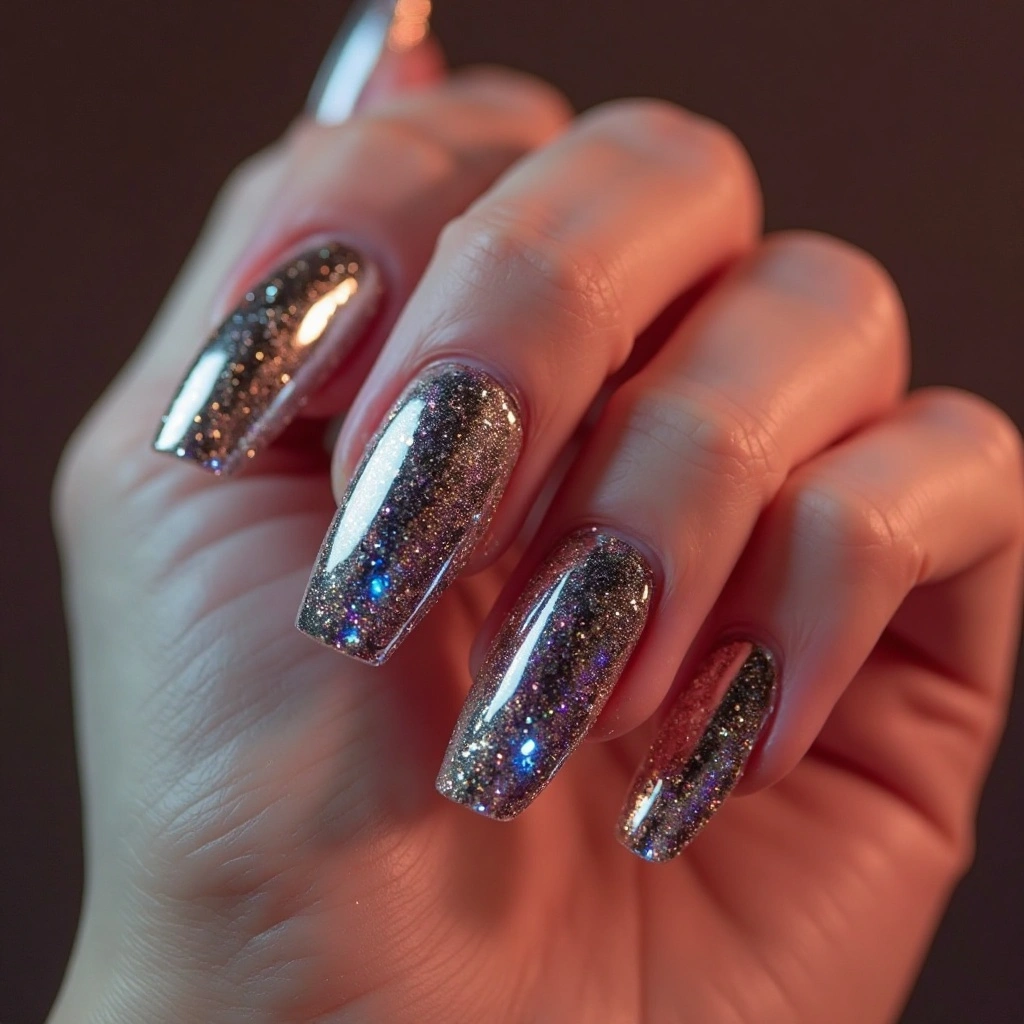
What to Expect After You Fix It
Once you get the technique right, your results should change pretty quickly. The first time it clicks, it’s a little shocking — the difference between dull and mirror-finish is dramatic.
Realistic expectations:
- First attempt after reading this: Better, but maybe not perfect. That’s normal.
- After 2–3 practice sessions: You’ll find your exact cure time and pressure, and it’ll become consistent.
- Longevity: Chrome nails done correctly over gel last as long as your gel manicure — typically 2–3 weeks without major chipping.
What won’t change overnight: finding the exact cure time for your specific lamp. This takes a few tries. Keep a note of what worked.
Extra Tips That Actually Make a Difference
Black base = best results, always. If you’re just learning, always practice chrome on a black gel base first. The contrast shows you exactly how well the chrome is bonding.
Don’t shake the chrome jar before use. I know it’s tempting, but it creates static and can cause uneven application. Just open it and dip your applicator in gently.
Old chrome powder can go bad. If your powder has been open for a long time and exposed to humidity, it can clump and lose its reflective quality. Store it sealed and in a cool, dry spot.
Try different chrome powders. Not all chrome powders are equal. Some brands apply more easily, some have more dramatic mirror effects. Cheaper isn’t always worse — but very cheap powders often look flat no matter what you do.
Watch your top coat brand. Some “no-wipe” top coats cure harder than others, which affects how well chrome bonds. If you’ve tried everything and it’s still not working, try switching top coats.
FAQ
Can I use chrome powder over regular nail polish (not gel)? No — chrome powder needs a gel surface to bond to. Over regular polish, it won’t stick and will just wipe off. You need at least a no-wipe gel top coat as your final layer before applying chrome.
Why does my chrome look great right after but dulls after sealing? This almost always means your final top coat moved the chrome around during application. Use very light, one-direction strokes when applying the top coat, and make sure you’re not using too much pressure. Also check that your top coat isn’t too thick coming off the brush.
Does it matter what color I use under chrome? Yes, a lot. Dark bases (especially black, navy, or deep plum) give you the most dramatic mirror effect. Lighter bases give a softer, more iridescent look. Some chrome powders are specifically made for light bases — check the label or listing before buying.
One Last Thing
Chrome nails have a bit of a learning curve, but once you understand that it’s all about the gel layer underneath — not the powder itself — everything starts to make sense. The powder is just reacting to what you’ve given it to work with.
Fix your base, watch your cure time, and use a light hand. That’s really it.
Next step: Try it on one nail as a test before doing your whole hand. Black gel base, thin no-wipe top coat, reduced cure time. See how it looks before committing to all ten fingers. You’ll know immediately if something needs adjusting.