How to Paint Short Nails So They Look Longer (Not Stubby)
Here something nobody warned me about when I first started doing my own nails: the wrong polish color on short nails can make them look almost half the size they actually are. I painted my nails a deep burgundy one morning, looked down, and all I could see were tiny little circles of color. Stubby. Compact. The opposite of what I wanted.
The frustrating part? My nails weren’t even that short. It was the technique that was wrong — not my nails. So How to Paint Short Nails So They Look Longer let jump into it
If you’ve had that same experience, this guide is going to fix it. I’m going to walk you through exactly which colors work, how to apply them to create the illusion of length, and the small habits that make a massive difference when you’re working with shorter nails. No vague advice. Real steps.
Why Short Nails Look Stubby in the First Place
Before you can fix something, it helps to understand why it happens.
When you paint all the way to the skin on both sides of your nail — what’s called flooding the sidewalls — you widen the visible nail area. More width, less length. It’s basic proportion: a square looks shorter than a rectangle.
Certain colors make this worse. Very dark shades, very bright shades, and chunky glitters all draw the eye outward across the nail instead of upward toward the tip. Your nail reads as wide before it reads as long.
Everything in this guide is designed to reverse that — to make the eye travel vertically along the nail, not horizontally.
Step-by-Step: How to Paint Short Nails to Look Longer
Step 1: Start With Neat, Filed Nails
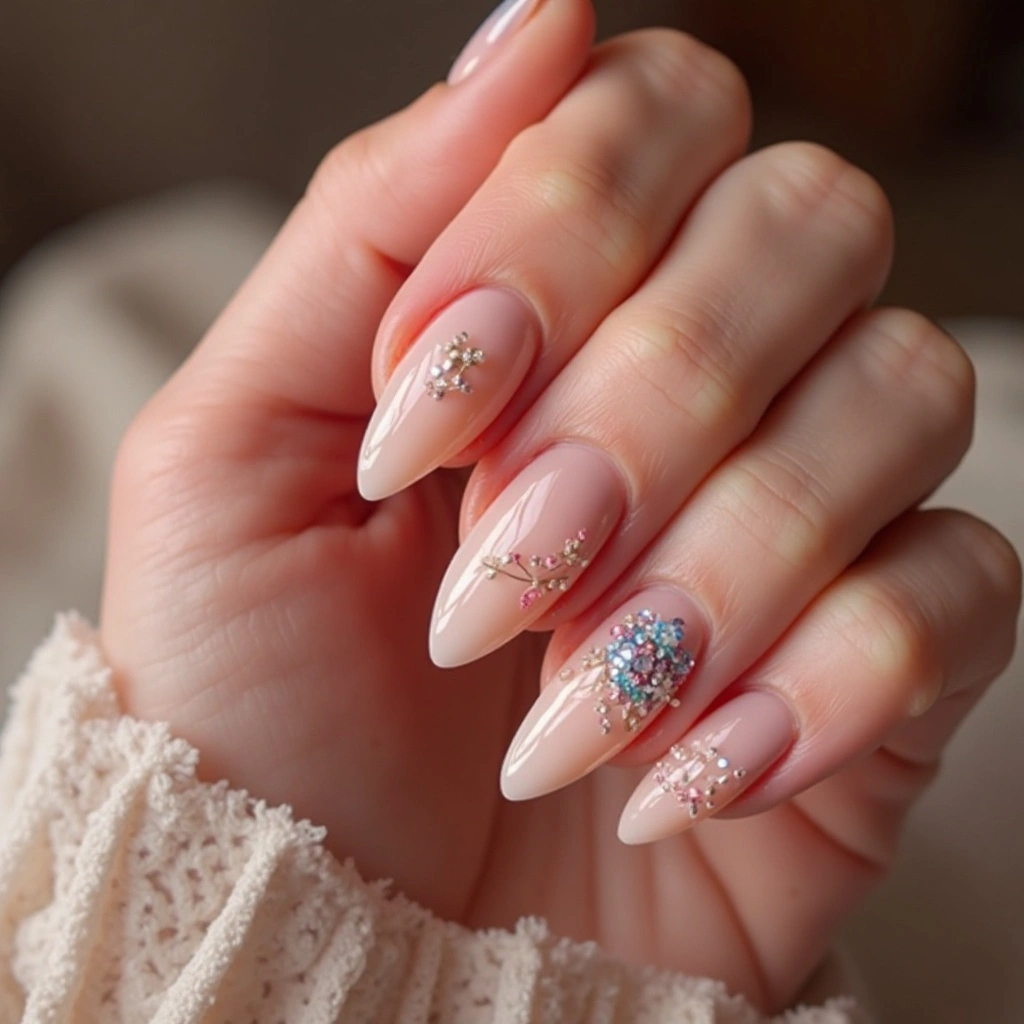
Shape matters more on short nails than on long ones. A rounded or oval shape is your best friend here — it creates a gentle arc at the tip that tricks the eye into seeing more length. Avoid flat, square tips on short nails; they emphasize width.
File in one direction (not back and forth), and taper the sides ever so slightly near the free edge. You don’t need a dramatic almond shape — just a hint of narrowing at the tip is enough.
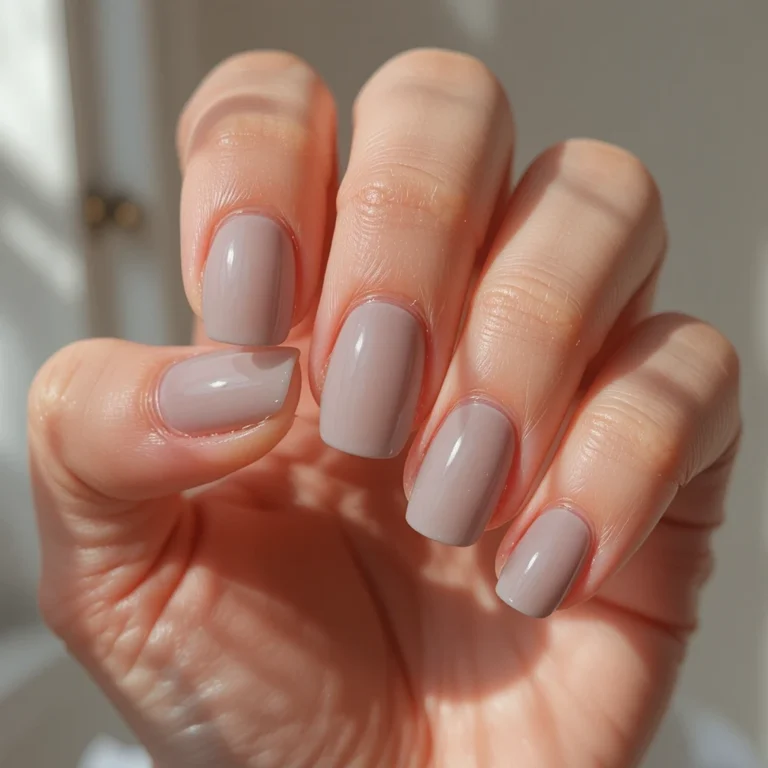
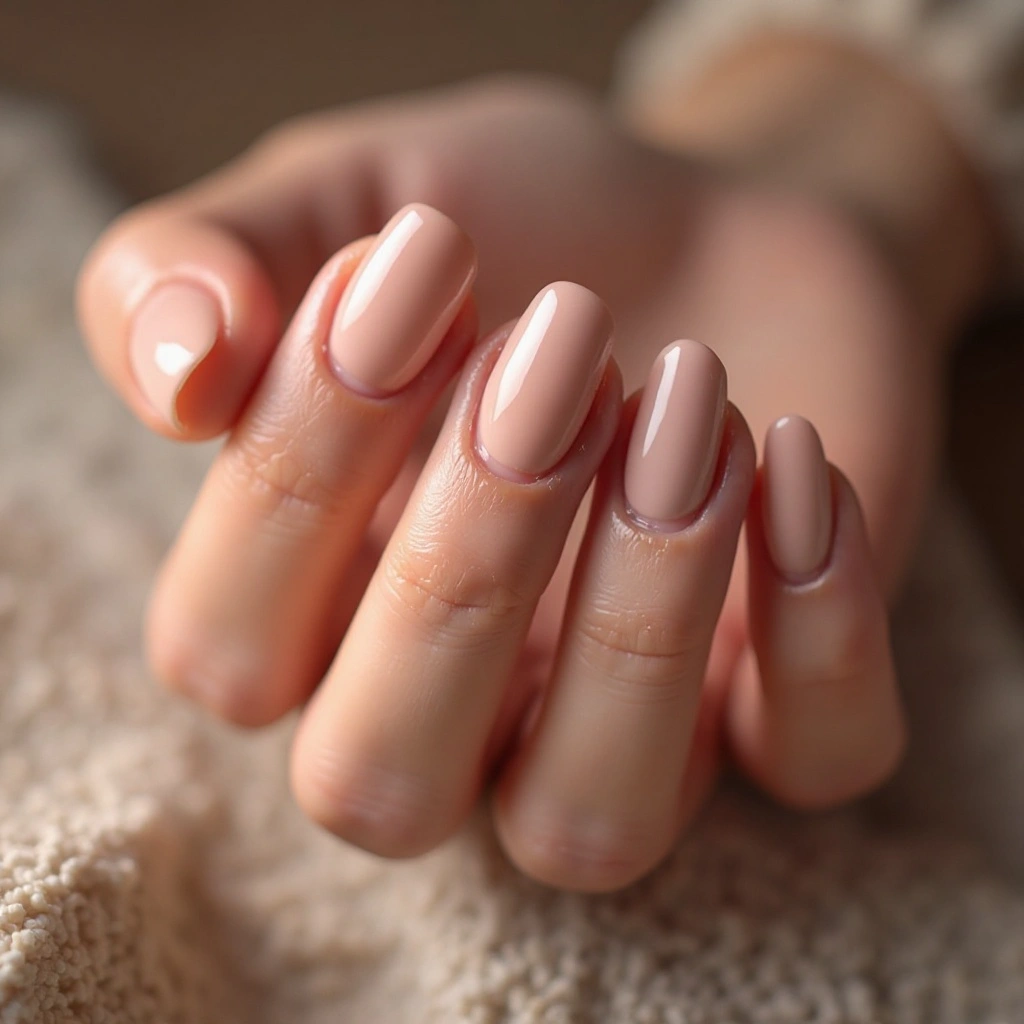
Step 2: Apply a Nude or Skin-Toned Base Color
This is the single biggest cheat code for short nails, and most beginners skip it because it sounds boring.
A nude shade that’s close to your natural skin tone blurs the line between where your finger ends and your nail begins. It visually extends the nail bed — your nail appears to start earlier than it actually does.
Pick a nude that leans slightly pink or peachy. Hold it next to your finger before buying. The closer it matches your skin, the better the effect.
Step 3: Leave a Tiny Gap on Both Sides
This is the technique most blogs either skip or explain badly, so let me be specific.
When you paint, don’t go all the way to the skin on the sides of your nail. Leave a gap of about 0.5mm — roughly the width of a thin line — on each side. You barely see it, but it creates a visual “shadow” that makes the nail look narrower and therefore longer.
To do this: place your brush slightly inward from the edge, press down gently so the bristles spread, then stroke toward the tip. Don’t drag the brush sideways into the skin.
It feels awkward the first two or three times. By the fourth, it’s automatic.
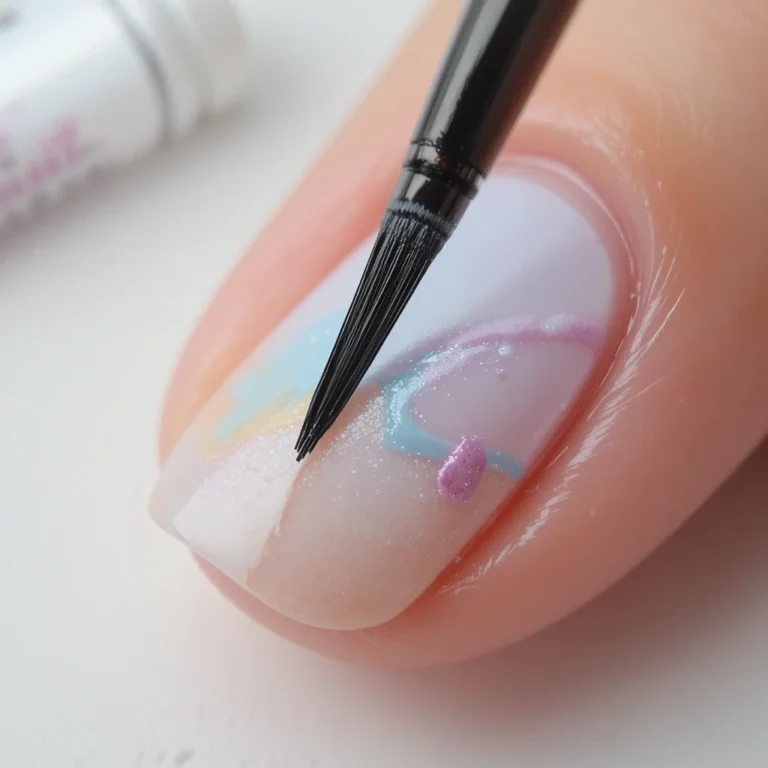
Step 4: Tuck the Color Just Below the Cuticle Line
Most beginners paint on top of the cuticle line. Instead, tuck the first stroke just slightly underneath it — maybe 0.5mm below the actual cuticle edge.
This adds perceived length at the base of the nail. Push your cuticles back gently before painting — dry or overgrown cuticles sitting on the nail plate physically shrink the visible nail area before paint even touches it.
Step 5: Use a Vertical Stroke Pattern
Three strokes: one down the center, one on the left side, one on the right — all stroking from base to tip, never side to side.
Horizontal strokes emphasize width. Vertical strokes emphasize length. Always go base to tip.
Step 6: Apply a Glossy Top Coat
Matte finish polish flattens the nail visually and makes short nails look wider and duller. A glossy top coat creates a slight convex reflection that adds depth and curvature — both of which read as longer.
Apply in the same three vertical strokes. Cap the free edge by running the brush along the nail tip — this prevents chipping and reinforces the elongated look.
Common Mistakes That Make Short Nails Look Worse
Flooding the sides with color. The most common mistake. If your polish is touching the skin on both sides, you’re widening your nail visually. Pull those edges in slightly.
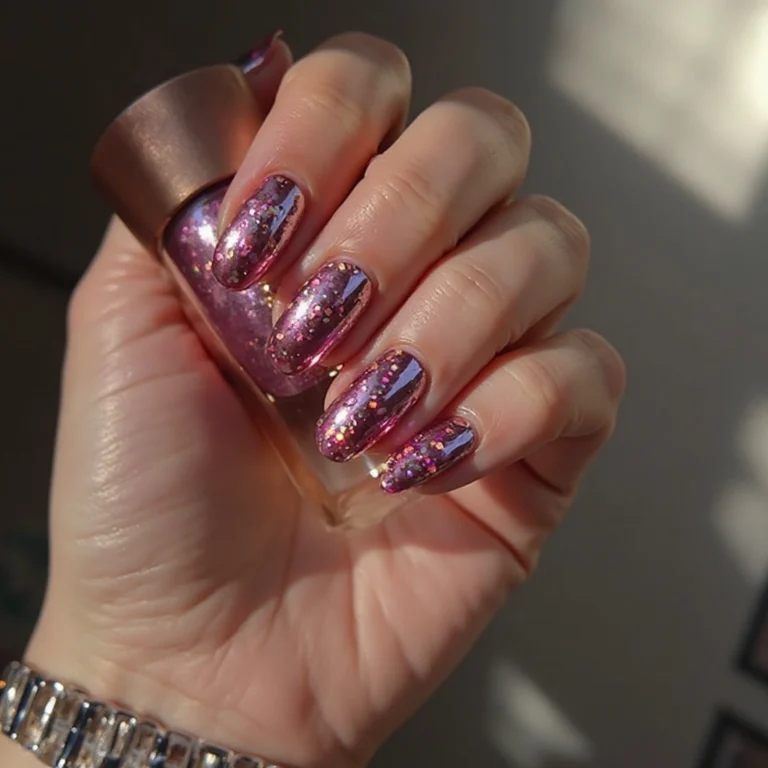
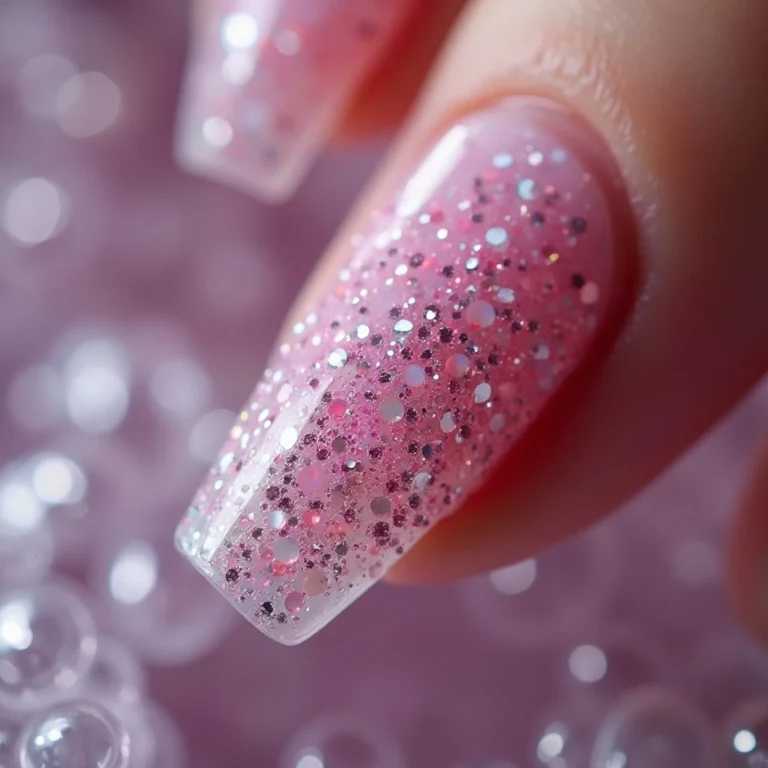
Chunky glitter on a single accent nail. Chunky glitter draws attention to the nail area rather than its length. If you love glitter, use fine shimmer — it catches light without expanding visual width.
Skipping cuticle prep. Unpushed cuticles can eat up 1–2mm of visible nail length. On a short nail, that’s significant. Thirty seconds with a cuticle pusher before painting changes the whole look.
Applying too thick a coat. Thick polish pools at the sides and cuticle, making nails look lumpy and small. Two thin coats always beat one thick one — if the first coat looks streaky, let it fully dry before the second.
What to Expect After Fixing Your Technique
The first time you apply these tips, your nails will look noticeably different — but here’s the honest part: you probably won’t get it perfect on the first try.
The side gap technique takes practice. You might go too far in or accidentally flood the edges out of habit. Completely normal.
By your third or fourth manicure using this approach, it becomes muscle memory. What most people notice first isn’t even the length illusion — it’s that their nails just look neater. Cleaner edges and prepped cuticles do that on their own. The length effect builds on top.
Extra Tips That Actually Make a Difference
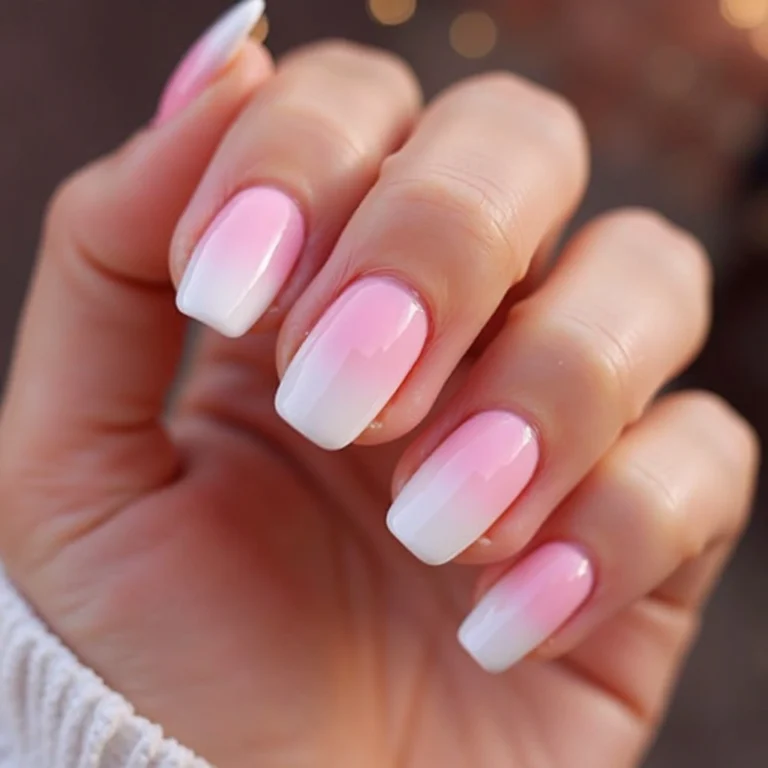
Paint just the free edge white or cream. If you have even a tiny natural free edge, painting that tip in white or cream creates a built-in French tip extension. Takes five seconds and adds visible length.
Your dominant hand will always be harder. If you’re right-handed, your left hand will look great and your right will frustrate you. This is a coordination issue, not a technique problem — don’t abandon the method because one hand is messier.
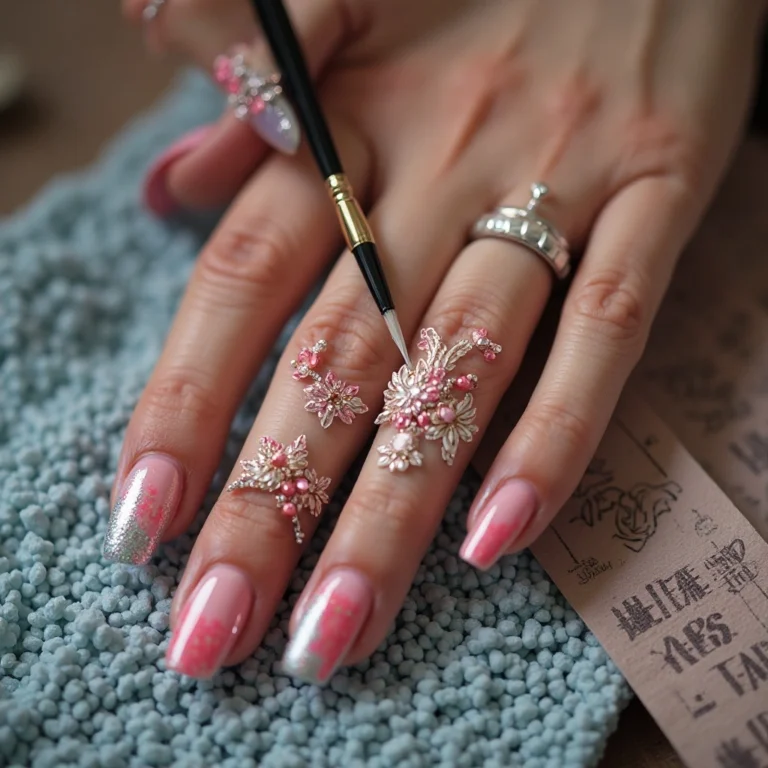
Elongated designs work with you. Thin vertical lines, single stripe accents, a delicate half-moon near the cuticle — all draw the eye upward. Save bold wide geometric shapes for longer nails.
FAQs
Can I wear dark colors on short nails at all? Yes — just adjust how you apply them. Keep the side gaps, use vertical strokes, and add a high-shine top coat. Dark nails on short fingers can look very polished. The mistake is applying dark color without compensating for how it absorbs light and flattens visual length.
How short is “too short” for nail polish to look good? There’s no real lower limit. Even very bitten nails look neater with polish once cuticles are prepped. The shorter the nail, the more the nude base and side gap technique matter — you’re working with less canvas, so precision just counts for more.
Does nail shape actually make a noticeable difference? More than most beginners expect. A rounded or oval shape genuinely changes the proportional look of a short nail. Square shapes emphasize width — that’s fine on long nails, but works against you on short ones. It only takes a few tries to get comfortable filing for an oval shape.
Final Thoughts + Your Next Step
How to Paint Short Nails well look infinitely better than long nails painted carelessly. Technique is everything.
The one thing I want you to walk away with: leave the side gap. That single habit will change your manicures more than any color or product switch. Next time you sit down to paint, just try it — keep that thin sliver of skin showing on each side. See what happens.
Once that clicks, everything else in this guide builds naturally. Your nails won’t grow overnight, but they’ll look like they did.
Found this helpful? Save it for your next manicure — and check out [related post] if you’re ready to take your short nail looks even further.