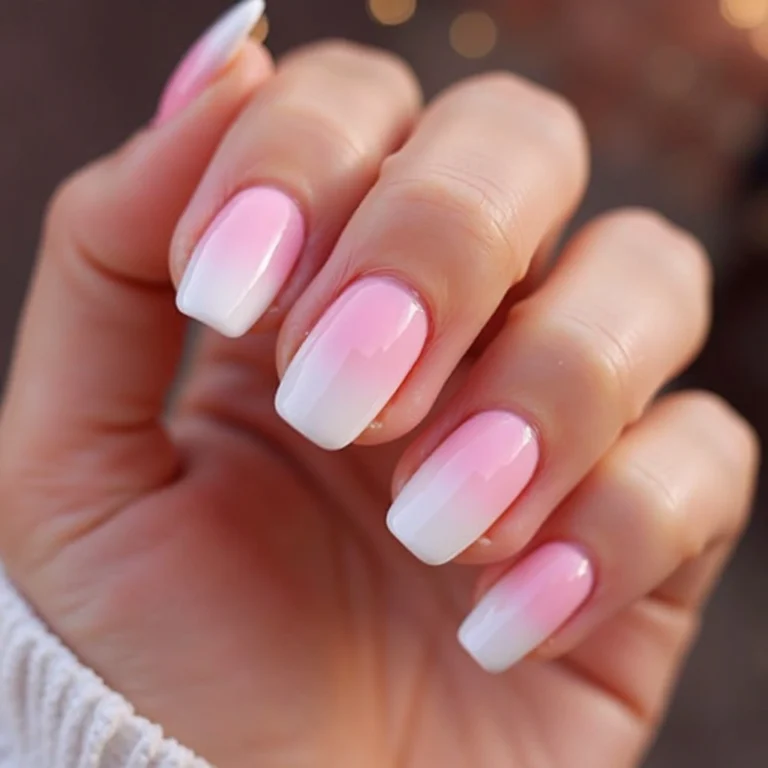
How to Remove Glitter and Chrome Nails Without Wrecking Your Natural Nails
If you’ve ever peeled off glitter nails in frustration — or watched your nail peel off with them — you already know the problem. Glitter gel and chrome nails are beautiful while they last, but getting them off cleanly is honestly one of the most annoying parts of the whole nail journey.
I’ve been there. I pulled a glitter gel set off in chunks once and spent the next month dealing with nails so thin they bent when I touched a keyboard. Never again.
This guide will walk you through exactly how to remove both glitter and chrome nails at home without causing that kind of damage — and more importantly, I’ll explain How to Remove Glitter and Chrome Nails and why each step matters so you actually understand what you’re doing, not just following instructions blindly.
Why Glitter and Chrome Nails Are So Hard to Remove
Regular gel polish is annoying to remove. Glitter gel and chrome? A whole other level.
Here’s why:
Glitter gel has chunky particles suspended in the gel formula. Those particles create a rough, uneven surface that grips the gel layer beneath it — and grips your nail plate too. Soaking alone often isn’t enough to break that bond fully, which is why people end up scraping, which is where the damage starts.
Chrome nails have an extra layer on top — usually a powder or pigment rubbed onto a sticky gel layer. That top layer seals everything in. If you haven’t cured or applied it correctly, it can feel almost plastic. It doesn’t respond to acetone the same way regular color gel does — it gets gummy and sticky before it lifts, and a lot of people stop right there and start scraping. That’s the mistake.
Both of these types also tend to be applied in thicker coats than regular gel, which just means more product to break down, more time needed, and more patience required.
What You’ll Need Before You Start
Don’t skip collecting everything first. Stopping mid-removal to hunt for foil is how you end up scraping.
- 100% pure acetone (not nail polish remover — that’s too weak)
- Cotton balls or squares (not rounds — they fall apart)
- Aluminum foil, cut into small squares
- A coarse nail file (180 grit) or e-file if you have one
- A soft cuticle pusher or orangewood stick — not a metal scraper
- Cuticle oil or coconut oil
- A small bowl (optional, for soaking method)
- Hand cream for after
Step-by-Step Removal: The Right Way
Step 1: Break the Seal First
This is the step most tutorials rush past, and it makes a huge difference.
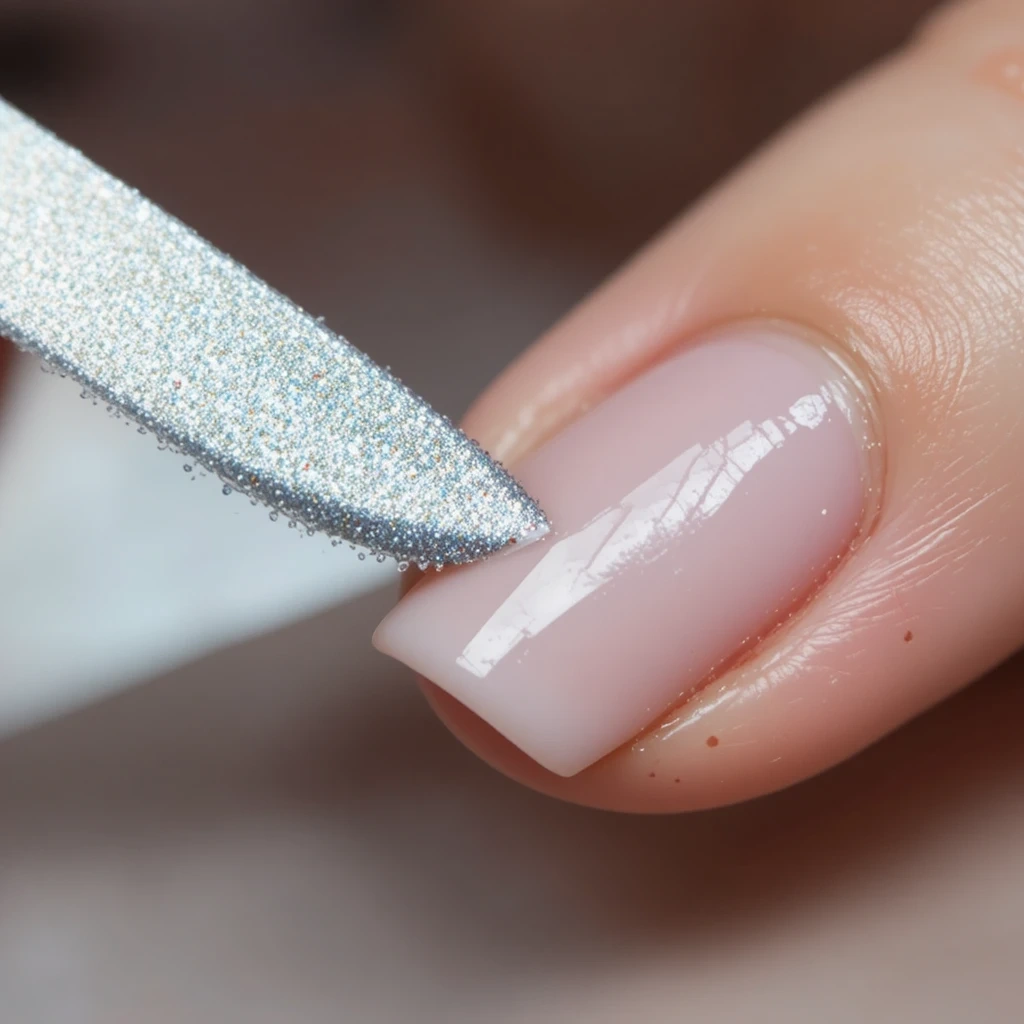
Use your 180-grit file to gently buff the surface of the nail. You’re not trying to file the gel off — you’re just breaking through the top coat seal so the acetone can actually penetrate. If you skip this, you’ll soak for 15 minutes and nothing will happen because the top coat is acting like a waterproof barrier.
For chrome nails, pay extra attention here. The chrome layer is very smooth and slippery. Make a few passes with your file until the shine is completely gone and the surface looks matte and dull. You’ll notice it immediately.
For glitter, the texture already gives you some grip, but still buff lightly — there’s often a thick glossy top coat over the glitter that seals everything in.
How much to file: You should see no shine left. If any part still looks shiny, that area will resist the acetone.
Step 2: Protect Your Skin
Apply a thin layer of cuticle oil or plain coconut oil around your cuticles and the skin around your nails. Acetone is drying, and it doesn’t care whether it’s removing gel or your skin’s moisture — it takes both.
You don’t need a lot. Just rub it around the skin, not on the nail itself.
Step 3: Soak Your Cotton and Wrap
Soak a cotton ball in acetone until it’s saturated — not dripping, but fully wet. Press it flat against the nail surface. Wrap a square of foil tightly around the fingertip to hold it in place.
The foil serves two purposes: it keeps the cotton pressed against the nail (contact matters) and it traps heat, which speeds up the process.
Do all ten fingers before you start the timer. Yes, it’s awkward. Yes, it’s worth it.
Step 4: Wait — Actually Wait
For regular gel: 10–12 minutes is usually enough. For glitter gel: 15–20 minutes minimum. For chrome: 15 minutes, sometimes more.
I know it’s boring. I know you want to check. Don’t unwrap early.
If you unwrap at 10 minutes and the product isn’t ready, you’ll be tempted to scrape. Scraping is what damages nails. Just set a timer and leave them alone.
Step 5: Remove and Gently Push
Remove one finger at a time. Keep the others wrapped.
When you take the foil off, the gel should look soft, lifted at the edges, or even gummy. Take your orangewood stick and gently push from the cuticle toward the tip. It should slide off in soft chunks or sheets.
If it’s not moving easily, re-wrap for another 5 minutes. Seriously. That resistance you feel isn’t worth fighting — you’ll damage the nail plate.
For chrome: The chrome layer will come off looking like metallic flakes in the acetone gunk. That’s normal. It might take two rounds of soaking to get every bit off cleanly.
Step 6: Buff Off the Residue
Once the bulk is gone, there’s usually a thin layer of gel or adhesive residue left. Use a fine-grit buffer (not the coarse file) to lightly smooth the nail surface. You’re not filing hard — just polishing off what’s left.
If you see white, chalky areas on your nail after removal, that’s either dehydration or mild surface damage from the gel. We’ll deal with that next.
Common Mistakes That Wreck Your Nails
Mistake 1: Filing Too Deep
The goal of filing before soaking is to break the top coat seal — not to file through the entire gel layer. If you file too aggressively, you’ll thin your actual nail plate underneath. Use light, even strokes and stop once the shine is gone.
Mistake 2: Scraping Before It’s Ready
This one causes the most damage. When you scrape gel that isn’t fully broken down yet, you’re not just removing gel — you’re pulling off the top layers of your nail plate with it. That’s what causes that peeling, paper-thin nail situation.
The fix is simple: wait longer. Add 5-minute increments rather than forcing it.
Mistake 3: Using Nail Polish Remover Instead of Acetone
Regular remover has acetone in it, but not enough to tackle gel. You’ll soak for 30 minutes and nothing will happen. Get 100% pure acetone — it’s inexpensive and the only thing that actually works.
Mistake 4: Skipping the Oil After
Your nails and cuticles are dehydrated after an acetone soak. If you don’t rehydrate immediately, the nail plate gets brittle and your cuticles crack. Apply cuticle oil right after, then a good hand cream. Do this every day for the next week while your nails recover.
Mistake 5: Doing It Too Quickly
If you’re in a rush, reschedule. Rushed removal is almost always the reason nails get damaged. Budget 30–40 minutes for a proper removal session with no interruptions.
What to Expect After Removal
Let’s be honest: even with perfect removal, your nails will probably feel a little sensitive and look a bit dull right after. That’s normal.
Here’s a realistic timeline:
- Day 1–2: Nails might feel thin or slightly tender. Don’t apply anything new yet — let them breathe and hydrate.
- Days 3–5: With daily cuticle oil and hand cream, the surface starts to firm up. You’ll notice less bending.
- Week 2: If removal went well, your nails will feel close to normal. If you see visible ridges or white patches, continue the oil routine and give it another week.
- Week 3–4: Healthy nail growth resumes and any surface damage grows out.
If your nails are still peeling after two weeks, they likely had some surface damage from the removal. Keep the oil routine going and avoid picking or biting at the edges — that makes peeling worse.
Extra Tips That Actually Make a Difference
Use warm acetone. Cold acetone is slower. Place your acetone bottle in a bowl of warm water for a few minutes before soaking your cotton. The warmth helps it penetrate faster. Don’t microwave it — it’s flammable.
Press the cotton flat. A bunched-up cotton ball has air gaps. Press it flat against the nail so every part of the surface has full contact with the acetone.
Remove one nail at a time. Don’t unwrap all ten at once. The ones you’ve already unwrapped will start re-hardening while you work on the others. Unwrap, push, buff — then move to the next finger.
Don’t use your other nails to pry. It feels satisfying but it chips and weakens the nail you’re using as a tool. Use the orangewood stick every time.
After a glitter removal, your sink will sparkle for days. Prepare yourself for glitter in places you didn’t expect. Work over a paper towel if you care about cleanup.
FAQs
Can I remove glitter or chrome nails without acetone? There are acetone-free removers, but they genuinely don’t work well on gel. You’d soak for an hour and still end up scraping, which defeats the purpose. Stick with 100% acetone and offset the dryness with oil after.
How do I know if I’ve damaged my nail plate? If your nail feels noticeably thinner than usual, bends more easily, or has visible white patchy areas that don’t go away after a few days, the surface layer has been compromised. Keep it hydrated and let it grow out — don’t cover it with a new set immediately.
Can I just soak my nails in a bowl of acetone instead of wrapping? You can, and it’s faster — but it’s also much more drying on your skin and cuticles. If you do the bowl method, keep your soak short (10 minutes maximum), rub oil around your fingers first, and moisturize immediately after. The foil method is gentler.
Final Thoughts
How to Remove Glitter and Chrome Nails is genuinely one of the trickier parts of doing your nails at home — not because it’s complicated, but because it requires patience in moments where you really don’t feel patient.
The number one thing I’d tell you: if it’s not coming off easily, don’t force it. Re-wrap, wait five more minutes, try again. That five minutes is the difference between healthy nails and two weeks of peeling.
Your next step: Gather your supplies before your next removal day. Having everything ready means you won’t rush — and that makes all the difference.