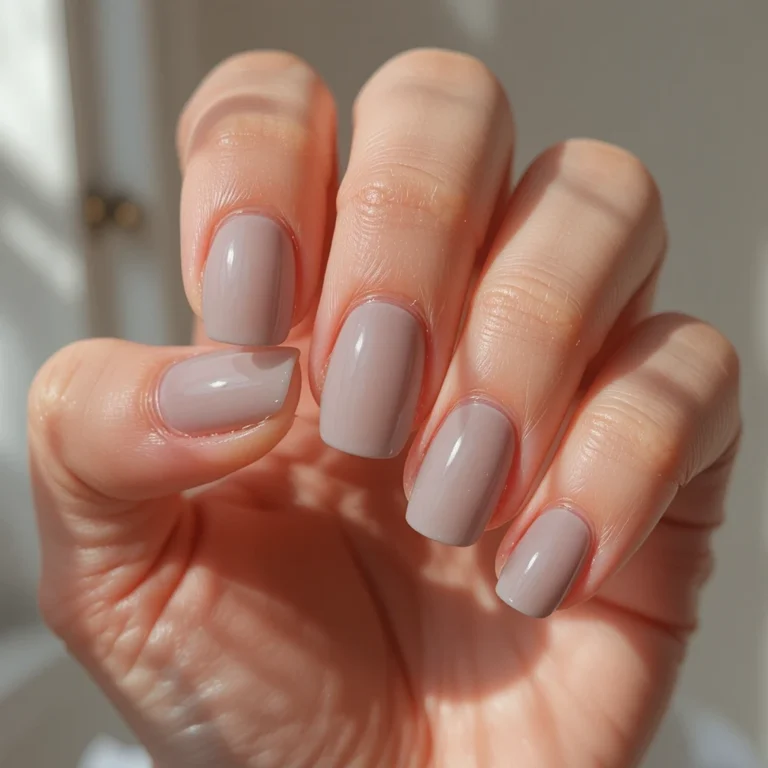
Why Your Gel Nails Lift at the Edges (and How to Stop It)
If your gel nails start peeling up at the edges within a few days of doing them, you’re not alone — and it’s not just bad luck. This is one of the most frustrating things about doing gel nails at home, and the annoying part? Most tutorials don’t explain why it happens.
I’ve been there: you spend an hour doing your nails, they look perfect, and then two days later there’s a tiny gap at your cuticle lifting away from your nail. You try pressing it back down. It won’t stay. And slowly the whole nail starts to pop off.
The good news is that lifting almost always comes down to a few fixable mistakes — and once you understand what’s actually going on, it becomes pretty easy to prevent. So Why Your Gel Nails Lift at the Edges?
What Actually Causes Gel Nails to Lift?
Gel doesn’t stick to oil, moisture, or texture. That’s really the root of the whole problem.
Your natural nail constantly produces a small amount of oil and moisture, especially right at the cuticle area and the skin around your nail edges. If there’s any trace of that on your nail when you apply gel, the product can’t bond properly. It looks like it’s stuck — but it’s really just sitting on top of a slippery surface.
There are a few other reasons this happens too:
- The gel touched your skin or cuticle during application. Even a tiny bit of gel that overlaps onto skin will peel away and take the rest of the nail with it.
- You skipped or rushed the prep steps. This is the most common one.
- Your base coat layer was too thick. Thick layers of gel don’t cure fully, which creates a weak bond.
- Your lamp isn’t curing properly. An underpowered or old lamp leaves gel partially soft underneath.
- You filed the nail edges too smooth. Gel needs a slightly rough surface to grip.
Step-by-Step: How to Stop Lifting Before It Starts
This is the part most tutorials rush through. Don’t skip anything here — the prep is where most people go wrong.
Step 1: Push Back and Remove Your Cuticles (Don’t Skip This)
Use a cuticle pusher to gently push back your cuticles. You’re not just doing this for looks — you’re creating a clean nail plate with no skin overlapping onto the area where the gel will go.
After pushing back, use a cuticle remover gel if you have one. Let it sit for 30–60 seconds, then gently scrub away the dead skin with a soft brush or the edge of your pusher.
If you leave even a thin film of dead skin on the nail plate, your gel will lift there — every time.
Step 2: File and Buff Your Nails
Use a medium-grit file (around 180 grit) to lightly buff the entire surface of your nail. You’re not trying to file them down — you just want to remove the shine and create a surface with tiny grooves for the gel to grip.
Pay extra attention to the edges of your nails. A lot of people buff the middle but leave the sides smooth. Those smooth edges are exactly where lifting starts.
Step 3: Clean Everything Off with Isopropyl Alcohol
Wipe each nail with 91% or higher isopropyl alcohol using a lint-free pad. This removes the dust from filing, the oils from your fingers, and any leftover cuticle remover.
Here’s the thing: don’t touch your nails after this step. Not even to scratch your face. Your fingers will re-transfer oil immediately.
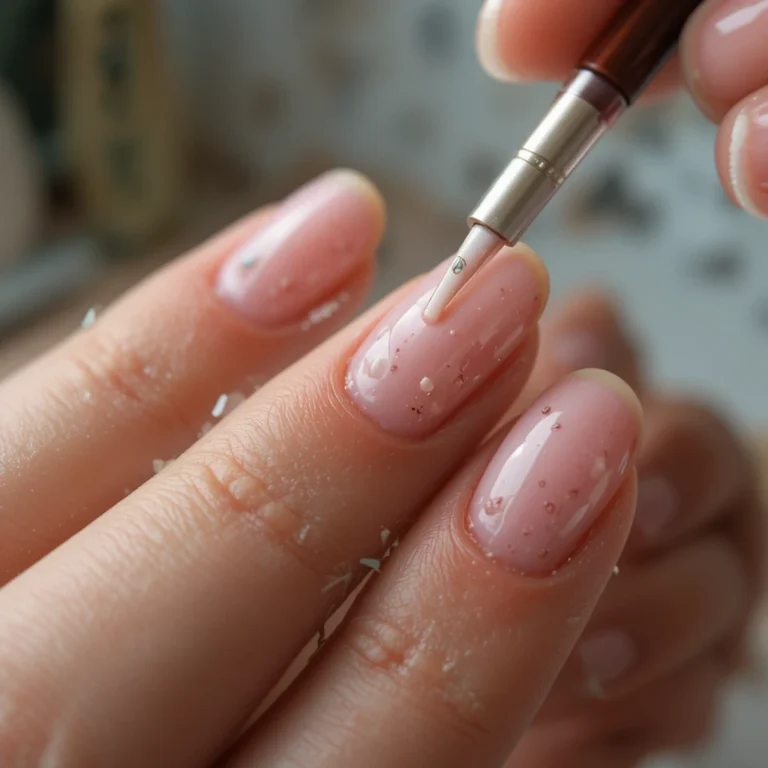
Step 4: Apply a Nail Dehydrator or Primer (This Changes Everything)
If you’ve never used a nail dehydrator, this might be the single thing that fixes your lifting problem.
A dehydrator removes the last traces of moisture from your nail plate right before you apply gel. It evaporates in about 30 seconds and leaves your nail completely dry. Some people skip this because it feels like an unnecessary extra step — it’s not.
A bonding primer is the next level up. It creates a chemical link between your natural nail and the gel base coat. You don’t always need both, but if you have naturally oily nails or your nails are just stubborn about lifting, using both makes a big difference.
Apply them thin and let them dry fully before moving on.
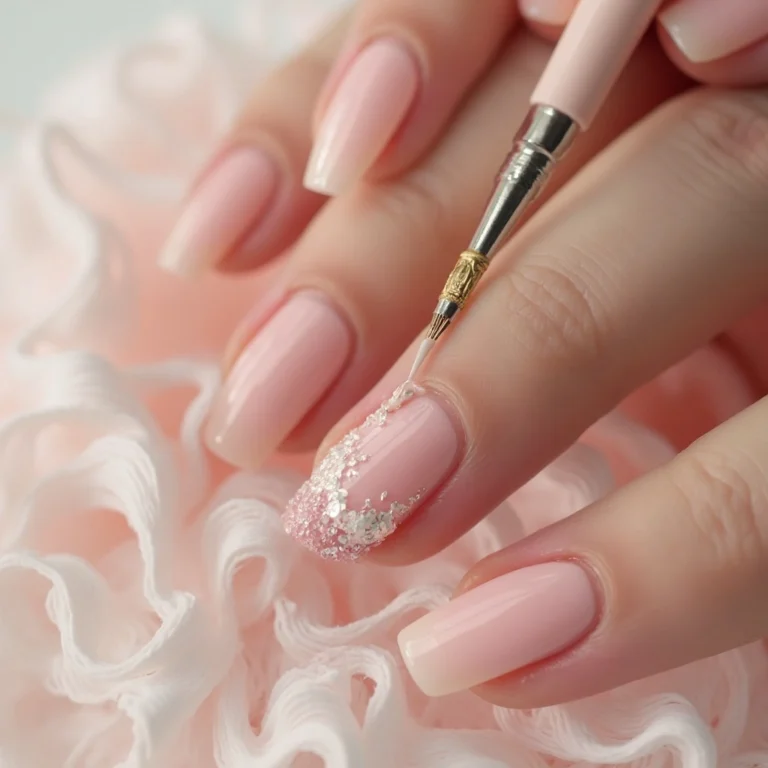
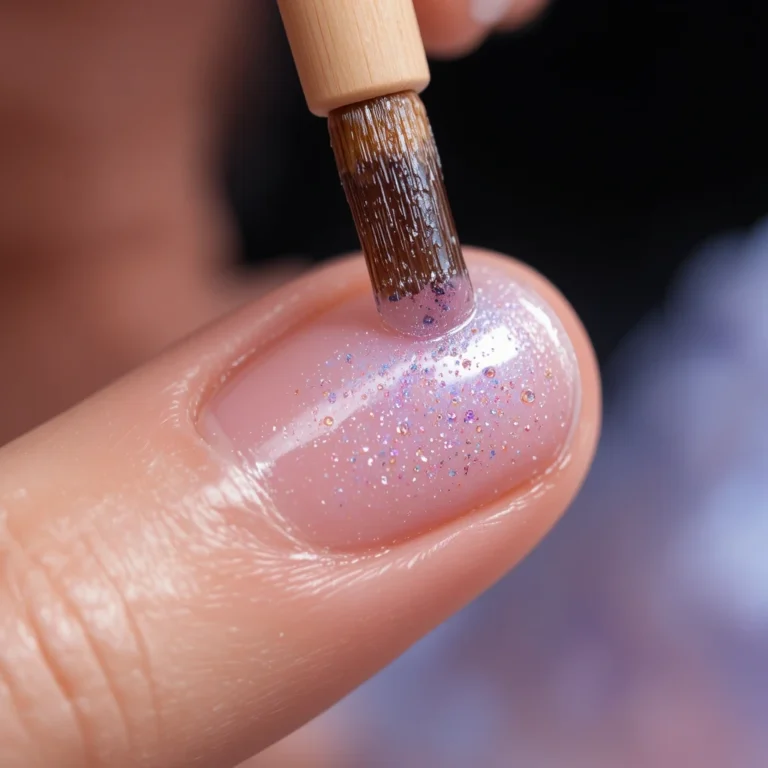
Step 5: Apply Your Base Coat — Thin and Careful
Apply a thin layer of base coat — thinner than you think you need. Thick base coats are a major cause of lifting because the gel at the bottom of the layer doesn’t fully cure, leaving a soft, weak base.
Now here’s the part that really matters: cap the free edge. Drag your brush along the very tip of your nail to seal the edge. Do this with every layer you apply — base coat, color, top coat. It seals the gel and prevents peeling from the tips.
Also, keep the gel away from your skin and cuticle. Leave a tiny gap — about 1mm — between the gel and your skin. If gel touches your skin, it will lift away from that point.
Step 6: Cure Each Layer Properly
Follow your lamp’s recommended cure times exactly. Don’t guess.
LED lamps are faster but need to match your gel brand. Some gels are formulated for UV lamps and don’t fully cure under LED. If you’re mixing brands and having lifting issues, this could be why.
After curing, your nail shouldn’t feel soft or sticky in the middle. If it does, cure for longer or check that your lamp is working correctly
Common Mistakes (and What to Actually Do Instead)
Mistake: Applying base coat right after washing your hands This is surprisingly common. Water and soap leave moisture on your nail plate. Wait at least 20–30 minutes after washing your hands before doing your nails, or use a dehydrator to counteract it.
Mistake: Filing your nails right before applying gel and not cleaning up the dust Filing creates a fine dust that sits on your nail. If you apply gel over it, you’re basically gluing a powder barrier between your nail and the product. Always wipe with alcohol after filing.
Mistake: Flooding the cuticle area with too much product When you apply too much gel near the cuticle, it naturally runs toward your skin and onto it. Once it touches skin and cures there, lifting is almost guaranteed from that spot. Apply small amounts and push the product back slightly with your brush if it gets too close.
Mistake: Using a base coat from a different brand than your gel Not all gel systems work together. Some base coats are formulated specifically for certain top coats and colors. If you’re mixing brands, test them together before committing to a full set.
Mistake: Touching the sticky inhibition layer between coats Gel has a slightly tacky layer after curing (called the inhibition layer). This tackiness is what helps the next layer stick. If you wipe it off between coats, you lose that bonding surface.
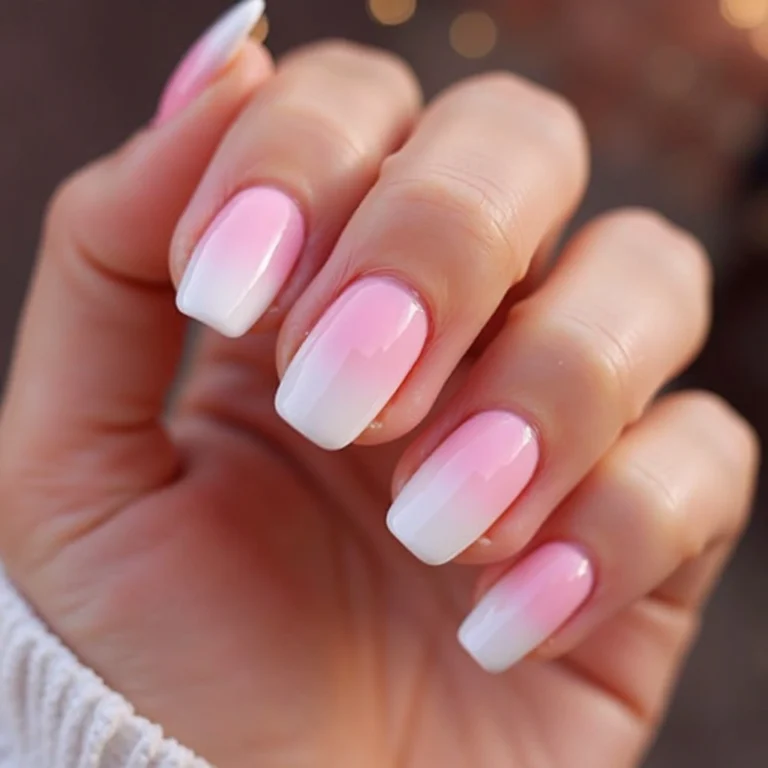
What to Expect After Fixing It
If you correct your prep and application technique, you should start seeing a clear difference within your first or second set.
Realistically: your nails probably won’t last perfectly for three weeks the first time. There’s a learning curve to applying gel, especially getting the thickness and placement right. But even after correcting the major mistakes, most people see their nails last 10–14 days without any lifting — which is a huge improvement over peeling after two days.
After a few sets, once the muscle memory kicks in, you’ll be able to do your nails faster AND have them last longer. It takes practice.
One thing to be realistic about: if you have very oily nails or your nails are naturally flexible and thin, you might always need to use a dehydrator and primer. Some people’s nails just need that extra step. It’s not a failure — it’s just how your nails are.
Extra Tips That Actually Make a Difference
Wear gloves when washing dishes or cleaning. Water and cleaning products are hard on gel nails. Even a fully bonded set will start lifting sooner if it’s constantly exposed to water and soap. Dish gloves are cheap and save your manicure.
Don’t use your nails as tools. Picking at stickers, opening cans, peeling tape — these all put lateral stress on the edge of your nail where the gel can pop off. It feels dramatic, but it really does shorten your manicure’s life.
Apply a layer of top coat every 3–4 days. This refreshes the seal on the edges and tip, and adds a layer of protection before any small lifting has a chance to get worse.
Let your nails breathe between sets. Doing back-to-back gel sets without a break can weaken the nail plate over time, making lifting worse in the long run. Even one week off every few sets helps.
FAQs
Why do my nails lift after just one or two days?
This almost always means there was oil or moisture on your nail plate before you applied the gel, or the gel touched your skin somewhere. Go back to the prep steps and make sure you’re using a dehydrator before your base coat. Even a small amount of skin oil in the wrong spot will cause early lifting.
Can I fix a nail that’s already started lifting?
Honestly, not really — not in a way that lasts. Once gel starts lifting, moisture and bacteria can get trapped underneath, and trying to glue it back down just seals that in. It’s better to remove that nail and redo it. You can use a small amount of nail glue as a very temporary fix if you’re in a pinch, but plan to redo it soon.
Does the brand of gel actually matter, or is it all the same?
Brand matters more than most beginner tutorials admit. Cheap gels often don’t cure as fully, have weaker adhesion, and are harder to work with. You don’t need to buy the most expensive brand, but investing in a decent gel system (base coat, color, and top coat from the same line) makes a noticeable difference in how long your nails last.
One Last Thing
If you take nothing else from this article, take this: the prep is the manicure. The actual color and top coat are almost secondary. If your nail plate is clean, dry, and properly primed, your gel will stick. If it’s not, it won’t — no matter how good your products are.
Start with the dehydrator and primer if you haven’t already. That one change fixes lifting for a lot of people immediately at the time you know Why Your Gel Nails Lift at the Edges.