How to Do an Ombré Fade at Home Without It Looking Muddy
You spent weeks trying to How to Do an Ombré Fade at Home. Every time, you ended up with this murky, dark smear in the middle where the two colors met. No gradient. Just mud.
The thing is, most tutorials skip the why. They just say “blend the colors on a sponge” and move on. But the muddy problem almost always comes from one of three things: the wrong color pairing, too much product on the sponge, or not enough drying time between layers. Fix those three things and the whole technique changes.
This guide is going to walk you through everything — including the stuff most blogs don’t mention until you’ve already ruined three manicures.
What Actually Causes the Muddy Look
Before you touch a sponge, it helps to understand what’s going wrong.
When you press two wet polishes together on a sponge, they mix physically on your nail. If either color is too dark, too opaque, or the sponge is too saturated, those pigments blend into each other instead of layering. The result is brown-gray mush, not a gradient.
Color theory matters here too. Pairing colors on opposite sides of the color wheel — like blue and orange, or red and green — will always make a muddy middle. Even if you blend perfectly. The mixed zone will just turn brownish.
The other sneaky culprit is skipping a white base. If your nail is bare or just a natural pink, your lighter color disappears into it instead of showing up. Then you push harder with more product, which causes — you guessed it — more mud.
Step-by-Step: How to Do an Ombré Fade at Home Right
What you need
- Two nail polishes (more on pairing below)
- A white nail polish (base)
- A makeup sponge — the triangular wedge kind, not a round beauty blender
- A small piece of foil or a plastic bag
- Top coat
- Nail polish remover and a small brush (for cleanup)
Step 1: Pick the right color pair (this matters more than technique)
The easiest ombré combinations for beginners are:
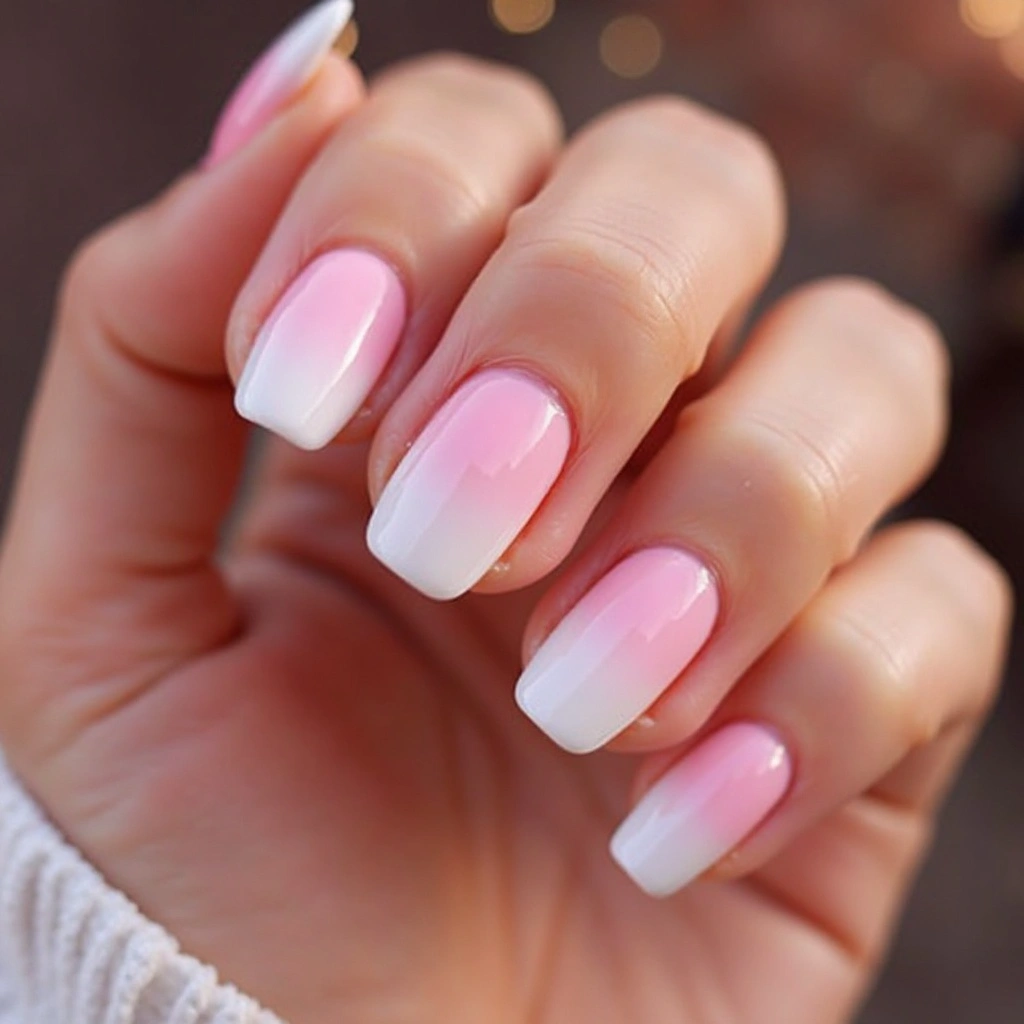
- Light pink → hot pink or red
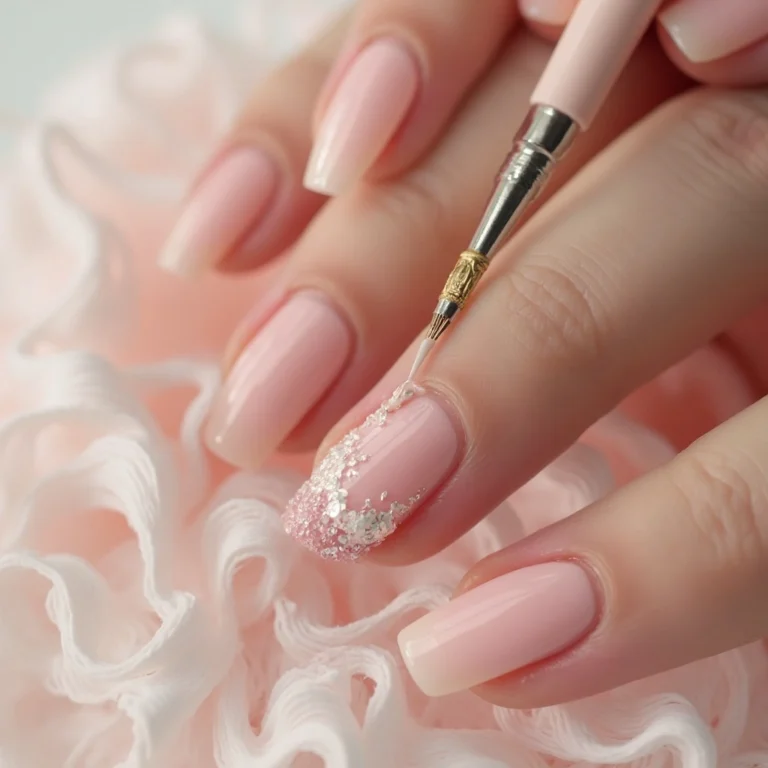
- Nude/cream → coral
- White → any pastel
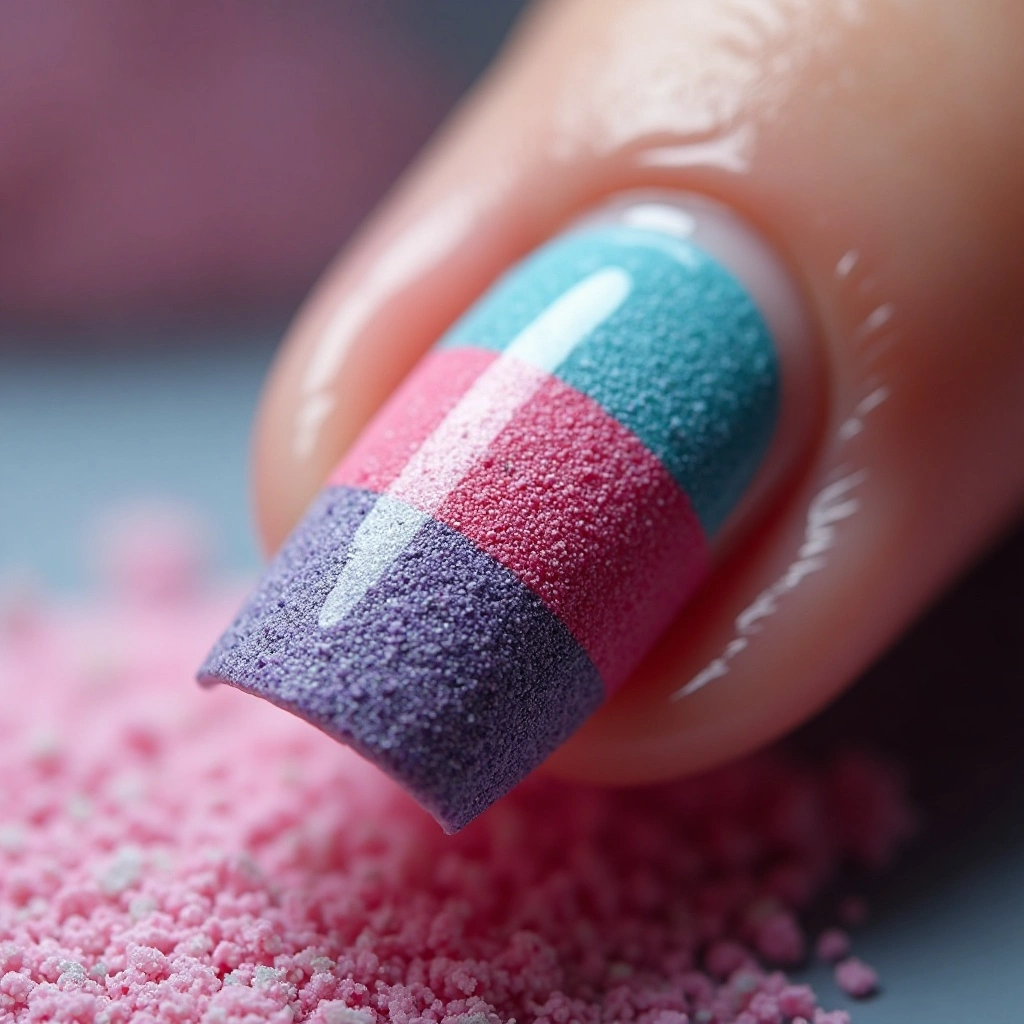
- Light blue → deep blue or purple
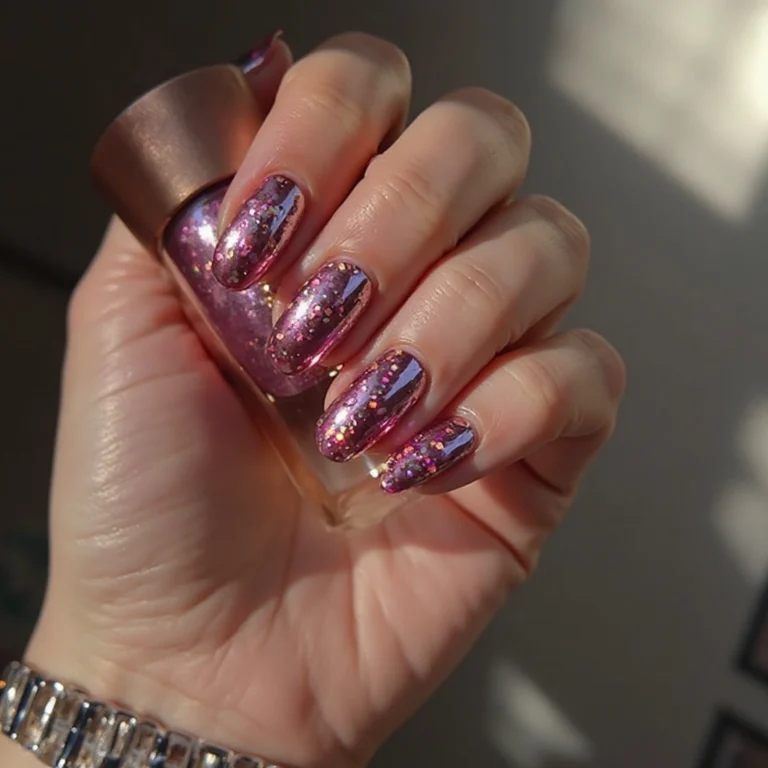
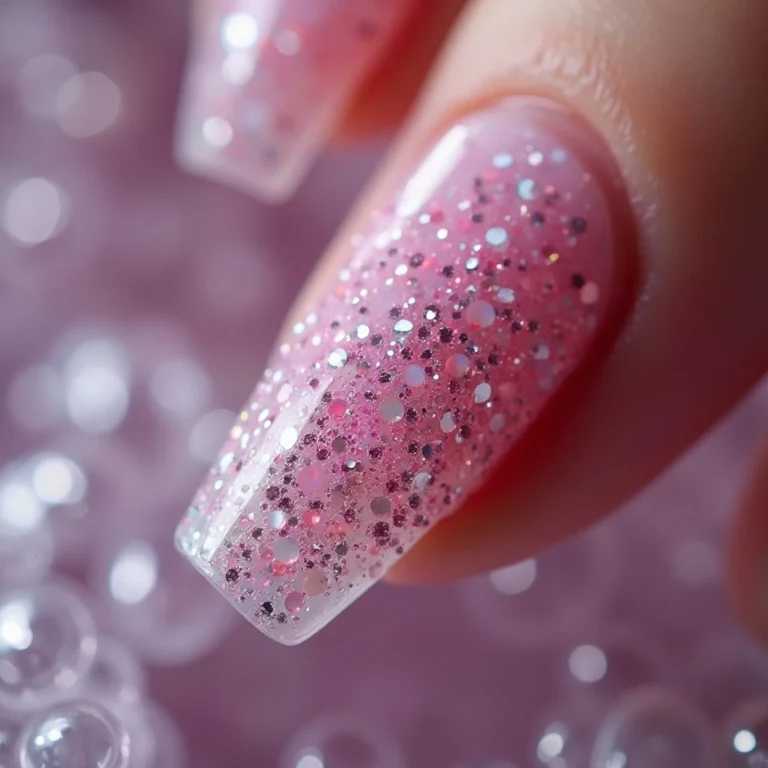
Avoid mixing colors that are very different in darkness — like white and black. That’s advanced-level. Also avoid anything with heavy shimmer for your first few tries; glitter polishes don’t blend the same way.
Step 2: Apply a white base coat
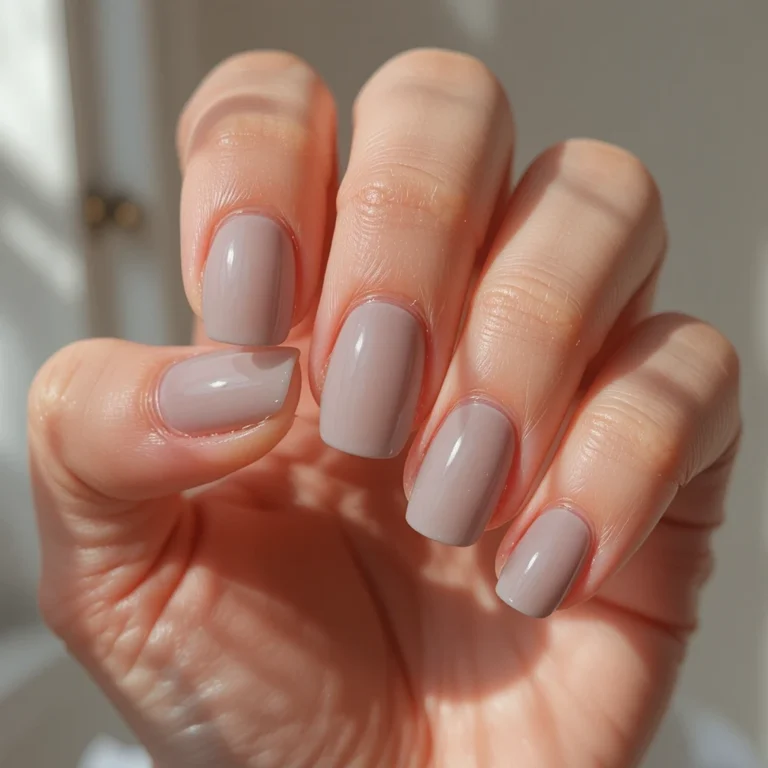
After your regular base coat dries, paint all your nails white. Use a true opaque white, not a sheer one.
Let it dry fully — at least 5 minutes. I know that’s annoying, but a wet white base will mix into your ombré colors and ruin the whole thing.
This white layer is what makes your lighter ombré color pop. Without it, you’ll waste product trying to build opacity and the blending gets messy.
Step 3: Prep your sponge
Tear a small piece off your makeup sponge — roughly the width of your nail or a little wider.
Now apply your two polishes directly onto the sponge in two parallel stripes, overlapping slightly in the middle. The overlap zone should be about 3–4mm wide.
Here’s the critical part: dab the sponge on foil 3–4 times first before touching your nail. This removes the excess product that would cause thick, muddy buildup. You want the sponge to feel almost dry when you press it to your nail.
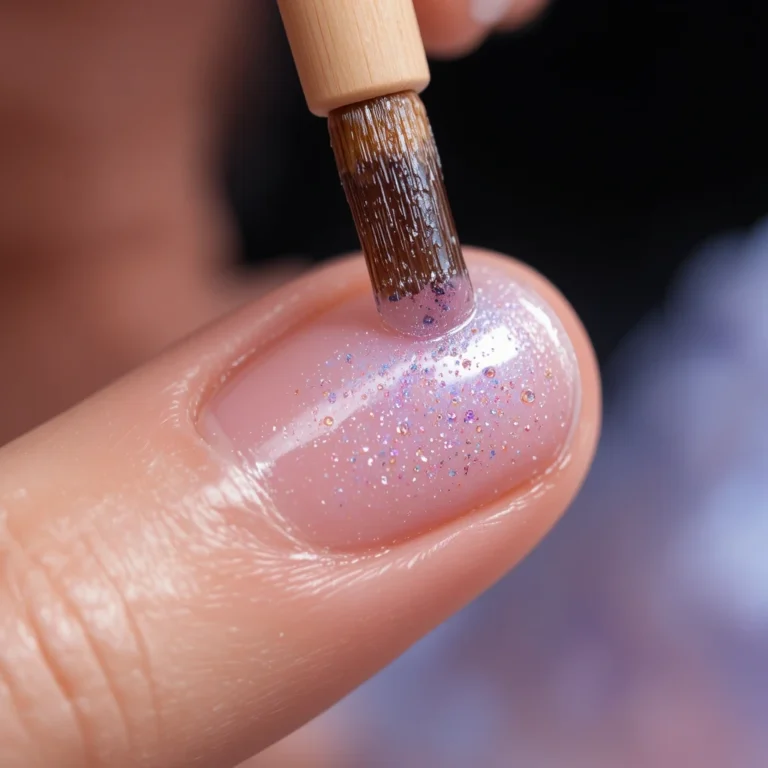
Step 4: Apply to your nail — don’t rub, dab
Press the sponge straight down onto your nail and lift. Straight down, straight up. Don’t drag or swipe.
Do this 3–4 times across the nail, slightly shifting position so the whole surface is covered. Work quickly because the polish on the sponge dries fast.
You’ll barely see anything after the first pass. That’s normal. Don’t panic and add more product yet.
Step 5: Repeat the layers
Reload the sponge with fresh polish and dab the foil again. Apply 2–3 more layers the same way, letting each one dry for about 60 seconds before the next.
You’ll start to see the gradient building around layer 3 or 4. The colors will still look a bit rough at this stage — that’s fine.
By layer 5–6, it should look like a real fade.
Step 6: Clean up and seal
Use a small brush dipped in remover to clean the skin around your nails. Do this before top coat.
Apply 2 thin coats of top coat. This blurs any harsh lines that are left and gives everything that smooth, blended look. A glossy top coat makes a huge difference here.
Common Mistakes (And What to Actually Do Instead)
Mistake 1: Applying too much polish to the sponge More is not better. A heavily loaded sponge dumps product on the nail all at once, creating a thick layer that dries uneven and looks patchy. Always dab the sponge on foil first.
Mistake 2: Trying to fix it in one pass People get impatient and press harder or add more layers too quickly. This drags wet polish around and smears everything. Build it up slowly. Trust the process after layer 4.
Mistake 3: Skipping cleanup before top coat If you seal in the mess around your cuticles, no amount of top coat fixes it. The cleanup step takes 2 minutes and makes the whole manicure look intentional.
Mistake 4: Using polishes with very different formulas A thin, watery polish next to a thick, creamy one won’t blend well. Try to stick to polishes from the same brand or at least similar consistencies.
Mistake 5: Choosing colors that are too far apart in tone Neon yellow and dark burgundy might look cool in theory but the middle will turn olive-brown. For beginners: stick to colors within the same color family, just different shades.
What to Expect After You Get It Right
Your first successful ombré won’t be perfect, and that’s fine. You’ll probably notice one nail looks better than the others, or the transition is smoother on your dominant hand. That’s normal.
After 2–3 practice sessions, your technique gets faster and more consistent. The muscle memory of dabbing the sponge right, loading it correctly, and building layers becomes automatic.
A realistic ombré at home won’t look exactly like a salon version under a UV lamp — and that’s okay. A well-done regular-polish ombré still looks genuinely great. The goal is a clean, visible gradient, not perfection.
Extra Tips That Actually Make a Difference
Use a fast-dry top coat, not a regular one. Fast-dry formulas are slightly thicker and do a better job blurring the sponge texture.
Do your ombré in a cool, dry room. Humidity makes polish take longer to dry, which means each layer stays wet longer and smears easier. Summer bathrooms are the enemy.
Slightly dampen the sponge with water first. Just barely — almost dry. A completely dry sponge absorbs more polish than it deposits. A barely-damp sponge transfers product more evenly.
Try it on paper first. Before doing your nails, practice one sponge application on white paper. You’ll see exactly how the gradient looks and whether you’ve loaded too much product.
Don’t shake your polish bottle right before use. Shaking creates bubbles that show up in the gradient. Roll it between your palms instead.
FAQ
How long does a home ombré manicure last? With a good base coat and two layers of top coat, it usually lasts 5–7 days on natural nails before you notice chipping at the tips. Reapplying top coat every 2 days extends it noticeably.
Can I do ombré with gel polish? Yes, but the technique is different — you use a gel-specific sponge or a brush, and you cure each layer under a UV lamp before adding the next. The process is slower but the result lasts 2–3 weeks. It’s worth trying once you’re comfortable with regular polish ombré.
What if I only have dark nail polish — can I still do ombré? Yes. Dark-to-darker gradients look great. Try black to dark purple, deep navy to black, or forest green to emerald. The key with dark colors is applying even thinner layers — dark pigments are more opaque so they blend faster.
One Last Thing
The biggest thing that helped my ombré go from muddy to actually good was slowing down. Not adding more product. Not pressing harder. Just building thin, patient layers and letting each one dry.
Start with a nude-to-pink combo on one hand, follow the steps above, and do it twice. By your second attempt you’ll feel what “right” looks like — and from there you gets How to Do an Ombré Fade at Home.