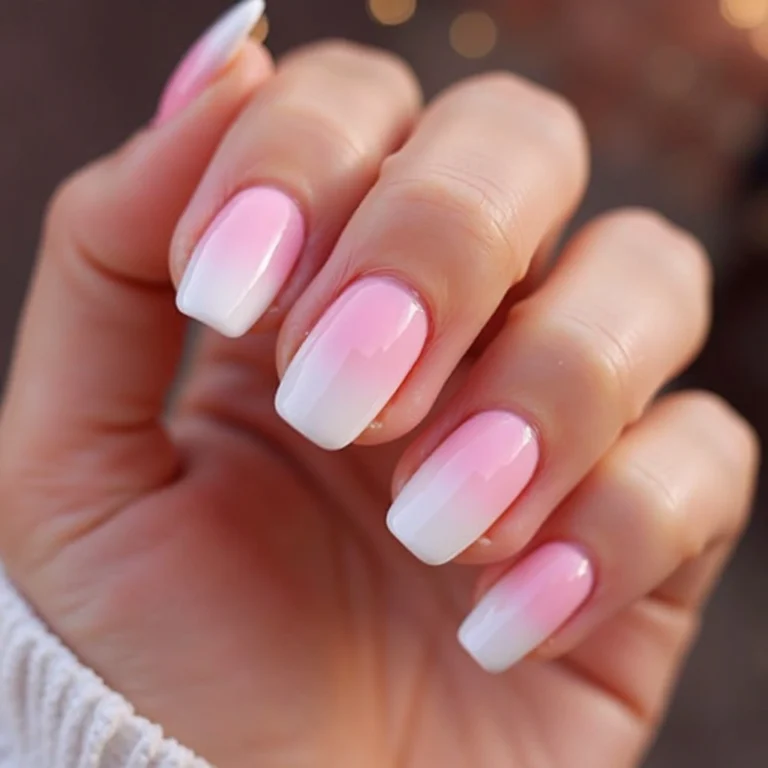
How to Make Nail Polish Dry Faster Without Smudging
You just spent 20 minutes doing the most careful nail art of your life — thin lines, dots, maybe even a little gradient — and then you brush your hand against your jeans reaching for your phone. Gone. Smeared into nothing.
If that’s happened to you more than once (honestly, more than five times), you’re not doing anything wrong. Nail polish drying is one of those things that looks simple but has a dozen small factors working against you, and most guides skip the ones that actually matter.
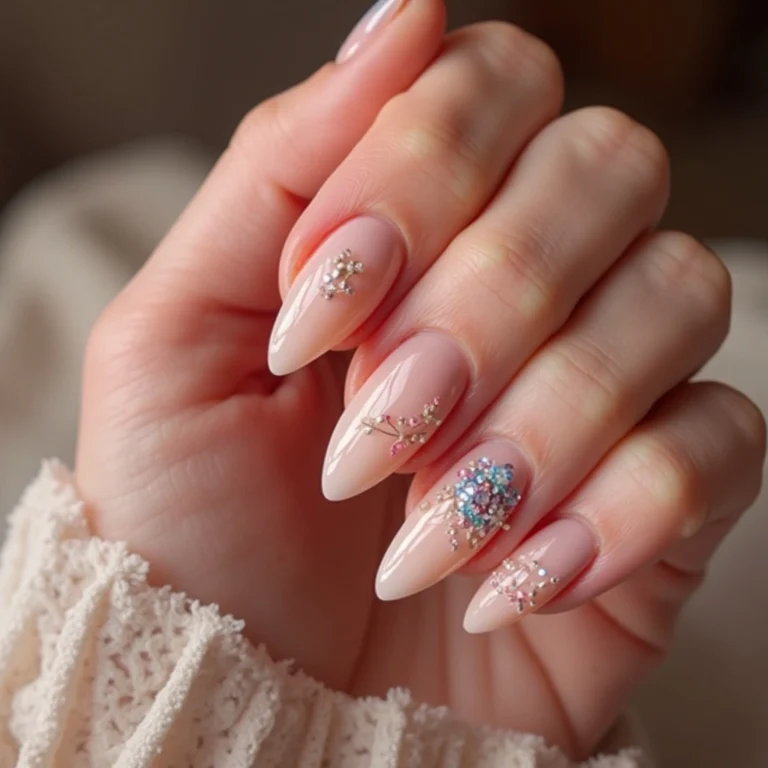
This article is specifically for intricate designs — because a plain coat of red dries differently than layered nail art, and the advice needs to match that.
How to Make Nail Polish Dry Faster Without Smudging?
Why Nail Polish Takes So Long to Dry (And Why Designs Make It Worse)
Nail polish dries through evaporation, not like paint that absorbs into a surface. The solvents in the formula evaporate into the air, and what’s left behind hardens. The problem is that this process works from the top layer downward — so your nail can feel dry on the surface while the layer underneath is still soft and squishy.
That’s why you can tap your nail after 5 minutes, think it’s fine, and then dent it an hour later just from gripping a cup.
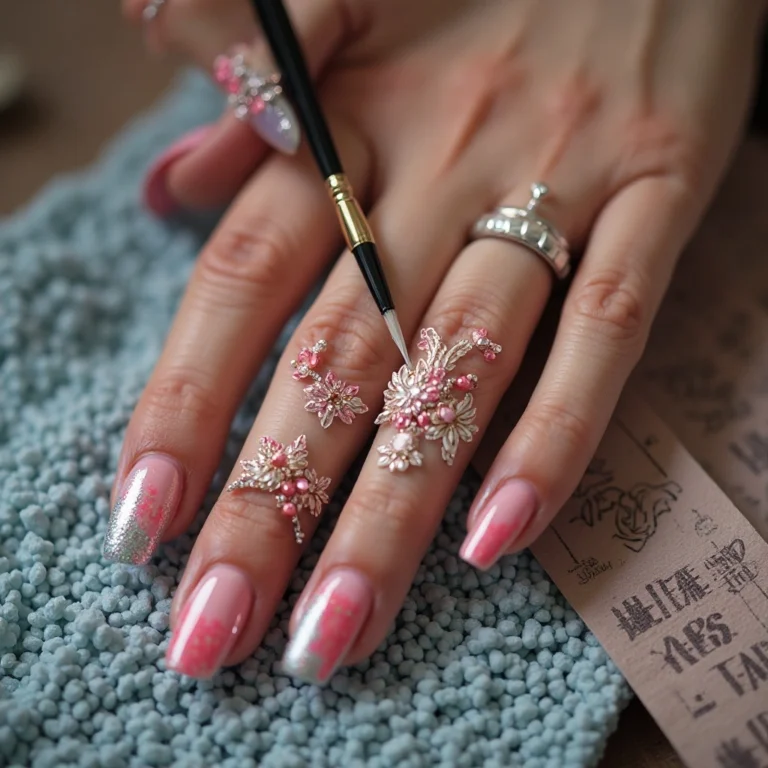
With intricate designs, the situation is worse because:
- You’re applying more layers (base coat, color, design, topcoat)
- Some layers — especially glitter or thick gel-like polishes — trap solvents underneath
- You’re often recoating before the previous layer is actually ready
- Detailed brushwork uses thicker applications in tiny areas
So the fix isn’t just “wait longer.” It’s understanding where the process gets stuck and fixing that specifically.
Step-by-Step: How to Dry Nail Polish Fast Without Ruining Your Work
Step 1: Start thin — even thinner than you think
The single biggest mistake beginners make is applying polish too thickly. Thick coats take exponentially longer to dry, not just a little longer. Two thin coats always dry faster than one thick coat.
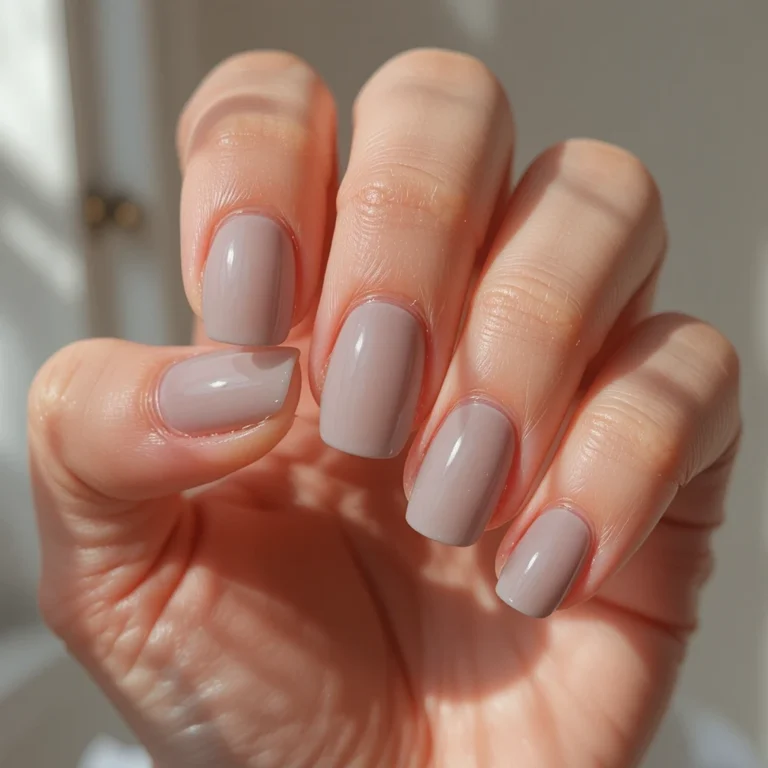
For your base color, aim for coats so thin you can almost see through the first one. It looks wrong while you’re doing it. It looks right by the time you’re done.
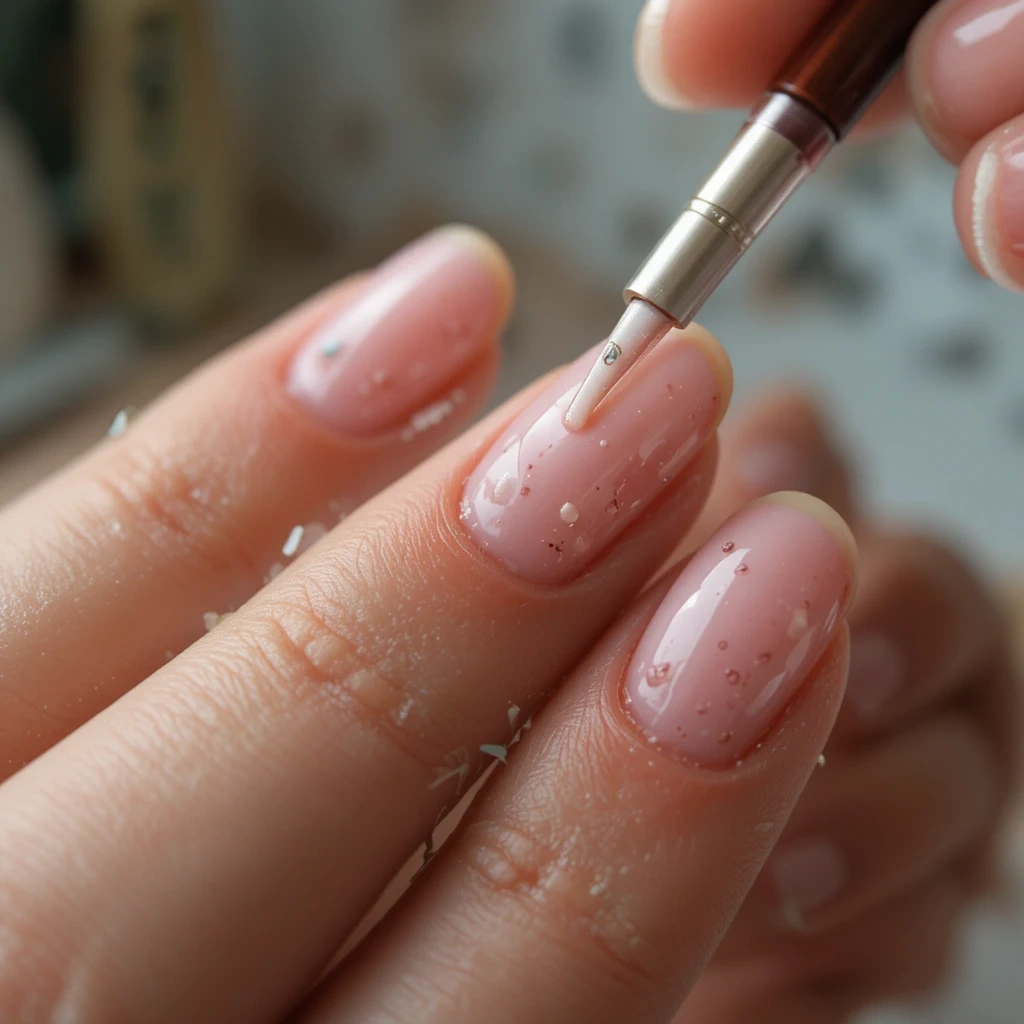
For nail art details, less product on the brush means more control and faster drying. Wipe most of the polish off your detail brush before touching the nail.
Step 2: Wait longer between layers than feels necessary
I know this is annoying to hear, but rushing between layers is the root cause of most smudging disasters. Here’s a realistic timeline:
- Base coat: 2 minutes minimum before color
- Each color coat: 3–4 minutes before the next
- Nail art details: 5 minutes before topcoat (longer if you used thick glitter or 3D elements)
- Topcoat: this is the one most people rush — wait until it feels completely smooth, not just dry to the touch
A good test: lightly drag your fingernail (from another hand) across your nail surface. If it leaves any mark at all, it’s not ready for the next layer.
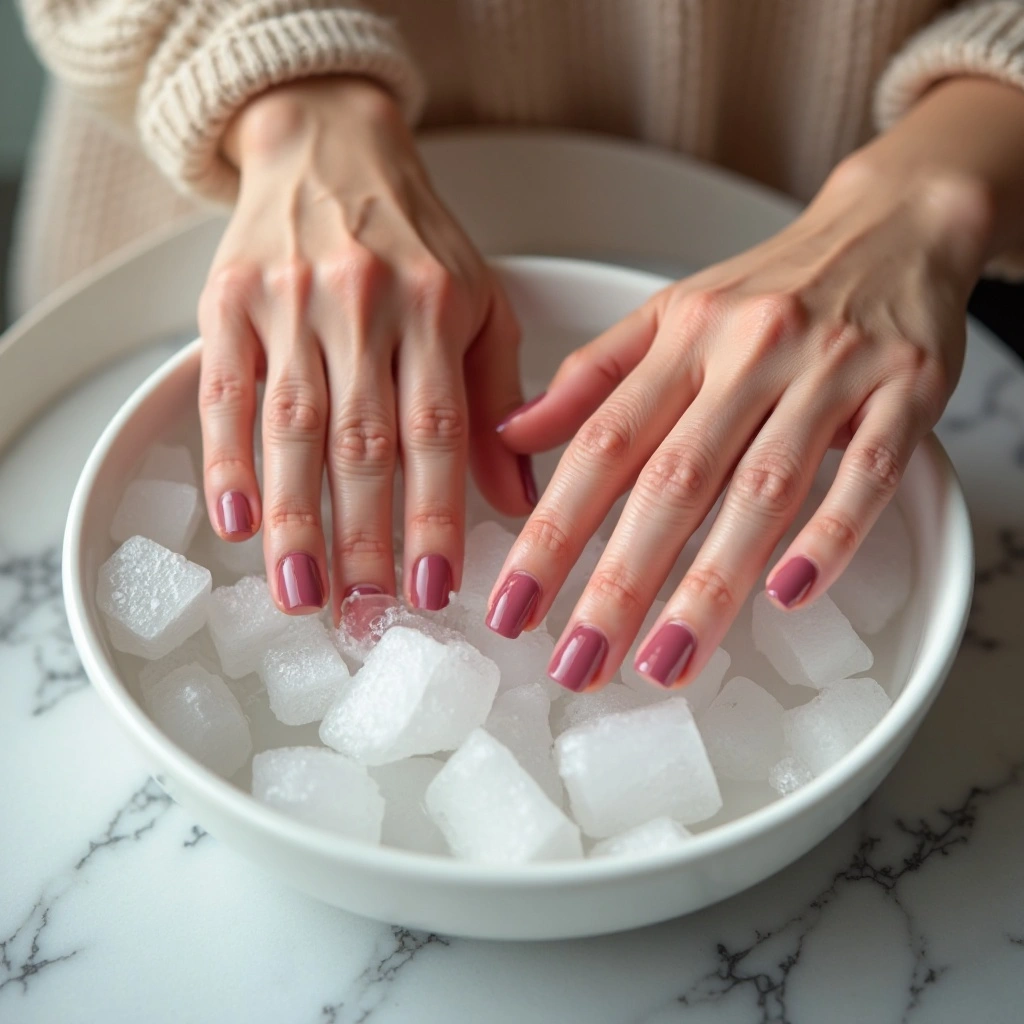
Step 3: Use cold water the right way
Cold water actually works — but the technique matters.
After your topcoat has been on for at least 60–90 seconds, submerge your nails in a bowl of cold water (not ice water, just cold from the tap) for about 3 minutes. The cold temperature firms up the polish from the outside and speeds up the hardening process significantly.
What most people get wrong: they dip immediately after applying topcoat, or they shake their hands dry afterward. Both ruin it. Wait that 60–90 seconds first, and gently blot with a soft towel — don’t rub.
This method is especially effective for intricate designs because it doesn’t involve touching the nails at all.
Step 4: Use a quick-dry topcoat (but pick the right kind)
Not all quick-dry topcoats are equal. Some are thin and watery and do basically nothing. The ones that actually work feel slightly thicker and go on with a bit of drag.
Look for topcoats marketed specifically as “fast dry” rather than just glossy or strengthening. Seche Vite is the most popular one among nail art people, but it can shrink and pull at your design if applied too early. Apply it when your nail art is genuinely dry to the touch, not before.
One practical tip: apply topcoat in a single, fast, confident stroke per nail rather than going back and forth. Multiple passes over nail art while it’s still slightly soft will smear the design.
[Internal link opportunity #1: After your nails are properly dry, try experimenting with chrome powder — link to your chrome nails post here. Chrome application actually works better on a properly cured topcoat.]
Step 5: Use a fan or cool air — strategically
Blowing on your nails with your mouth adds moisture (warm breath = humidity = slower drying). A small desk fan on a low setting, or even your phone’s selfie camera area running face ID (just cold air, no touching), can genuinely speed things up.
Hold your nails about 8–10 inches from the fan source. Too close and you’ll get dust or uneven drying. Do this after each layer, not just at the end.
Common Mistakes That Cause Smudging (And How to Actually Fix Them)
Mistake 1: Touching the nail to “check” if it’s dry The act of checking is what smudges it. Use the fingernail drag test instead, or touch the very edge of the nail near the skin — that area dries first and won’t show if you make a mark.
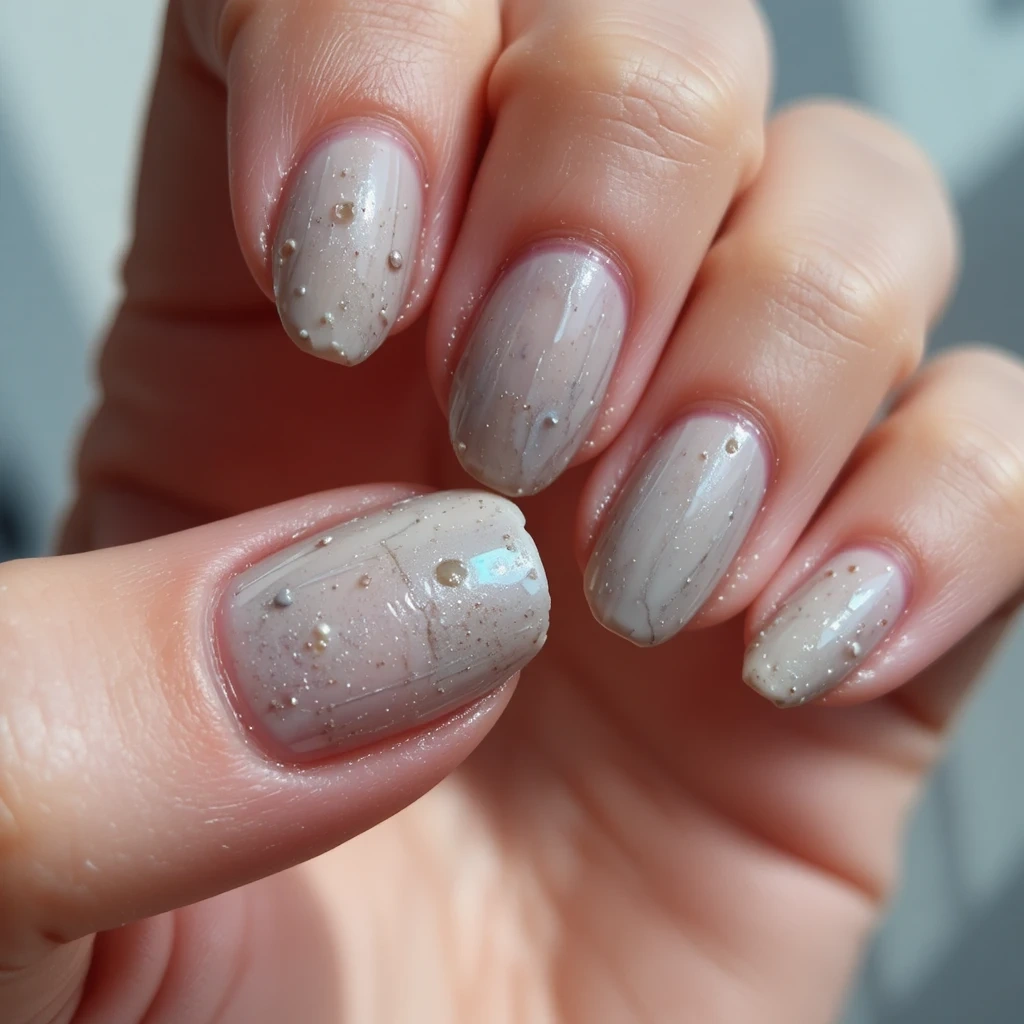
Mistake 2: Applying topcoat over wet nail art If your design is not completely dry, topcoat will dissolve and spread it. This is especially brutal for white polish, which smears into everything. If you’re unsure, wait five more minutes. Seriously.
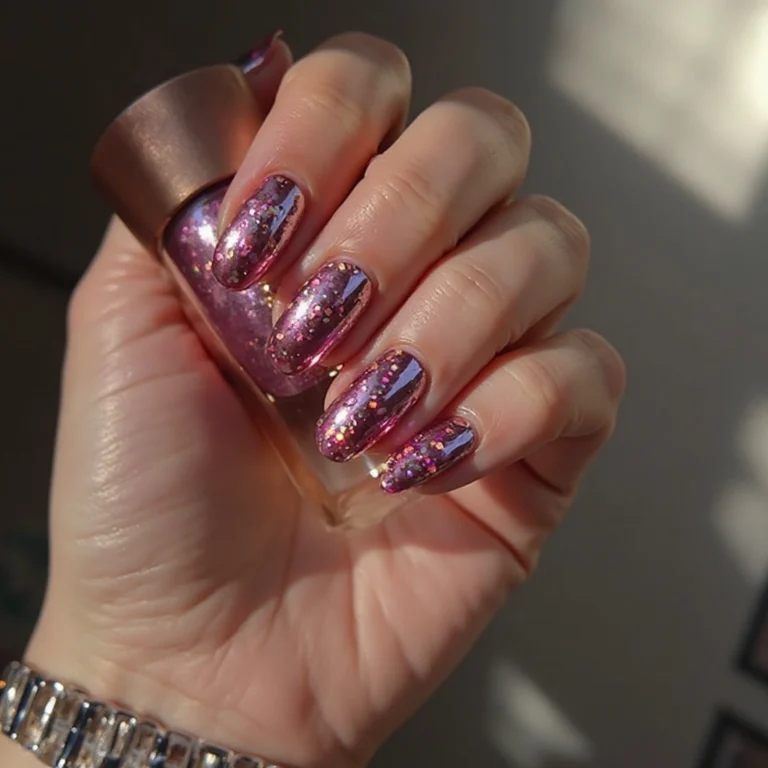
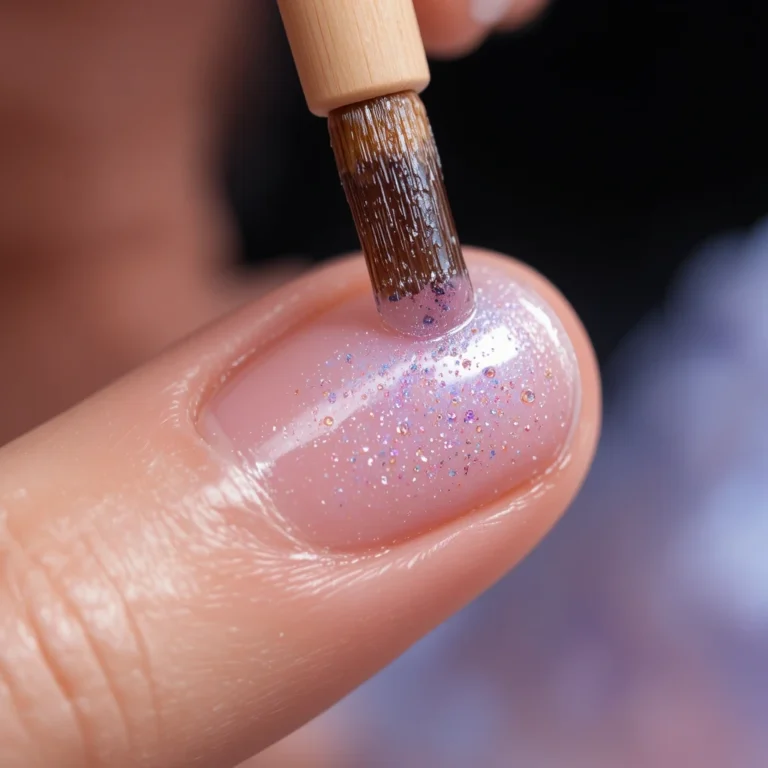
Mistake 3: Thick glitter polish as a base for designs Glitter polish traps solvents and takes much longer to dry than regular polish. If you’re adding nail art on top of glitter, give it at least 10 minutes — not 3. And apply your design in thin strokes, not thick ones.
Mistake 4: Using nail drying drops wrong Those little cuticle oil-style drying drops (like OPI Drip Dry) work, but only when your topcoat has been on for at least 2 minutes. Most people drop them on immediately and wonder why nothing changes. The drops work by helping the top layer harden faster — but there has to be something already starting to set.
[Internal link opportunity #2: If you love glitter and intricate designs, you might want to check out your ombré nail tutorial here — ombré done right actually dries faster than solid glitter because the gradients use less product per area.]
What to Expect After You Fix Your Technique
Here’s something nobody tells beginners: even with perfect technique, nail polish is not fully hard for several hours. The 30-minute “dry” feeling is surface dry. True hardness takes 6–8 hours.
What this means practically:
- Avoid doing dishes, showering, or anything with prolonged water contact for at least 2 hours after your manicure
- Don’t sleep on your hands within 3 hours of painting (yes, this causes sheet marks)
- Open cans or pull at tags with a different finger, not the nail tip
After 24 hours, your nails should be genuinely hard and resistant to normal bumps. If your polish is still soft after 24 hours, your layers were too thick or you didn’t wait long enough between them.
Extra Tips That Actually Make a Difference
Paint nails right after showering, not before. Your nails are clean, free of oil, and slightly dehydrated from the water — which makes polish stick and dry better. If you apply polish to oily nails, it peels faster and takes longer to set.
Keep your nail polish in a cool, dark place. Polish that’s been stored somewhere warm (like a sunny windowsill) becomes thick and goopy, and thick polish takes forever to dry. If your polish feels stringy or pulls, it’s too old or too warm. Add a drop of nail polish thinner — not remover, thinner — to restore the consistency.
Room temperature matters more than you’d think. Painting your nails in a cold room (like with full A/C blasting) actually slows drying significantly. Ideal is a normal room temperature, around 20–22°C, with low humidity. If you’re in a humid climate, a dehumidifier or just keeping a fan going helps a lot.
[Internal link opportunity #3: Once you’ve mastered fast drying, you’re ready to try more complex designs without the fear of smudging — this would be a good place to link to your nail design gallery or a specific intricate design tutorial.]
FAQs
Can I use a hair dryer to dry nail polish faster?
Yes, but only on the cool setting. Heat actually keeps nail polish soft longer because it slows evaporation of the top layers. The cool shot button on your hair dryer is genuinely useful — hold it about 30cm away and use short bursts.
Why does my topcoat smear my nail art even when I’m careful?
Usually because the layer underneath wasn’t fully dry yet. Topcoat contains solvents that re-activate the layer below it. The fix is simple but annoying: wait longer before applying topcoat. 5–7 minutes after your last design detail, minimum.
Does quick-dry base coat actually help?
Yes — and it’s underrated. A quick-dry base coat sets faster than regular base, which means your first color coat goes on a more stable surface. This matters most for intricate designs where you need everything underneath to be solid before you start the detail work.
Conclusion
Faster drying nail polish comes down to thin layers, real waiting time between coats, and finishing with cold water or a fan — not magic products. The products help, but they can’t fix the problems caused by going too fast.
Your one next step: next time you paint your nails, set a 4-minute timer between every single layer. Just try it once. The difference in how solid your nails feel afterward will be obvious, and you’ll stop dreading the “I just smeared everything” moment.